

mmWave Gesture Recognition with AI – Part 2: From Radar Frames to Edge ML
Build a practical mmWave radar gesture classifier: choose usable radar data, collect a balanced dataset, train a compact model, and deploy confidence-gated inference.
Share
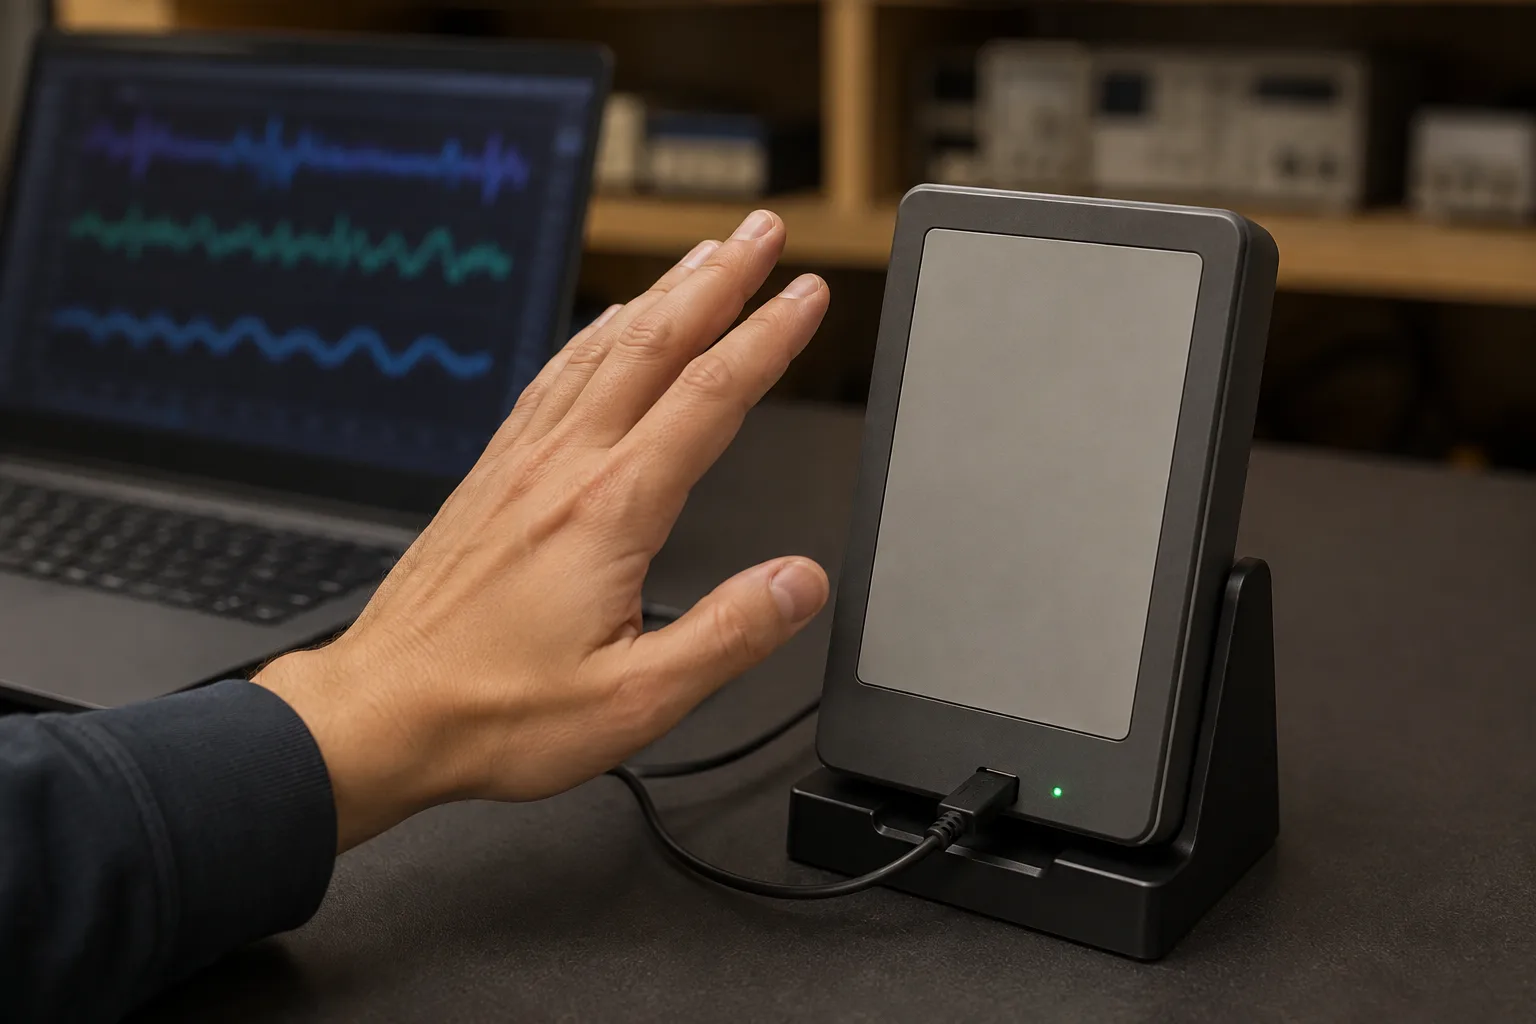
mmWave radar series: This is Part 2, focused on AI gesture classification. Start with Part 1 — motion, gesture, and presence basics if you have not yet chosen a radar output or module type.
In Part 1, we separated motion, presence, and gesture detection. This follow-up takes the gesture path one step further: instead of consuming a ready-made SWIPE_LEFT event, we build the thinking around a small machine-learning classifier.
That distinction matters. A basic presence module that only sends occupied/clear data over UART does not expose enough information to learn the shape of a hand movement. For an ML gesture project, I start with a radar kit that provides raw or suitably processed frame data and a documented configuration path.
What the model should actually see
A gesture is movement over time, not one radar reading. A practical pipeline normally looks like this:
radar frames
  → range / Doppler processing
  → crop the hand interaction zone
  → log scale + normalization
  → short time window
  → compact classifier
  → confidence gate + lockout
  → application event
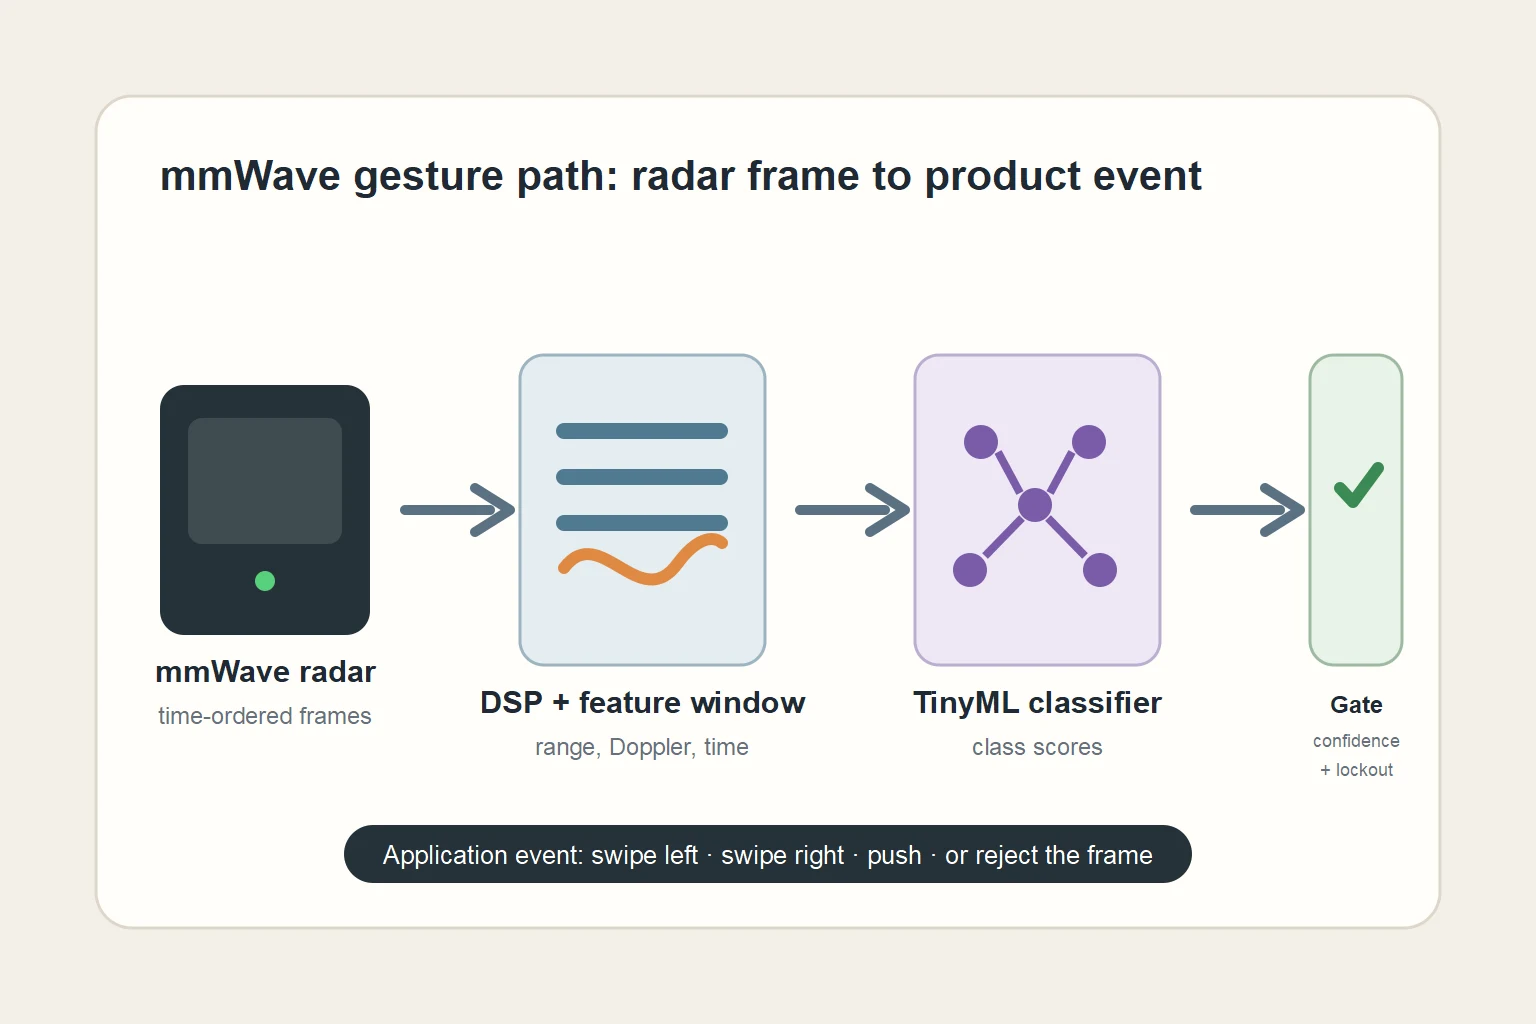
The model only assigns scores. Confidence, lockout, and the product state machine decide whether a gesture becomes an action.
The exact feature depends on the kit. A range-Doppler map often preserves useful direction and speed clues. Range-angle information can help when the user needs to move through a defined area. Some vendor gesture stacks hide this DSP behind an API; that is fine for a product, but it changes what you can retrain.
TI's gesture demo uses range, velocity, and angle information to classify six hand gestures. Infineon's XENSIV gesture stack combines radar DSP with a neural-network-based classifier. Both are good reminders that the learning model is only one stage in the sensing chain.
Keep the first vocabulary small
For a first interface, I would choose:
- swipe left
- swipe right
- push
- no gesture
No gesture is a real class, not leftover data. It should include a resting hand, a person walking past, two people in view, a hand entering and leaving slowly, and normal background motion. Without it, a model can feel impressive in a short demo and trigger constantly in a room.
Avoid teaching five variations of the same motion at once. If left and right swipes already confuse the classifier, adding circles, diagonals, and pinches gives you more labels but not more control.
Collect data like you intend to test it
The radar configuration must stay fixed while you build the first dataset: chirp profile, frame rate, gain, antenna orientation, mounting height, and interaction distance. Change one of these later and you may have created a different sensor.
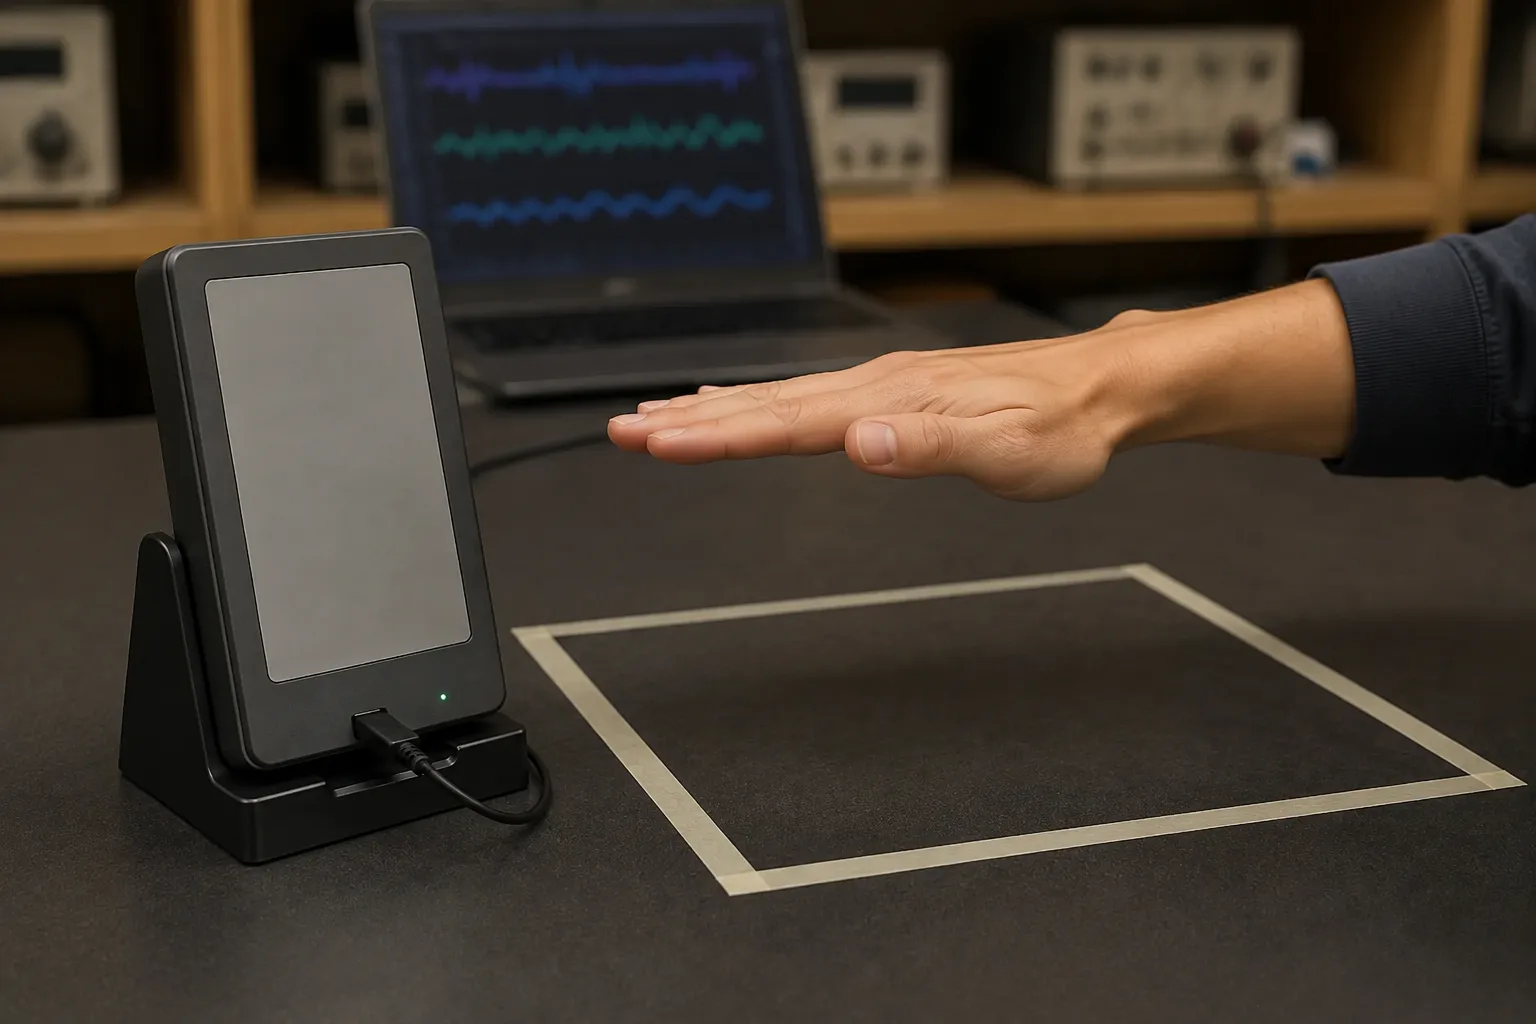
The front window is an RF radome concept, not a decorative cover. Keep its final material and geometry fixed while collecting each gesture.
I use a simple capture sheet for every recording: gesture label, user, distance band, radar orientation, room, and session. Collect several short sessions rather than one long session per person. A realistic starter plan is to collect all classes from multiple people on different days, then reserve entire people or sessions for validation.
This split is important. Randomly splitting adjacent frames means almost identical movements can land in both train and validation sets. The score then looks great while the model fails on the next person's hand. A user-held-out or session-held-out split gives a less flattering but much more useful result.
Build features before chasing a large model
Start by making one consistent tensor per example. For example, crop a near-range region, keep a fixed number of consecutive range-Doppler frames, apply log magnitude, then normalize using values calculated from the training data only.
window shape = time × Doppler bins × range bins
example      = 20 × 16 × 24 values
Those numbers are only a design example. Pick them from the radar frame rate, the speed of the gesture, available RAM, and the feature resolution you actually need. A shorter window lowers latency but can miss the end of a gesture. A longer window gives context but costs memory and makes the interface feel slow.
A small temporal CNN is a sensible first model for this kind of input. A compact MLP can also work after stronger feature engineering. I would first compare both against a non-ML baseline such as velocity thresholds. If the learned model does not beat a simple baseline on held-out data, improve the data or the feature pipeline before making the network larger.
Train for mistakes you can live with
Accuracy hides the question a product team really cares about: which wrong action is acceptable? A false push that starts a machine is worse than a missed swipe that merely makes the user repeat it.
Look at a confusion matrix and per-class precision/recall. Then tune the final decision outside the model:
if (best_label != NO_GESTURE &&
    best_score >= 0.85f &&
    millis() - last_event_ms > 500) {
    emit_gesture(best_label);
    last_event_ms = millis();
}
The threshold and lockout are not magic values; measure them with your validation sessions. A short vote across consecutive windows can further reduce accidental events. Make sure the UI acknowledges a recognized command so users do not repeat the motion while the system is already in its lockout period.
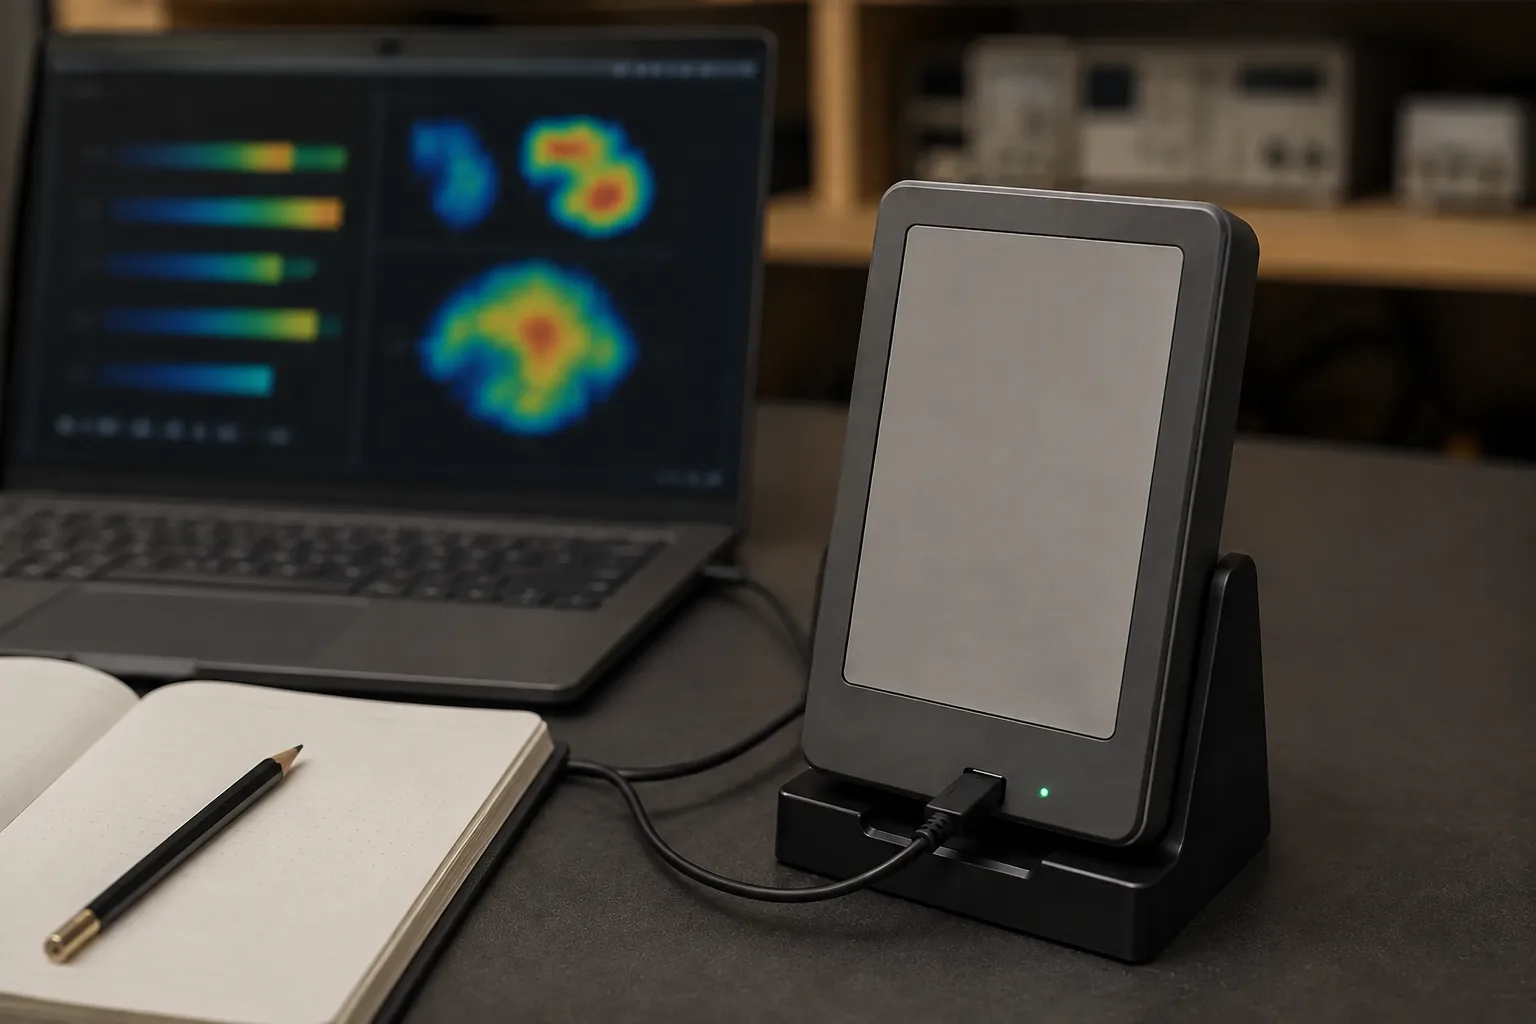
Validate the model with the final radome and mounting angle in place, then inspect confusion and reject low-confidence frames.
Deployment: separate radar work from product behavior
On an embedded target, keep these jobs separate:
- The radar task receives frames without dropping them.
- The feature task turns a bounded frame window into model input.
- The inference task returns scores and timing data.
- The UI/application task applies confidence, lockout, and state rules.
This separation makes profiling easier. If recognition lags, you can tell whether the problem is SPI transfer, DSP, inference, or application logic. Measure heap use, worst-case inference time, and frame overruns before moving on to enclosure design.
Quantization can reduce model size and latency, but it is a deployment decision that needs post-quantization validation. Do not assume a float model's score carries over unchanged to an int8 build. Likewise, an ESP32 can be a useful controller or host for carefully bounded inference, but many radar gesture kits pair the sensor with a more capable MCU or run the recognizer in a vendor library. Choose the board after estimating the real memory and timing budget.
Test outside the perfect radar corner
Before calling the project done, test:
- different hand sizes and dominant hands
- the edge of the intended distance zone
- slower and faster gestures
- a seated person behind the gesture user
- reflective surfaces, a nearby fan, and normal room traffic
- the final enclosure and final mounting angle
- cold boot, long runtime, and recovery after dropped frames
mmWave is attractive because it does not need a camera image, but it is not blind to context. The room, the mount, and the way people move are part of the model's input whether you put them in the training CSV or not.
A practical next step
Keep the first target narrow: one product, one mounting position, three commands, and a clear feedback rule. Gather failure cases intentionally. When the model becomes reliable for that slice, add a gesture or expand the distance range one change at a time.
The useful shift in part 2 is not “add AI” as a label. It is treating the radar, dataset, DSP, model, and interaction rule as one measurable system. That is what turns a moving hand in front of a sensor into an interface people can trust.
References
Share
Keep exploring
Read next
Related articles
mmWave Radar Basics – Part 1: Motion, Gesture, and Presence
Practical notes on separating motion, gesture, and presence detection, choosing the right mmWave radar module, and building an ESP32 prototype that is easy to tune.
OpenMQTTGateway: Building a Multi-Protocol Smart Home Hub
Set up an OpenMQTTGateway hub for BLE, Wi-Fi, RF, and LoRa sensors, then route the data into MQTT and Home Assistant without building a separate bridge for every device.
A smart thermostat that learns how your room warms up
Notes on building an ESP32 smart thermostat that learns a room's heating rate, starts at the right time, and keeps safety control local.