

OpenMQTTGateway: Building a Multi-Protocol Smart Home Hub
Set up an OpenMQTTGateway hub for BLE, Wi-Fi, RF, and LoRa sensors, then route the data into MQTT and Home Assistant without building a separate bridge for every device.
Share
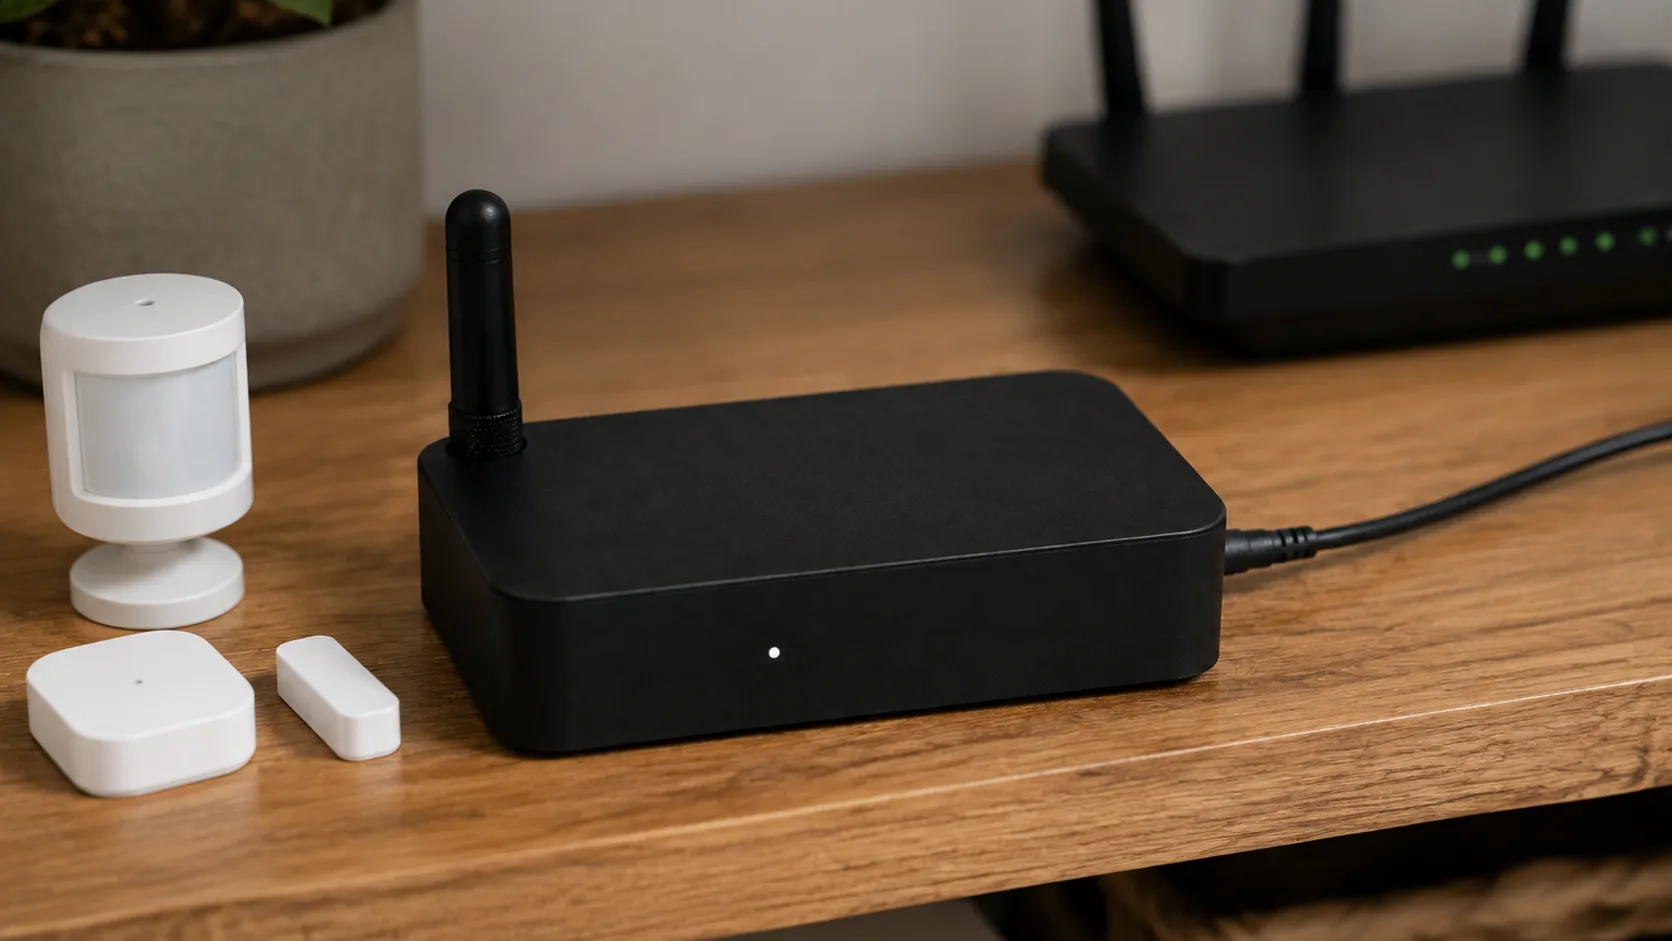
Smart-home projects usually start with one sensor and end with a drawer full of bridges. One bridge for BLE thermometers, another for 433 MHz remotes, one more for a door sensor, and eventually a separate app for each brand.
OpenMQTTGateway is interesting because it gives those devices one place to meet: MQTT. I like that boundary. The gateway handles radio protocols near the sensors, while the broker and Home Assistant handle storage, automation, and the user interface.
This guide follows the practical path I would use for a first hub: start with BLE over Wi-Fi, verify one sensor, then add other radios only when the hardware and use case justify them.
What OpenMQTTGateway actually does
OpenMQTTGateway is firmware for ESP32 and ESP8266 boards. Depending on the build environment and hardware, it can bridge BLE, 433/315/868/915 MHz RF, infrared, and LoRa signals to MQTT. It also supports Home Assistant MQTT discovery and a Wi-Fi configuration portal on supported ESP boards.
The important detail is that one firmware project does not mean every board supports every radio at the same time. BLE is a natural fit for an ESP32. LoRa needs a board with a LoRa transceiver, such as a compatible Heltec or LilyGO board. RF needs the matching receiver/transmitter hardware. Choose the environment from the official board list instead of flashing a generic build and hoping the pins line up.
The “100+ sensors” claim is most useful as a BLE decoder capability: OpenMQTTGateway and Theengs Decoder can recognize many BLE advertising formats. It is not a promise that every sensor can maintain a continuous connection, or that one gateway has unlimited airtime, memory, and range.
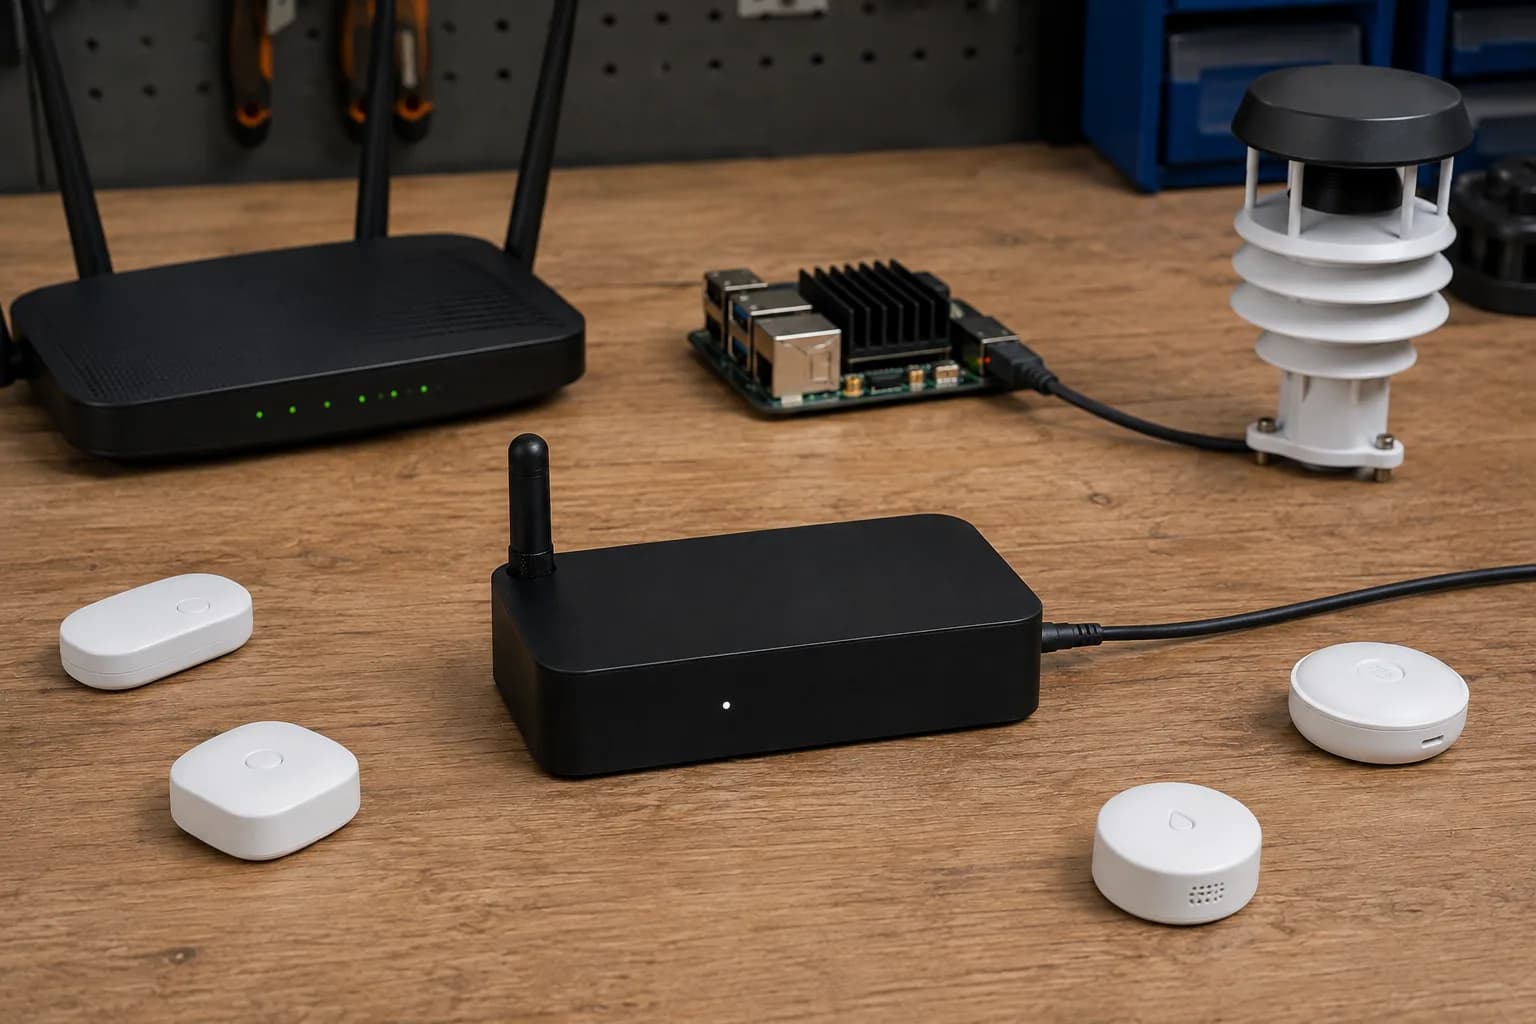
Keep the wireless side simple: sensors talk to the gateway, while the broker and controller stay on the network.
The architecture I would build first
BLE / RF / LoRa sensors
          ↓
OpenMQTTGateway on the right radio hardware
          ↓ Wi-Fi or Ethernet
MQTT broker (Mosquitto)
          ↓
Home Assistant / Node-RED / your own service
The gateway should not become the place where every automation rule lives. Its first job is to receive, decode, and publish a useful message. Home Assistant can then decide whether a temperature change should turn on a fan, write a history point, or trigger a notification.
This separation also makes troubleshooting easier. If a sensor disappears, I can ask three separate questions:
- Did the gateway receive the radio advertisement?
- Did it publish the MQTT message?
- Did the controller subscribe and create an entity?
Hardware choices without overbuilding
For a BLE-first hub, a normal ESP32 board with a stable 5 V supply is enough. I would prioritize placement and uptime over a faster chip. Put the gateway near the center of the sensor area, away from a metal cabinet, USB 3 noise, and the back of a Wi-Fi access point.
If I need LoRa, I use a board that already includes the correct LoRa radio and antenna connector. I do not attach a random SX127x module to an ESP32 and assume the default pinout will match. The radio frequency band also matters: 433, 868, and 915 MHz hardware is not interchangeable just because the module looks similar.
For a larger home, Ethernet can be attractive because the gateway does not compete with sensors for Wi-Fi airtime. BLE still happens locally; only the decoded MQTT messages travel upstream.
Installation flow
The current OpenMQTTGateway documentation supports a browser-based upload flow for many environments. The general sequence is:
- Pick the exact board/environment, for example, an ESP32 BLE gateway.
- Flash the matching firmware.
- Join the temporary Wi-Fi network or open the configuration portal.
- Enter the home Wi-Fi details and the MQTT broker address.
- Set a stable gateway name and MQTT base topic.
- Subscribe to the broker before moving the gateway to its final location.
I keep the first test deliberately boring: one BLE temperature sensor, one MQTT client, and one known topic. Add more sensors only after the first message survives a reboot and a Wi-Fi reconnect.
MQTT topics: keep the data discoverable
OpenMQTTGateway uses a base topic, a gateway name, and a protocol-specific suffix. A typical BLE message looks like:
home/OpenMQTTGateway/BTtoMQTT/AA11BB22CC33
The payload is JSON. A decoded device may publish fields such as id, rssi, brand, model, temperature, or humidity, depending on what the advertisement contains.
To inspect everything while setting up, I use:
mosquitto_sub -h 192.168.1.10 -t 'home/OpenMQTTGateway/#' -v
The exact gateway name and topic prefix are configurable, so I treat the topic above as a pattern, not a value to copy blindly. Check the actual messages from your broker first.
The command side follows the reverse direction. For example, the official BLE guide shows commands like:
mosquitto_pub \
  -h 192.168.1.10 \
  -t 'home/OpenMQTTGateway/commands/MQTTtoBT/config' \
  -m '{"enabled":true}'
This is useful for changing BLE behavior without reflashing. I still put command topics behind MQTT authentication and ACLs; a gateway that can receive commands should not be open to every device on the LAN.
Home Assistant discovery: useful, but inspect the result
With JSON publishing and the Home Assistant discovery option enabled, supported devices can appear automatically. That is a great first step, but automatic discovery does not remove the need to check:
- Whether the entity has a stable unique ID.
- Whether the unit and device class are correct.
- Whether the sensor publishes often enough for the automation.
- Whether the battery value is real or simply absent.
- Whether retained discovery data survives a gateway rename.
I normally keep the raw MQTT topic visible beside the Home Assistant entity. When an entity stops updating, that tells me whether the fault is in radio reception or in discovery/configuration.
Scaling toward 100+ BLE sensors
The first scaling mistake is to set every sensor to advertise as often as possible. That creates more radio traffic, more duplicate messages, and more work for the broker without necessarily improving the automation.
I would scale in this order:
- Give every sensor a clear physical name and location.
- Record its MAC or stable identifier in a simple inventory.
- Use battery-friendly advertising intervals when the device supports them.
- Keep the gateway near the center of the BLE coverage area.
- Enable filtering or
onlysensorswhen you do not need every nearby beacon. - Watch free memory, message rate, RSSI, and missed updates over a full day.
BLE range through concrete walls is not a spreadsheet constant. A gateway that sees 40 sensors on a workbench may miss the one sensor behind a refrigerator. If coverage is the issue, another small gateway in a different area can be cleaner than forcing one board to scan the whole building.
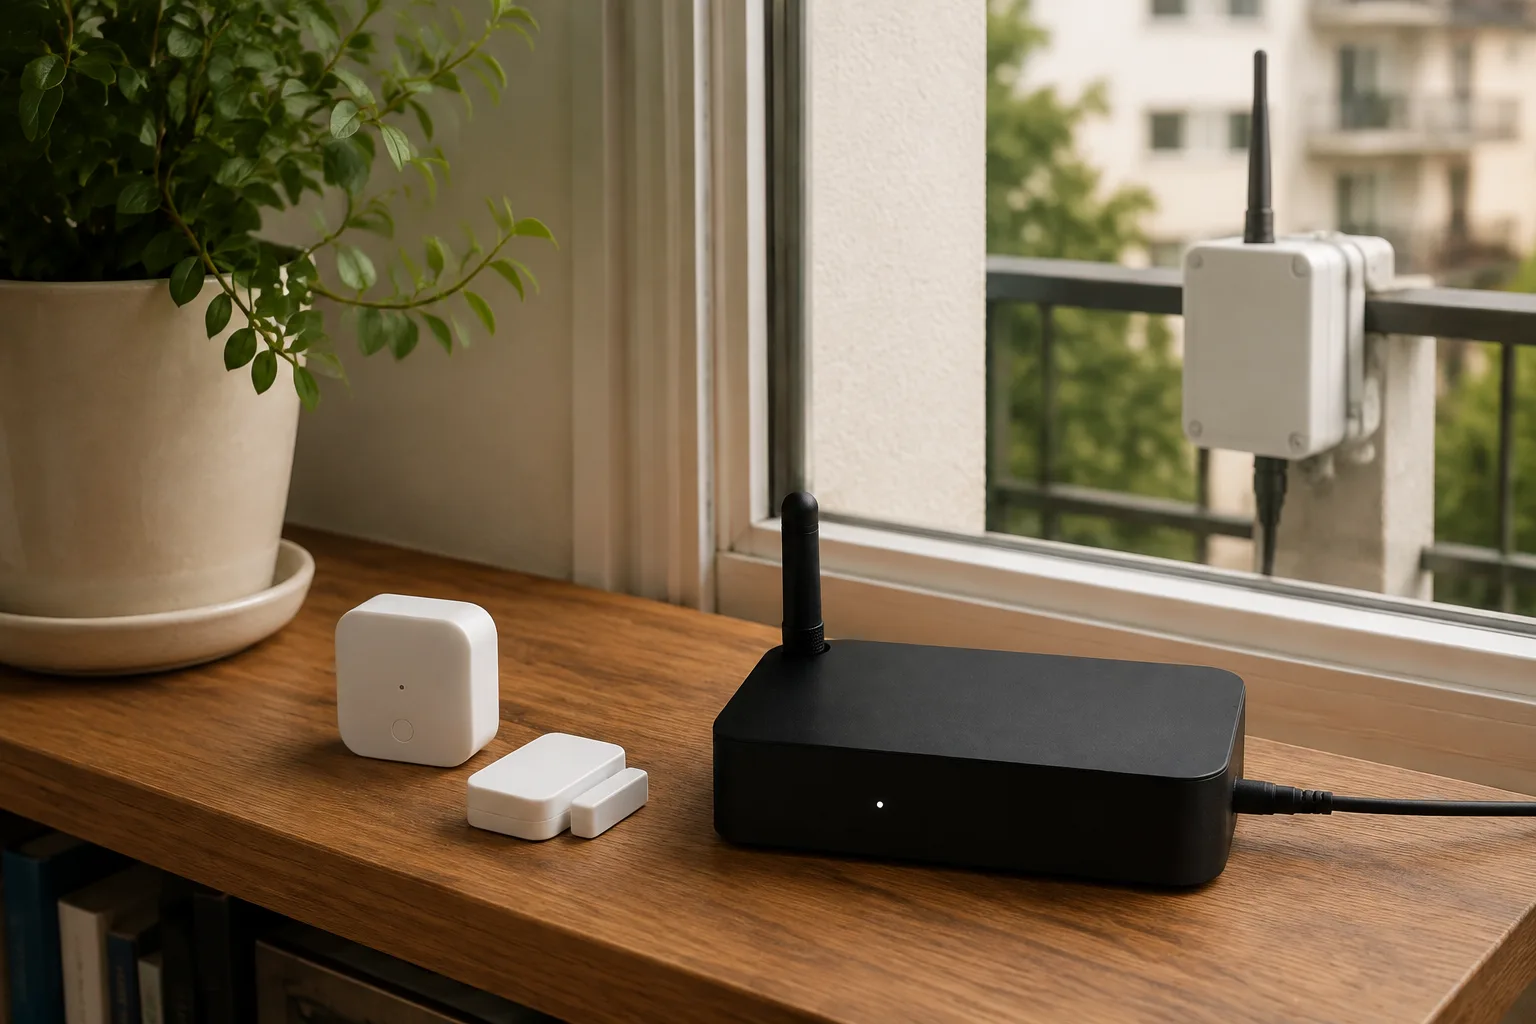
Sensor placement matters more than adding another plugin; put the gateway where the radio paths are actually good.
Adding RF, IR, or LoRa later
OpenMQTTGateway makes the MQTT side consistent, but the radio side remains different:
| Protocol | Typical device | Extra hardware or concern |
|---|---|---|
| BLE | Thermometer, tracker, door sensor | ESP32 radio placement and scan load |
| 433 MHz RF | Remote, weather station, doorbell | Correct receiver/transmitter and protocol decoder |
| Infrared | TV or air conditioner | IR LED direction, receiver placement, code learning |
| LoRa | Long-range outdoor sensor | Matching frequency band, antenna, and board environment |
I add one protocol at a time and keep the original BLE test sensor running. That way, a new RF or LoRa experiment cannot silently break the baseline.
What usually goes wrong
The gateway is online, but no sensor appears
Check the sensor first. Is it really advertising, and is its payload one OpenMQTTGateway knows how to decode? Then check RSSI at the gateway and subscribe to home/+/BTtoMQTT/# to avoid guessing the gateway name.
MQTT connects, then stops after a while
Check the broker logs, Wi-Fi signal, power supply, and free memory. A marginal 5 V adapter can look like a software problem because the board resets only when radio activity increases.
Home Assistant creates duplicates
Do not rename the gateway or alter the base topic while discovery data from the previous setup is still retained. Clean up stale discovery entries and confirm that the device identifier remains stable.
LoRa works only on the desk
Check the frequency variant, antenna connection, orientation, and local regulations. Do not compare a 433 MHz build with a 915 MHz build as if they were the same hardware.
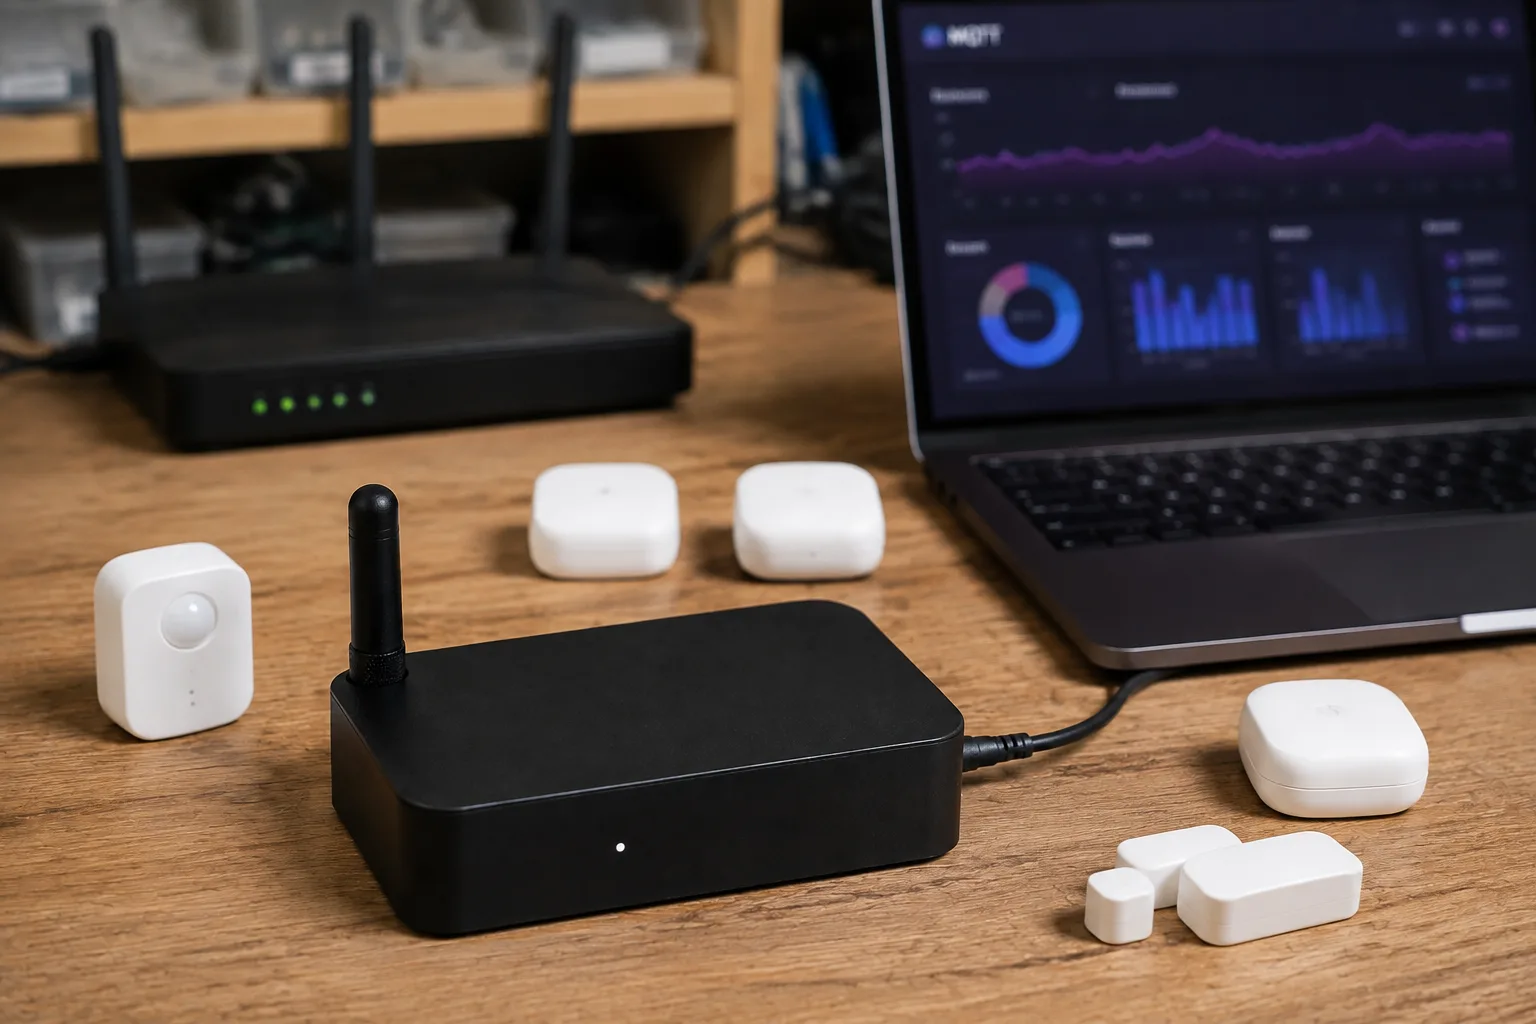
A power meter and a clean MQTT view make intermittent gateway problems much easier to narrow down.
My practical starting configuration
For a small apartment, I would start with:
- One ESP32 BLE environment.
- One Mosquitto broker on an always-on home server or Raspberry Pi.
- Home Assistant MQTT discovery enabled.
- Three sensors: temperature, door contact, and motion.
- A dedicated MQTT user with only the topics that the gateway needs.
- A short log of sensor IDs, rooms, battery behavior, and last-seen time.
After a week of stable data, I would decide whether LoRa, RF, Ethernet, or a second gateway solves a real problem. The point of OpenMQTTGateway is not to collect every radio protocol for its own sake. It is to give the home one understandable path from a physical sensor to an automation.
Conclusion
OpenMQTTGateway is a good fit when you have a mixed collection of sensors and want MQTT to be the common language. The reliable setup is less about flashing a large firmware image and more about choosing the right board, naming topics clearly, keeping the gateway in a good radio location, and measuring what happens after the first demo.
Start with one BLE sensor, verify the raw MQTT message, let Home Assistant discover it, and only then scale. That workflow keeps the hub understandable even when the sensor drawer grows past a hundred devices.
References
Share
Keep exploring
Read next
Related articles
A fridge and freezer temperature alert device for power outages
Notes for a small ESP32 box with two DS18B20 probes and Home Assistant alerts, meant to catch a warming fridge or freezer after a power outage.
A kitchen HMI near the fridge for meals and expiring food
Notes for a small LCD/TFT HMI mounted near the fridge, using Home Assistant to show meal plans, expiring food, and quick shopping-list actions.
A Vietnamese voice remote for local Home Assistant control
Notes for building an ESP32-S3 voice remote with ESPHome and a local Home Assistant Assist pipeline so Vietnamese voice commands can stay inside the home network.