

A fridge and freezer temperature alert device for power outages
Notes for a small ESP32 box with two DS18B20 probes and Home Assistant alerts, meant to catch a warming fridge or freezer after a power outage.
Share
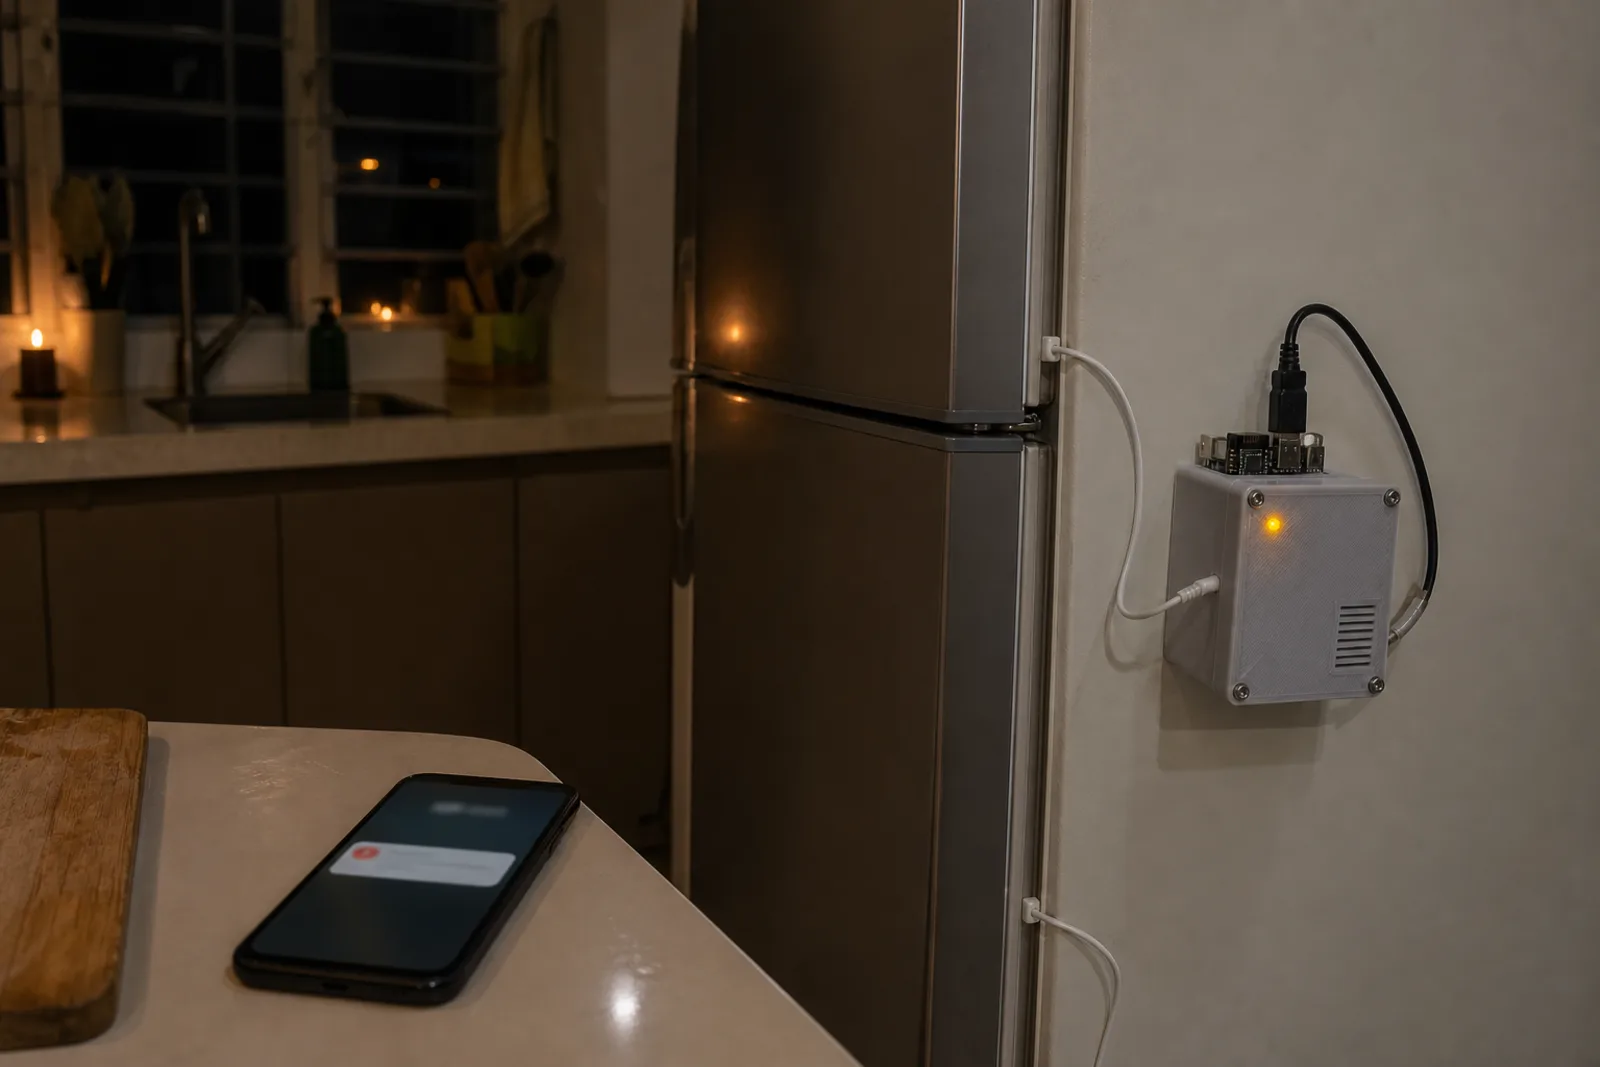
There is a household failure that is easy to miss: the power goes out for a few hours, comes back, and the fridge sounds normal again. Only later do you open the freezer and notice soft ice, wet food bags, and no clear idea how long the bad temperature lasted.
This note is for a very ordinary prototype: a small box outside the fridge, two probes routed inside, and an alert slow enough that it does not complain every time the door opens. It does not turn a normal fridge into a "smart fridge". It only answers the two questions I actually need: what is the temperature now, and has it been bad long enough that someone should check?
What should the MVP do?
The first version only needs three states:
| State | Meaning |
|---|---|
| Normal | Fridge below about 8°C, freezer below about -12°C |
| Watch | Temperature is above the threshold for a few minutes |
| Check now | Freezer has been warm too long, or the device stopped reporting |
The exact thresholds should be tuned to the real fridge. I would start with an alert when the fridge stays above 8°C for 15 minutes, and when the freezer stays above -12°C for 20 minutes. Do not alert on the first spike. Every fridge warms up briefly when the door is opened.
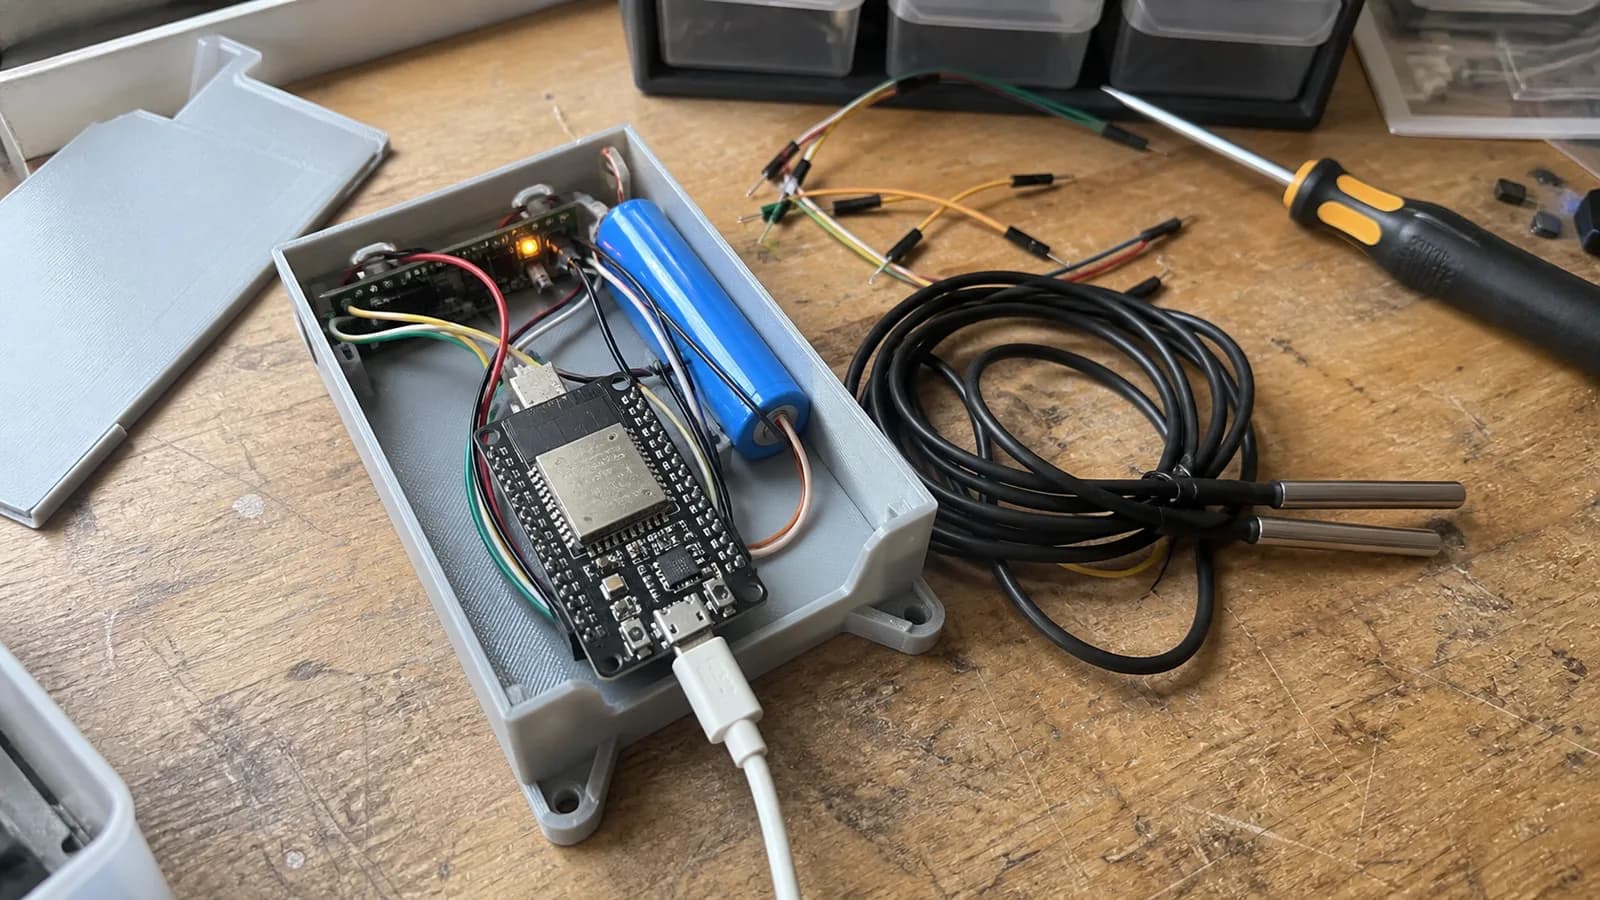
A first version only needs an ESP32, two DS18B20 probes, and a small backup power source for outage alerts.
Hardware proposal
A simple build could use:
- ESP32-C3 or a regular ESP32 board.
- Two waterproof DS18B20 probes: one for the fridge, one for the freezer.
- A 4.7 kΩ pull-up resistor for the 1-Wire bus.
- A small 3D-printed or plastic enclosure outside the fridge.
- USB-C 5V power.
- A small power bank or mini 5V UPS so the monitor keeps running during an outage.
- A small amber LED for local warning status.
The important part: do not put the ESP32 inside the fridge. Moisture, condensation, and cold batteries are not a friendly mix. Put only the probes inside and keep the electronics outside.
Routing the probes
The lowest-risk route is through the door gasket, at a spot where the cable is not pinched, and the door still seals well. In the freezer, place the probe near the food zone, not directly against the cold wall or airflow path. If the probe touches the evaporator area, it may read colder than the food actually is.
I would hold the probe with cold-resistant tape or a small plastic clip. I would not drill a fridge unless I knew exactly where the refrigerant lines and evaporator paths were.
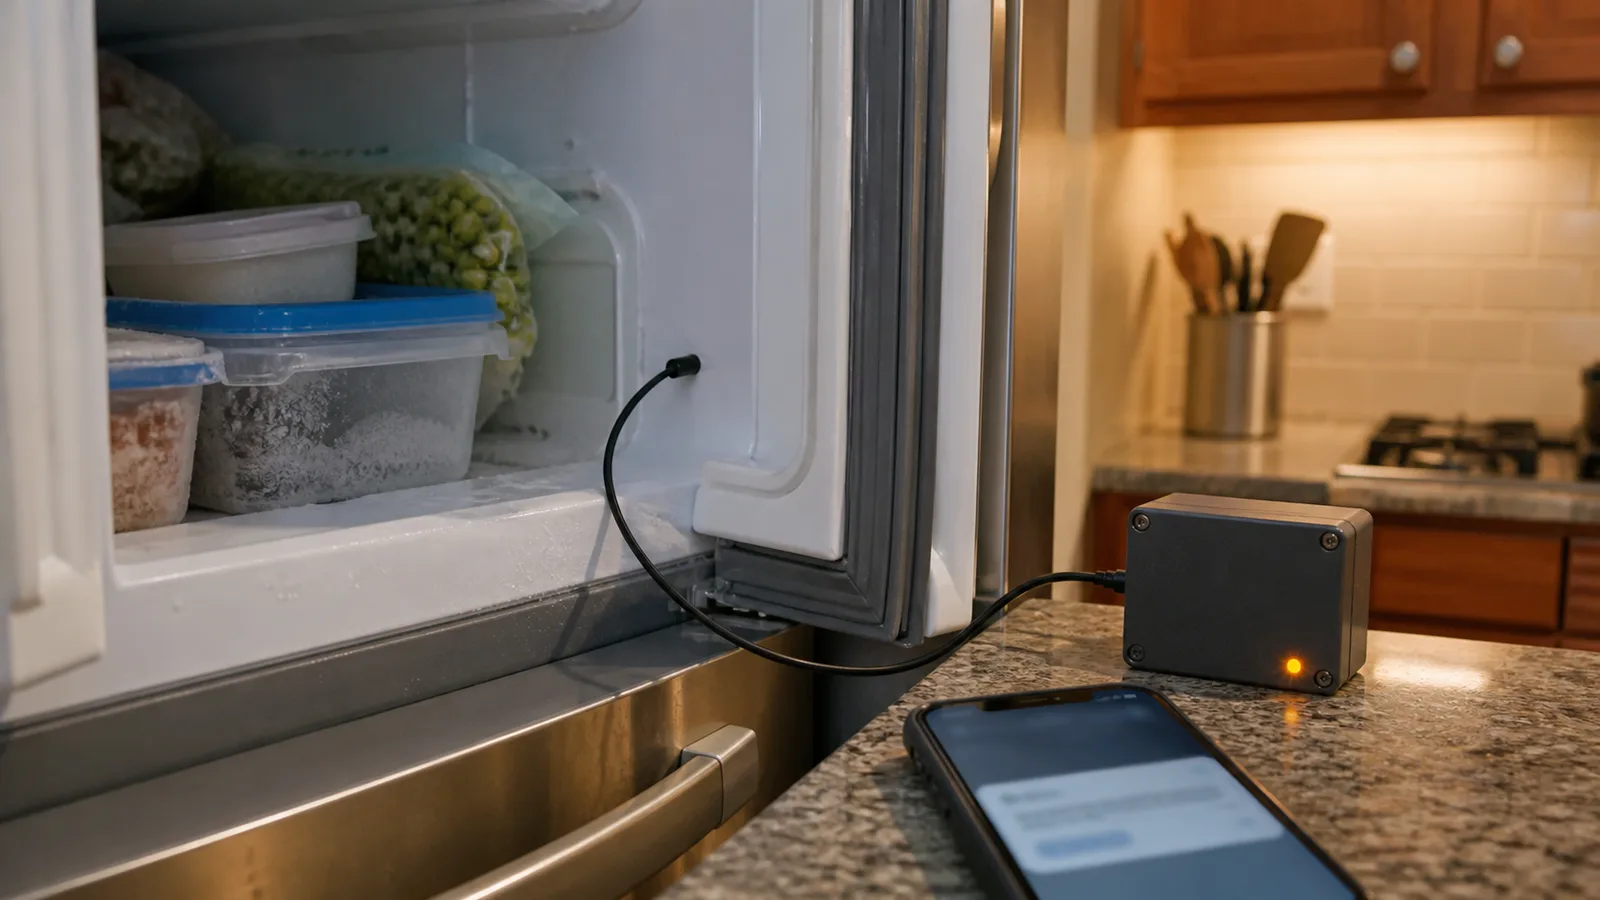
Keep only the probe inside the fridge or freezer; the ESP32 and battery should stay outside to avoid moisture and condensation.
Alert logic
The alert logic should be slow and calm:
If fridge > 8°C for 15 minutes:
  send a gentle warning

If freezer > -12°C for 20 minutes:
  send a check-freezer warning

If the device stops reporting for 30 minutes:
  send a data-loss warning

If temperature returns to the safe range for 10 minutes:
  clear the alert
Loss of data matters as much as high temperature. If the whole house loses power, the router and Home Assistant may also shut down. For a simple home version, I would put the router and Home Assistant box on a small UPS first. Cellular fallback can be a later version.
Minimal ESPHome shape
This is only a small configuration sketch, not a complete copy-paste file:
one_wire:
  - platform: gpio
    pin: GPIO4

sensor:
  - platform: dallas_temp
    name: "Fridge Temperature"
    update_interval: 60s

  - platform: dallas_temp
    name: "Freezer Temperature"
    update_interval: 60s
When multiple DS18B20 probes share one bus, scan their addresses and declare each address explicitly. Otherwise, after rewiring, it is too easy to mix up the fridge probe and freezer probe.
Easy mistakes
Cheap waterproof probes are not always perfectly sealed. Before trusting one long-term, I would test the stainless end in ice water for a few hours and watch for weird readings.
Do not use a single instant threshold. A fridge door opening can create a short temperature rise. Use a delay and hysteresis so the device does not complain all day.
Do not forget power. A power-outage monitor that turns off with mains power is not very useful. Even a small power bank that keeps it alive for a few hours makes the first version much more valuable.
My first test
I would start with ESP32-C3, two DS18B20 probes, ESPHome, and Home Assistant. No screen yet. Just a small LED on the enclosure and phone notifications.
Test checklist:
- Log a 24-hour baseline while the fridge is working normally.
- Open the door for 1-2 minutes and watch how the temperature recovers.
- Unplug the fridge for 15-30 minutes in a controlled test, without risking food.
- Check alerts when the ESP32 loses Wi-Fi or power.
- Tune the thresholds to the actual fridge instead of trusting default numbers.
If this works, the success test is simple: during one long outage, I know early enough to check the freezer instead of discovering the problem by smell or softened food. That is enough reason to keep iterating toward a cleaner enclosure and PCB.
References
Share
Keep exploring
Read next
Related articles
A Vietnamese voice remote for local Home Assistant control
Notes for building an ESP32-S3 voice remote with ESPHome and a local Home Assistant Assist pipeline so Vietnamese voice commands can stay inside the home network.
OpenMQTTGateway: Building a Multi-Protocol Smart Home Hub
Set up an OpenMQTTGateway hub for BLE, Wi-Fi, RF, and LoRa sensors, then route the data into MQTT and Home Assistant without building a separate bridge for every device.
A smart thermostat that learns how your room warms up
Notes on building an ESP32 smart thermostat that learns a room's heating rate, starts at the right time, and keeps safety control local.