

TinyML on ESP32: Running AI on the Device
How I run a small person-detection model on ESP32 with TensorFlow Lite Micro and ESP-NN, from memory limits to testing Espressif's example.
Share
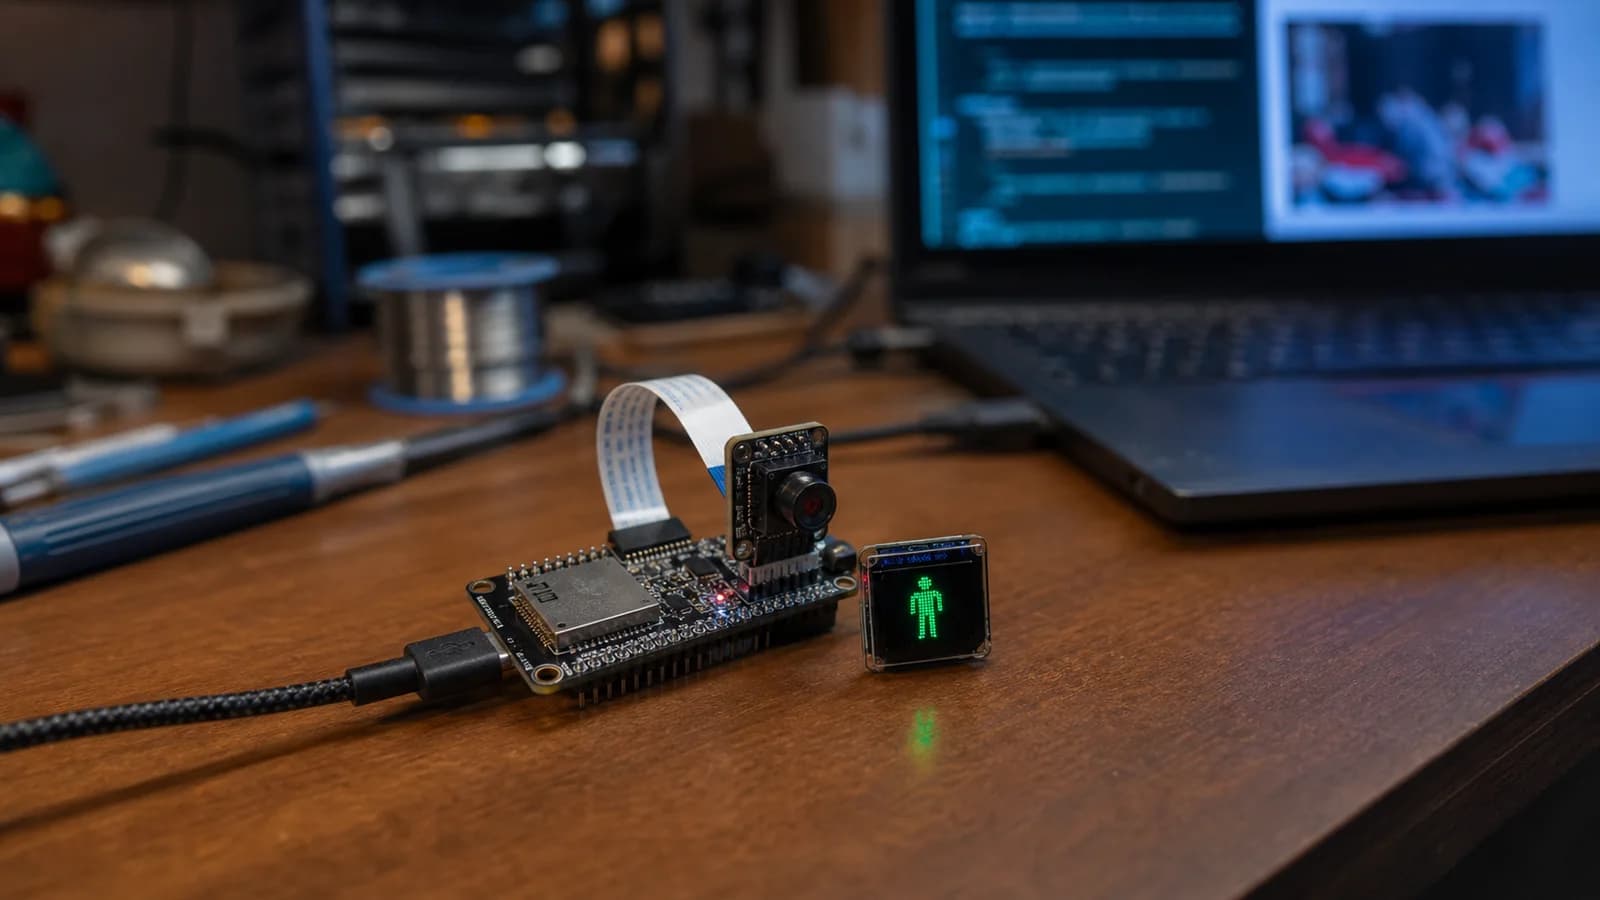
If TinyML is new to you, the basic idea is simple: a small model runs directly on a microcontroller and decides without sending the input to a server. On ESP32, this is already quite approachable. Espressif provides the component, sample models, and ESP-IDF projects needed to build a working demo.
I'll use person_detection here. A camera captures one frame, the ESP32 returns person and no_person scores, and the entire inference loop stays on the device.
A real TinyML loop: the camera captures a frame, the ESP32-S3 runs the model, and the result appears locally without uploading the image.
When TinyML is a Good Fit
I reach for TinyML when a device only needs to recognize one narrow, well-defined signal: a person entered the frame, a keyword was spoken, or a sensor pattern looks unusual.
That gives you three practical benefits:
- Fast response: there is no server round trip.
- Offline operation: useful for battery sensors and unreliable connections.
- Better data privacy: raw images and audio do not need to leave the device.
The tradeoff is scope. person_detection answers “is a person present?”, not “who is this person?” TinyML is not a replacement for cloud AI; it works best as a focused filter or always-available trigger.
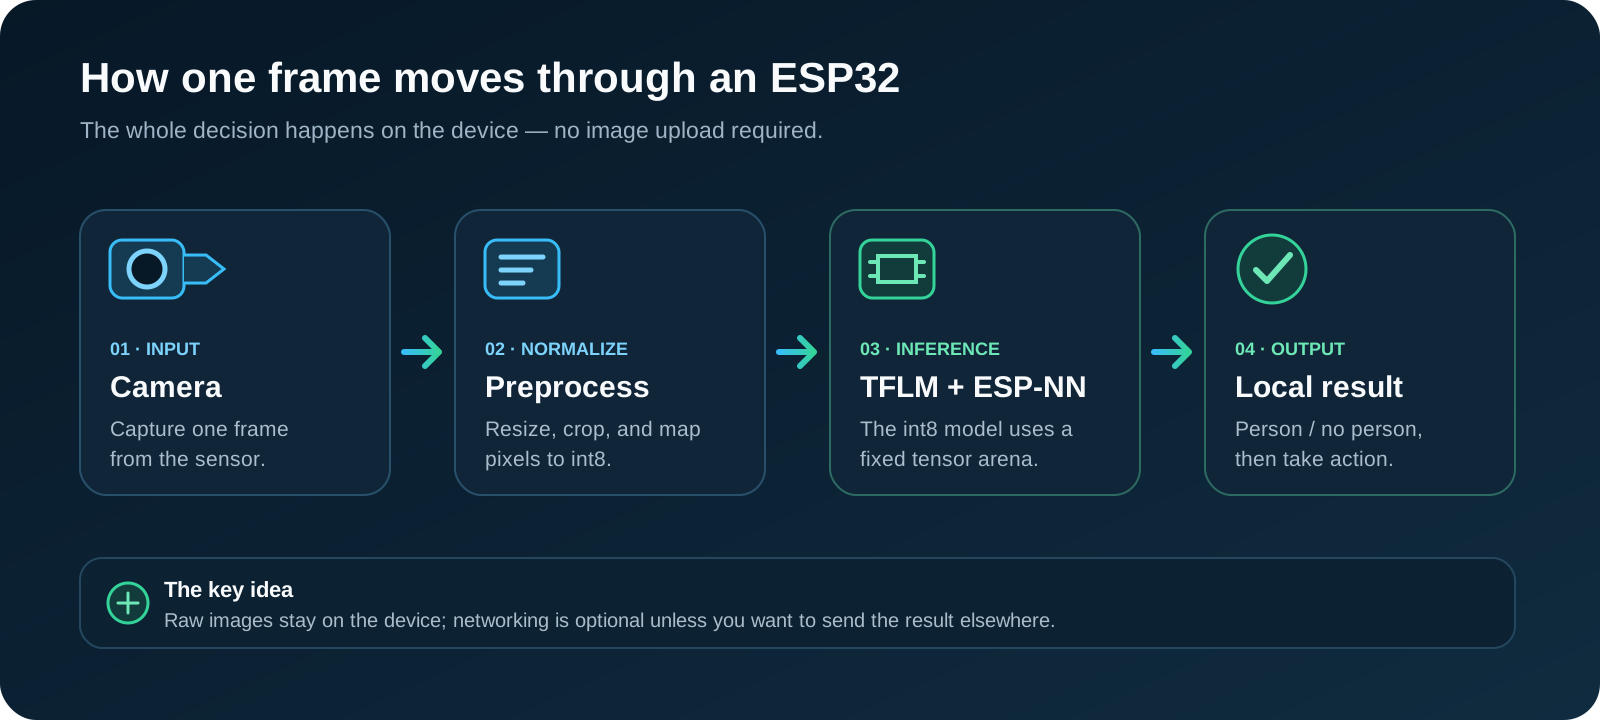
Each frame is preprocessed, passed through TFLM and ESP-NN, and turned into a result while the raw image stays on the device.
Memory Is Usually the Hard Part
ESP32-class chips have hundreds of kilobytes of on-chip SRAM, not gigabytes. Models are therefore commonly quantized to int8, reducing their flash footprint, intermediate memory, and inference cost.
TensorFlow Lite Micro (TFLM) uses a preallocated workspace called the tensor arena. The input, output, and intermediate tensors all need to fit. Make it too small and interpreter initialization fails; make it too large and you take SRAM away from the camera frame buffer, Wi-Fi, and the rest of the firmware.
Espressif's person-detection example uses an int8 model of about 250 KB. That is only the model size, not the application's total RAM requirement. A realistic budget still includes the tensor arena, frame buffers, task stacks, and other components.
The Stack: TFLM + ESP-NN
esp-tflite-micro packages TFLM for ESP-IDF and integrates ESP-NN. ESP-NN supplies optimized kernels for convolutions, depthwise convolutions, and other common neural-network operations. It automatically selects optimized assembly implementations on ESP32-S3 and ESP32-P4.
The current project README says ESP-IDF release/v4.4 and newer are supported, while the component manifest currently requires ESP-IDF >=5.0. For a new project, I would use a stable 5.x release instead of aiming at the oldest possible version.
Add the component to an existing project:
idf.py add-dependency "esp-tflite-micro"
Or start from the closest example:
idf.py create-project-from-example "esp-tflite-micro:person_detection"
The repository also includes hello_world as a toolchain smoke test and micro_speech for keyword spotting.
Trying person_detection
The example supports boards including ESP32-DevKitC with a camera, ESP-EYE, ESP32-S3-EYE, ESP32-S3-Korvo-2, and ESP32-S2-Kaluga. Espressif documents only about 1–2 FPS on Kaluga, so I would treat it as a proof-of-concept target rather than a performance baseline.
No camera yet? You can validate the pipeline with ten bundled images. Enable CLI-only inference in main/esp_main.h:
#define CLI_ONLY_INFERENCE 1
Then build, flash, and open the monitor:
idf.py set-target esp32s3
idf.py build
idf.py --port /dev/ttyUSB0 flash monitor
On Windows, replace /dev/ttyUSB0 with the board's COMx port. In the monitor, run:
detect_image 0
The image number can be 0 through 9, and the log prints the person and no_person scores. I like doing this first because it verifies the toolchain, model, and interpreter. If the live camera fails later, the search is narrowed to wiring, pin mapping, and the driver.
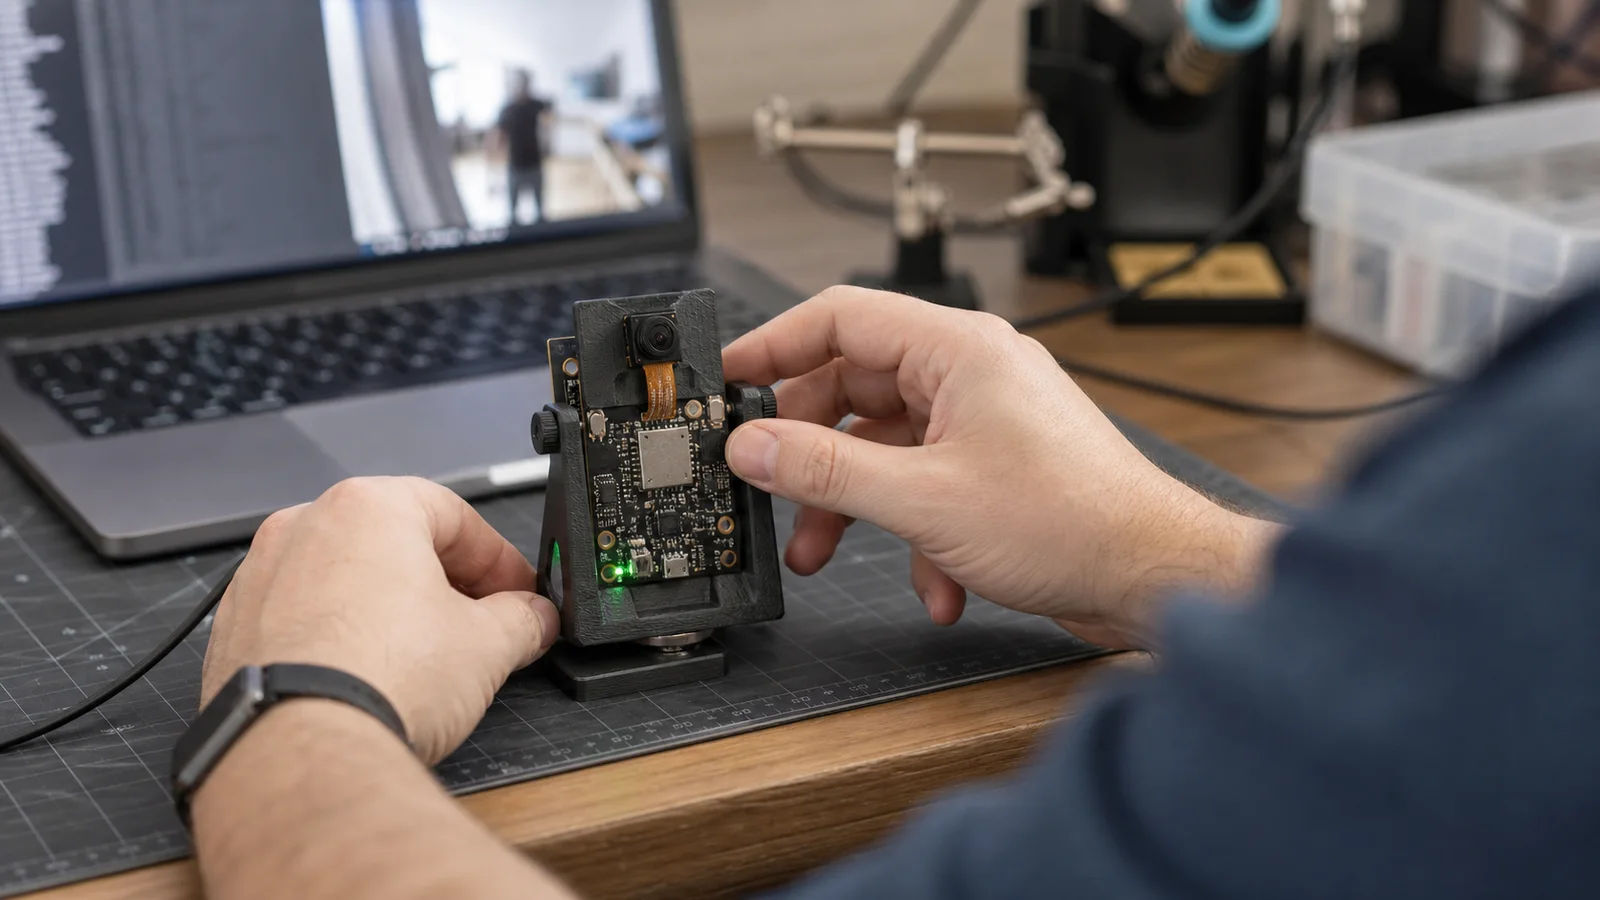
I like to validate the model with bundled test images first, then connect the real camera. It keeps model errors separate from wiring and driver problems.
The Benchmark Case for ESP32-S3
Espressif publishes invoke() timing for this example with internal memory and ESP-NN enabled:
| Chip | Without ESP-NN | With ESP-NN |
|---|---|---|
| ESP32 | 4084 ms | 380 ms |
| ESP32-C3 | 3355 ms | 426 ms |
| ESP32-S3 | 2300 ms | 54 ms |
| ESP32-P4 | 1395 ms | 73 ms |
With the same model, ESP32-S3 is about seven times faster than classic ESP32 when ESP-NN is enabled on both. The gap is not just clock speed: ESP-NN has optimized assembly implementations for S3, while ESP32 and C3 use generic optimizations.
If a camera needs to react several times per second, I would start with ESP32-S3. Classic ESP32 can still handle infrequent checks, but benchmark that choice before committing a PCB. The P4 number should also be read alongside Espressif's note that its optimization is still a work in progress.
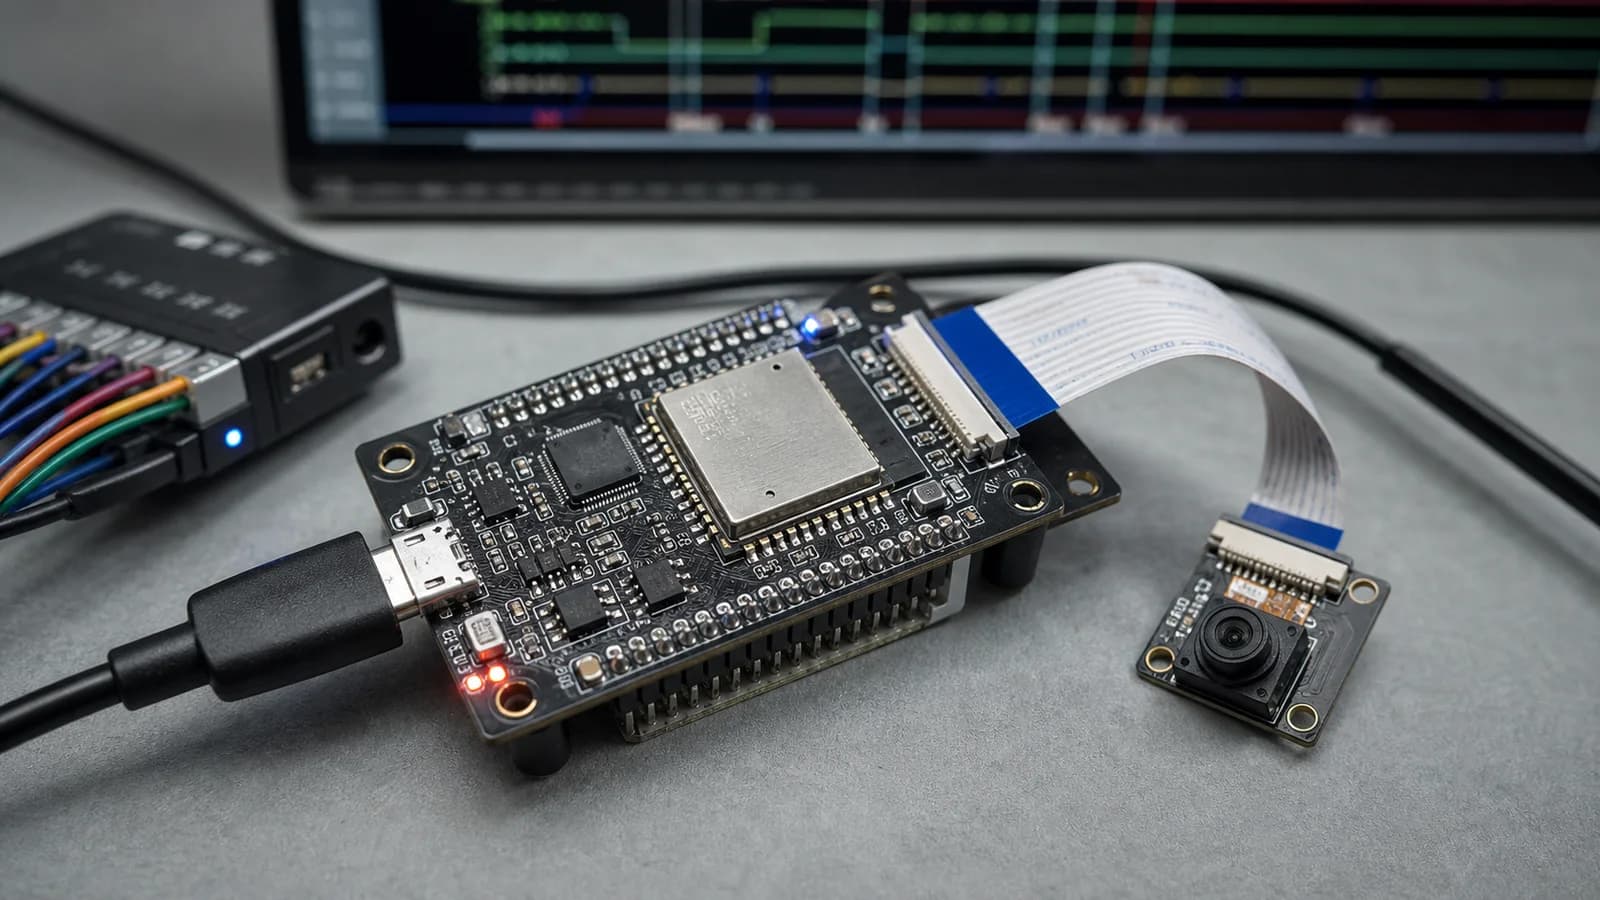
Re-run the benchmark on the final hardware while the camera, memory, and other tasks are active together.
What I Check Before Committing Hardware
- Measure the tensor arena with the real model. The
.tflitefile size is not the final RAM budget. - Keep the hot path in internal RAM where possible. Moving tensors or frame buffers to PSRAM can increase real latency beyond the published table.
- Verify the camera pin map for your board. A dev-kit example will not automatically match a custom PCB.
- Test in the real enclosure and lighting. Camera angle, shadows, and subject distance directly affect results.
- Benchmark with everything running. Camera, Wi-Fi, display, and other tasks change both memory pressure and latency.
Conclusion
TinyML on ESP32 is no longer exotic: if your ESP-IDF setup is ready, you can get the first demo running in an afternoon. The real work is keeping the task narrow, budgeting memory honestly, and testing under product conditions.
Starting from scratch, I would choose ESP32-S3, run the ten bundled images first, connect the camera second, and only then swap in a custom model. That order saves a surprising amount of debugging time.
References
Share
Keep exploring
Read next
Related articles
Extending Battery Life in an ESP32 Robot with a Display
Analyze battery life for an ESP32 robot with a display: backlight, Wi-Fi, audio, peripherals, sleep modes, wake sources, and runtime.
Two-Way I2S Audio on ESP32-S3: I2S Microphone and I2S Speaker
A practical explanation of BCLK, WS, DIN, DOUT, full-duplex audio, sample rate, and buffers when building two-way I2S audio on ESP32-S3.
Industrial IoT with ESP32: Modbus and Real-Time Control
A practical guide to Modbus TCP, Modbus RTU over RS-485, and PLC communication with ESP32 for reliable industrial IoT prototypes.