

ESP32 Beginner Guide – P1: What Is ESP32 and Choose ESP32
Learn the difference between ESP32 chips, modules, and development boards, then choose an ESP32-C3, ESP32-S3, or classic ESP32 board without buying hardware you do not need.
Share
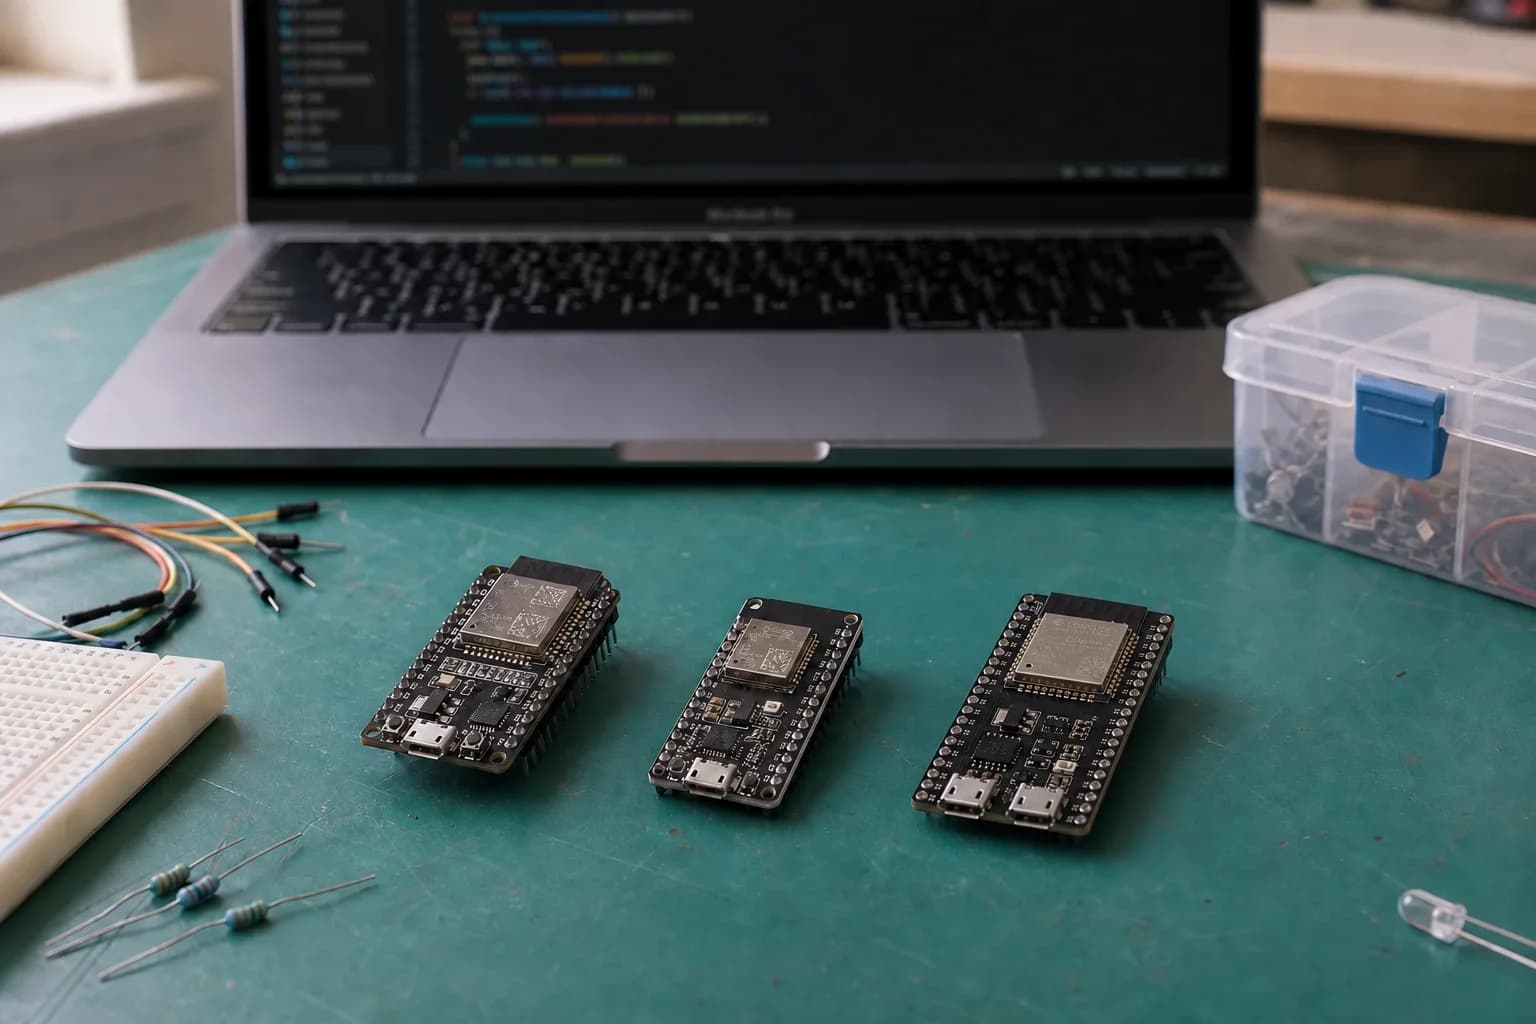
When you first explore ESP32, you quickly meet a long list of names: ESP32, ESP32-C3, ESP32-S3, WROOM, DevKitC, SuperMini, and XIAO. They look similar in store photos, but they do not describe the same thing. I have bought a board because it exposed plenty of GPIO, only to discover later that it had no PSRAM, did not support Bluetooth Classic, or used a different pinout from the tutorial I was following.
This is the first article in the ESP32 Beginner Guide, a series that moves from choosing a board to GPIO, sensors, Wi-Fi, BLE, and a complete project. P1 has one practical goal: by the end, you should know whether you are buying a chip, module, or development board, and you should be able to choose your first board without memorizing the entire ESP32 family.
ESP32 is not one specific board
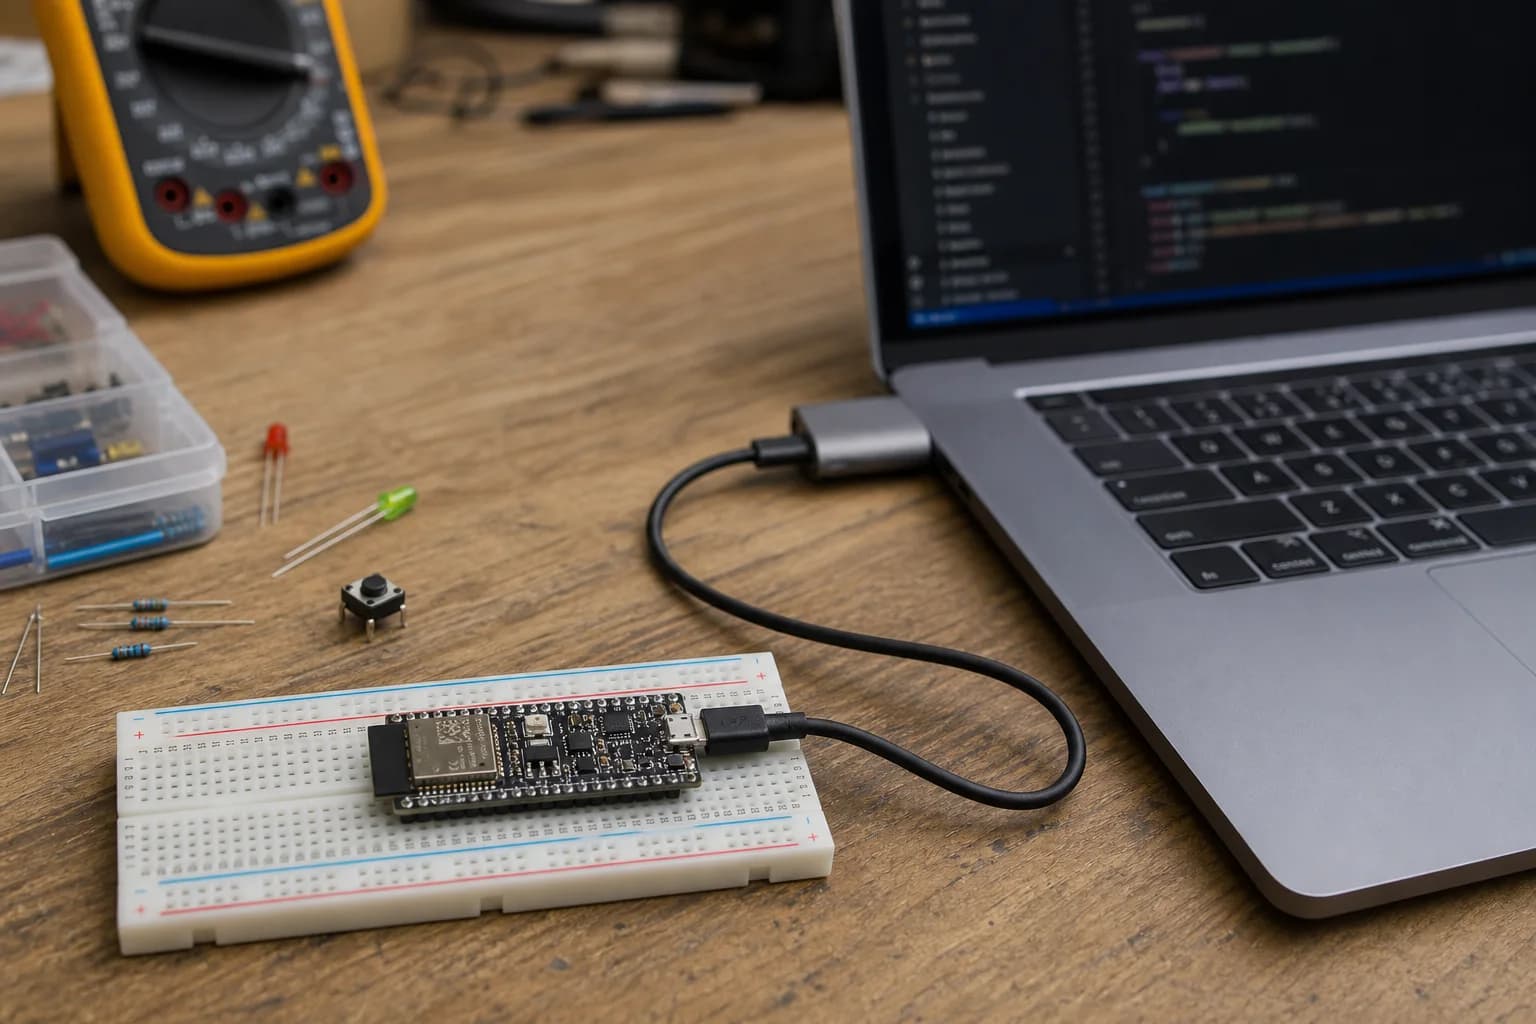
You do not need the most powerful board first; clear documentation and a good project fit make learning easier.
ESP32 was originally named an Espressif SoC family, but people now use the name for a growing family of chips and hundreds of development boards. The recognizable theme is a microcontroller with wireless connectivity, enough GPIO for sensors and controls, and a large Arduino and ESP-IDF ecosystem.
The differences determine what your project can do:
- The original ESP32 commonly provides two Xtensa cores, 2.4 GHz Wi-Fi, Bluetooth Classic, and BLE 4.2.
- ESP32-C3 uses one RISC-V core with 2.4 GHz Wi-Fi and BLE 5. It suits compact sensors and straightforward IoT devices.
- ESP32-S3 uses two Xtensa LX7 cores, provides BLE 5, more GPIO, USB OTG, and module variants with PSRAM. It is a better fit for displays, cameras, audio, or light TinyML workloads.
- ESP32-C6 becomes relevant when a project specifically needs Wi-Fi 6, Thread, or Zigbee. It is not required for basic GPIO and Wi-Fi lessons.
These are not simply large, medium, and small versions of one chip. CPU architecture, Bluetooth support, USB capabilities, peripherals, and pinouts differ. Basic Arduino source code often ports across the family, but binaries, board settings, and GPIO numbers do not.
Chip, module, and development board are different things
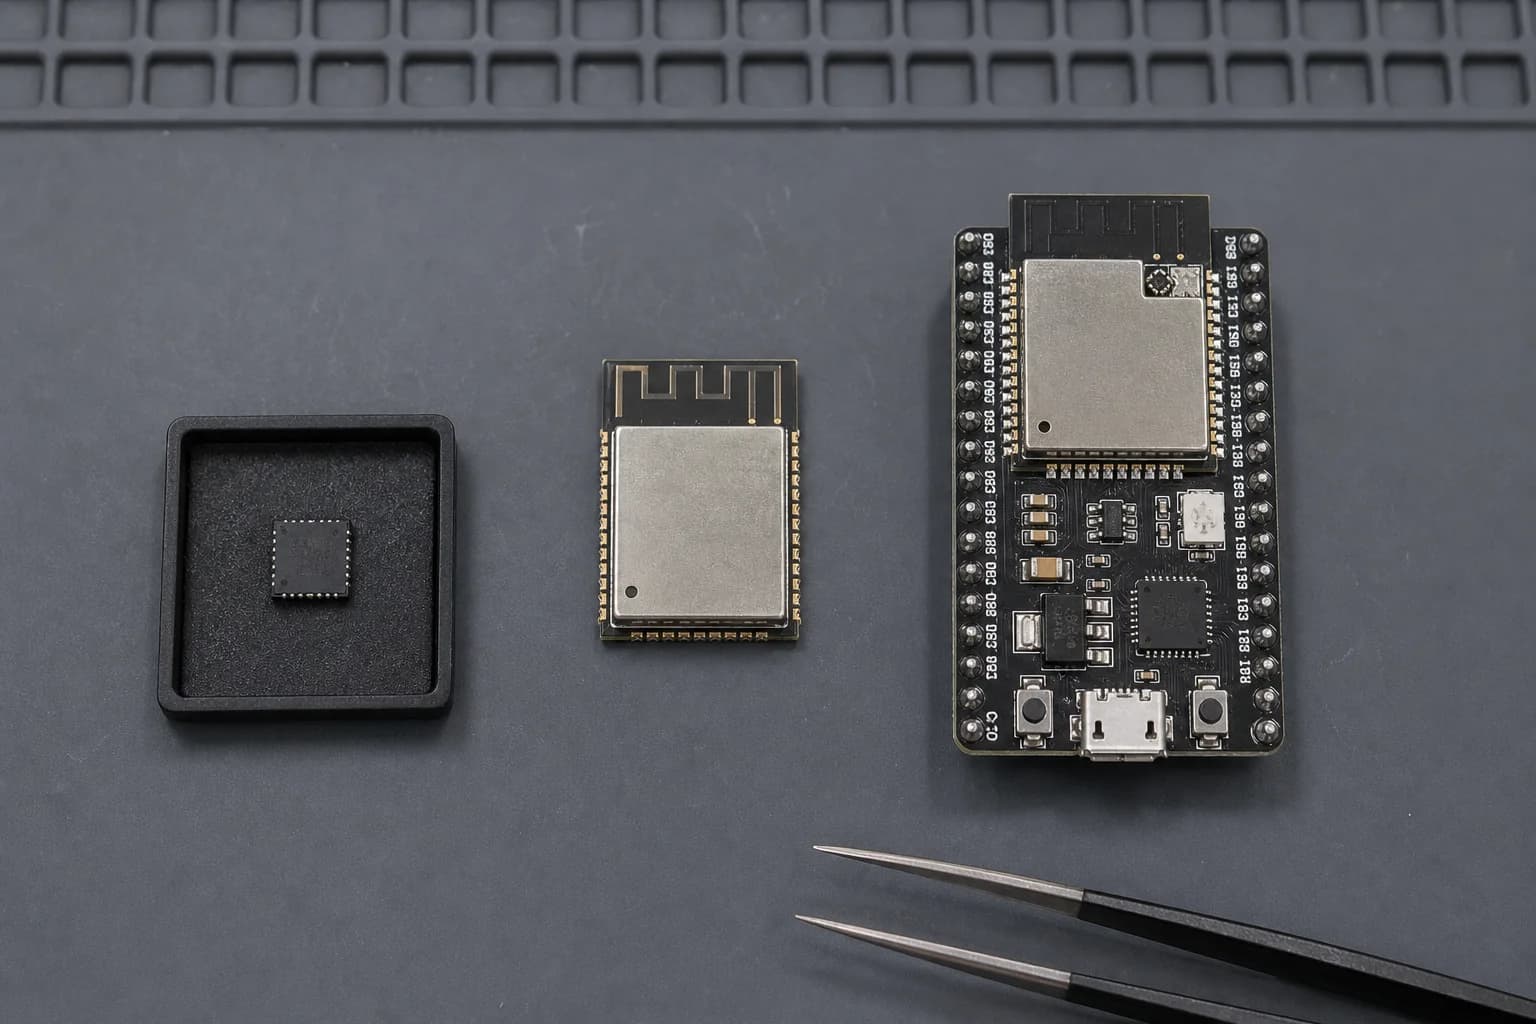
Chips, modules, and development boards are three hardware levels even when stores call all of them ESP32.
This distinction is worth learning before anything else:
| Part | What you see | When it is used |
|---|---|---|
| Chip/SoC | A small square IC without a complete USB or antenna circuit | Advanced hardware design and high-volume manufacturing |
| Module | The chip, flash, crystal, and RF circuit under a metal shield, often with a PCB antenna | Soldering onto a custom product PCB |
| Development board/kit | A module plus USB, regulator, BOOT/RESET buttons, and pin headers | Learning, breadboarding, firmware experiments, and prototypes |
For example, ESP32-S3 is a chip family. ESP32-S3-WROOM-1-N8R8 is a module with 8 MB of flash and 8 MB of PSRAM. ESP32-S3-DevKitC-1-N8R8 is a development board carrying that module. ESP32-C3 SuperMini, meanwhile, is a small board style manufactured by multiple vendors; it is not an official Espressif module name.
As a beginner, you almost certainly want a development board with USB and headers, not a bare chip or an unsupported WROOM module sitting by itself.
Four practical choices for a first board
1. ESP32-C3-DevKitM-1: a compact sensor and IoT starting point
ESP32-C3-DevKitM-1 is an official entry-level board based on the ESP32-C3-MINI-1 module. It provides Wi-Fi, BLE 5, an RGB LED, and breaks the available GPIO out to two header rows. It is enough for Blink, buttons, I2C, MQTT, a small web server, and battery-powered sensors.
I like its focused design: one RISC-V core, fewer pins than S3, and fewer options to distract a newcomer. Remember that C3 does not support Bluetooth Classic. A tutorial using BluetoothSerial to emulate a wireless serial port should not be assumed to work on C3.
If you buy a C3 SuperMini for its price and size, obtain the pinout and schematic from that exact seller. Revisions can differ in LED pin, USB connector, regulator, or labeling. SuperMini makes sense once size is a requirement; DevKitM-1 is easier to document, probe, and troubleshoot while learning.
2. ESP32-DevKitC: the easiest match for older tutorials
ESP32-DevKitC V4 carries an ESP32-WROOM or WROVER module and includes USB-to-UART, BOOT, EN, and plenty of GPIO. This board style appears in a huge number of early ESP32 tutorials. If your course explicitly uses “ESP32 DevKit V1,” GPIO23 and GPIO22, or BluetoothSerial, a compatible original ESP32 board removes translation work.
The trade-off is a relatively wide board, Micro-USB on the official V4, and no general USB OTG peripheral like the S3. The name “DevKit V1” is also vague on marketplaces: 30-pin and 38-pin clones use different layouts. Inspect both sides and count the pins before ordering.
3. ESP32-S3-DevKitC-1 N8R8: room for a larger project
If you already expect a color display, camera, microphone, GIF playback, or TinyML experiment, I would choose ESP32-S3-DevKitC-1-N8R8. In the official ordering code, N8R8 identifies 8 MB of flash and 8 MB of PSRAM. That external RAM is valuable for framebuffers and other large buffers.
S3 provides BLE 5 but not Bluetooth Classic. DevKitC-1 also exposes USB-to-UART and native USB paths. That is useful for debugging, although a beginner must check the labels and connect the intended port. Some Octal flash/PSRAM variants reserve GPIO35–37 internally, so never copy a pinout from another variant without checking.
S3 is unnecessary for a temperature sensor sending MQTT, but it prevents a mid-project board change when a display or camera is already on the roadmap. For a deeper look at memory, USB, I2S, and display differences, see ESP32-C3 vs ESP32-S3.
4. XIAO ESP32-C3/S3: compact, with less room for mistakes
XIAO is a small development board, not a module. Seeed publishes useful documentation and design files, and USB-C is convenient. Its small size means fewer broken-out pins and less space for probes than a full DevKit. XIAO works well for wearables, battery devices, and prototypes that must fit a small enclosure. It is not my first choice while you are still learning to read pinouts and build on a breadboard.
Quick board selection table
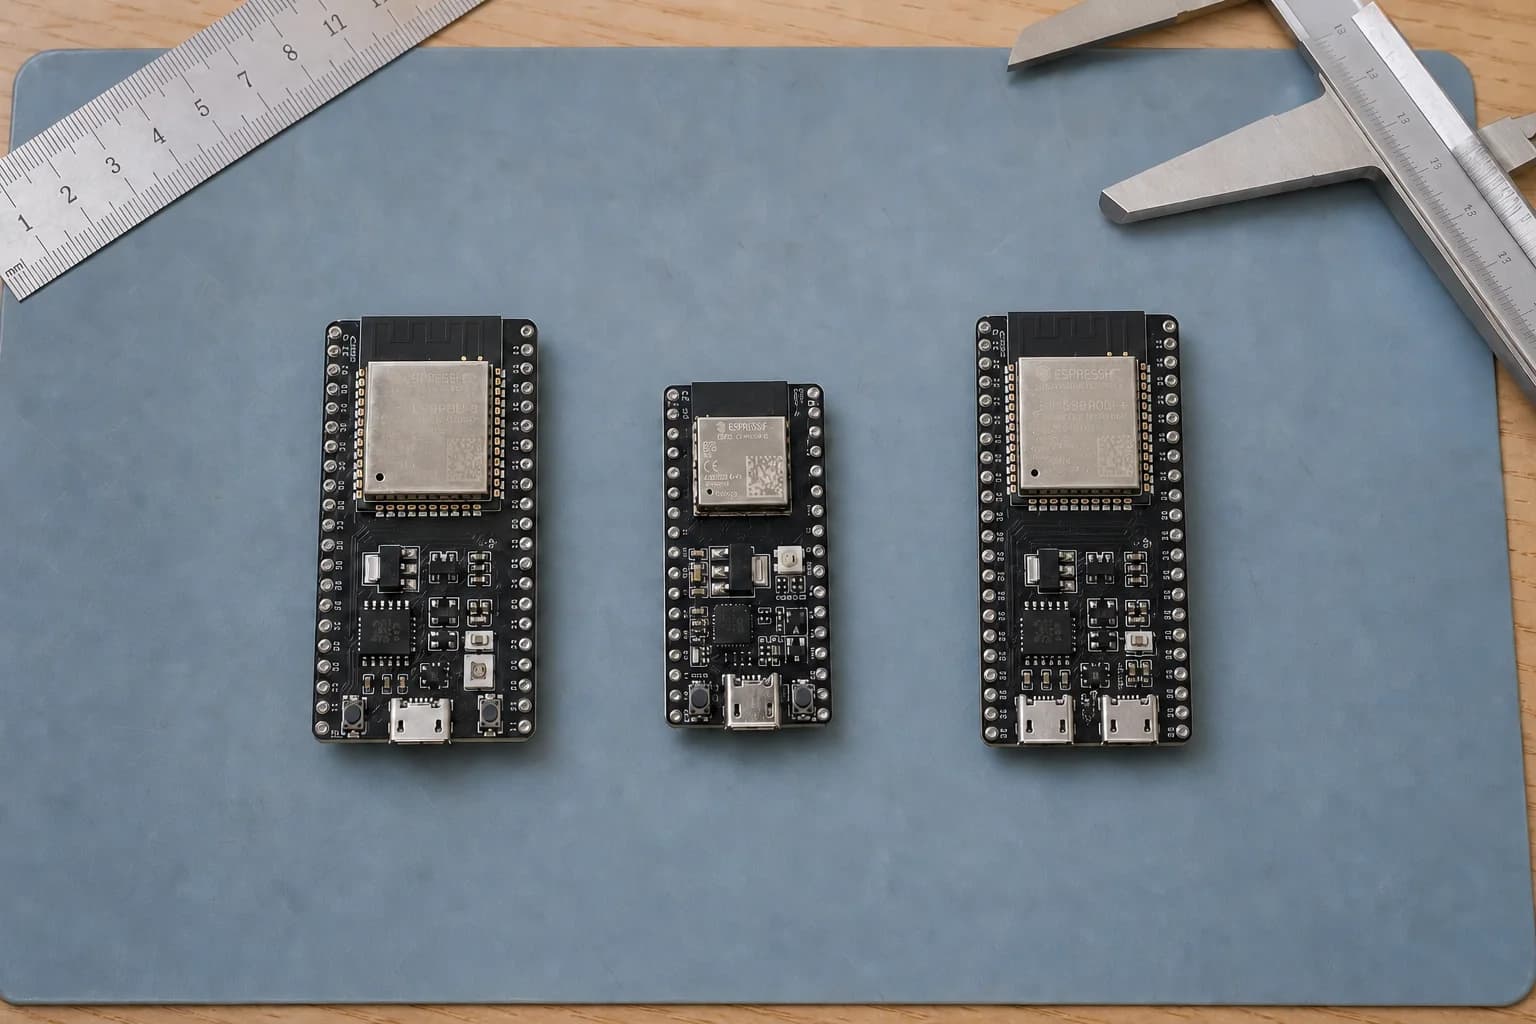
Similar dimensions do not imply identical pinouts, Bluetooth support, USB capabilities, or memory.
| Your project | Start with | Main reason | Watch out for |
|---|---|---|---|
| GPIO, sensors, Wi-Fi, and BLE | ESP32-C3-DevKitM-1 | Focused, officially documented, enough for most basics | No Bluetooth Classic |
| Following an older ESP32 tutorial | ESP32-DevKitC/WROOM | Matches common examples and older pinouts | Clone layouts vary |
| Display, camera, audio, or PSRAM | ESP32-S3-DevKitC-1 N8R8 | More GPIO, native USB, and 8 MB PSRAM | Select the correct variant and USB port |
| A very small product | XIAO ESP32-C3 or S3 | Compact board with USB-C | Fewer pins and less probing room |
| Matter, Thread, or Zigbee | ESP32-C6 DevKit | 802.15.4 radio and Wi-Fi 6 | Choose it only when the project needs these protocols |
Without a specific project, my default is an official ESP32-C3-DevKitM-1 or a board from a vendor that publishes a clear schematic. If your budget allows and you want one board that can continue into display and camera work, choose an ESP32-S3-DevKitC-1 N8R8.
Do not buy from the product title alone
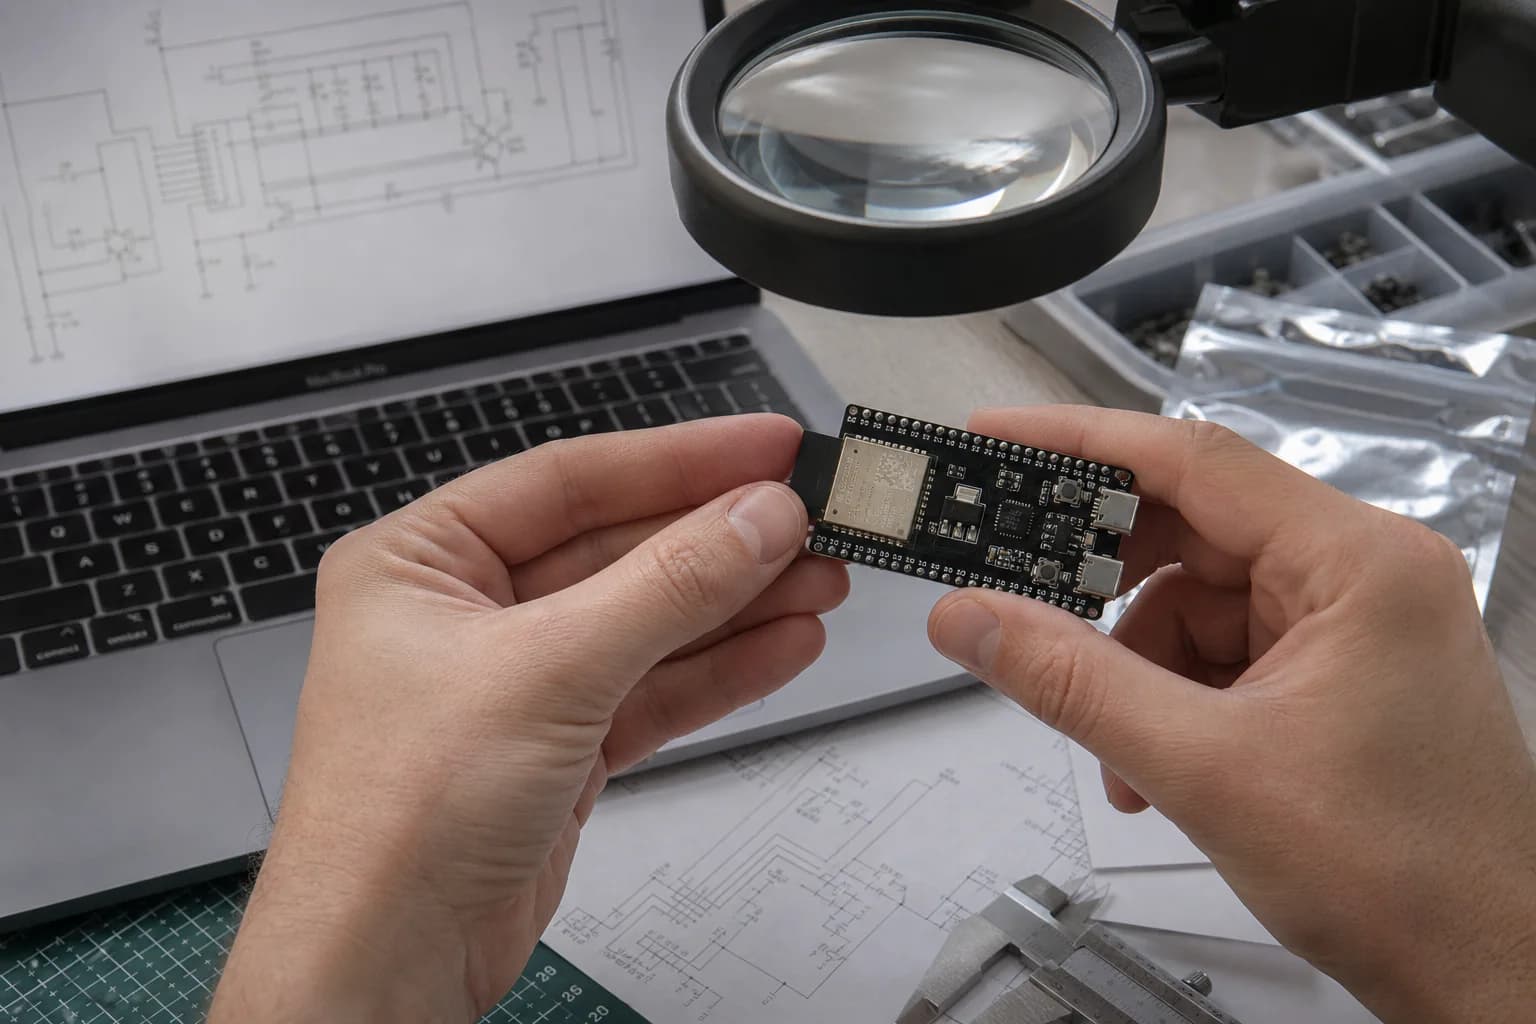
The module shield marking and correct revision schematic are more reliable than a short marketplace title.
I check these eight details before ordering:
- Exact chip family: ESP32, C3, S3, or C6.
- Module name: WROOM/MINI and memory code such as N8R8.
- Board name and revision: DevKitC-1 v1.0/v1.1, 30 or 38 pins.
- Schematic and pinout: they must match the board, not merely the chip.
- USB connection: Micro-USB or USB-C, USB-to-UART or native USB.
- Antenna: a PCB antenna needs clearance; a module ending in
Ucommonly expects an external antenna. - Headers: pre-soldered or supplied loose.
- Onboard hardware: RGB LEDs, camera connectors, chargers, and sensors may consume GPIO.
Two boards labeled “ESP32-S3” can still have different flash, PSRAM, LED pins, and USB ports. When Arduino IDE presents several similar board choices, the marking on the module shield and the board schematic are more trustworthy than a store listing title.
A minimal kit for the rest of this series
You do not need a box of 40 sensors yet. A small kit that is easy to debug is more useful:
- One ESP32-C3-DevKitM-1 or ESP32-S3-DevKitC-1 N8R8.
- A known data-capable USB cable matching the board.
- A breadboard and male-to-male plus male-to-female Dupont wires.
- A loose LED, 220–1,000 Ω resistors, and a push button.
- One common I2C sensor such as a BME280 or SHT30 from a reliable source.
- A basic multimeter.
Before connecting a sensor, plug the board into your computer, read the chip name from the upload log, and save the correct revision pinout. The ESP32 Pinout Diagram & Comparison Guide can also help you view each development kit instead of applying one generic diagram to every board.
Conclusion: choose for the project, not for the largest specification
The best beginner board is not automatically the one with the most RAM or GPIO. It is the board with clear documentation, an accessible cable, a pinout matching your lessons, and enough resources for the project you expect to build over the next few months.
If you remain undecided, start with C3-DevKitM-1 for sensors, Wi-Fi, and BLE, or S3-DevKitC-1 N8R8 when a display or camera is already planned. The original ESP32 remains useful for older tutorials and Bluetooth Classic. SuperMini and XIAO should be intentional size choices, not purchases made only because they look compact.
In P2, I will go from a board still in its antistatic bag to the first successful upload: installing Arduino IDE, selecting the correct board and Port, checking the data cable, and reading Serial Monitor.
References
Share
Keep exploring
Read next
Related articles
HC-05 vs HM-10 vs BLE 5.0: Which Bluetooth Module Should You Choose?
Compare HC-05, HM-10, and BLE 5.0 modules by Bluetooth Classic, BLE GATT, UART, phone support, range, power, and integration for Arduino, ESP32, and IoT projects.
18 Common ESP32 Errors and How to Fix Them – Part 1
How I troubleshoot eight common ESP32 problems: flashing, boot mode, brownouts, serial, GPIO, I2C, SPI, and custom PCB bring-up.
ESP32-C3 or ESP32-S3: Which Chip for a Robot with a Screen and Audio?
Comparing ESP32-C3 and ESP32-S3 on GPIO, RAM, PSRAM, USB, I2S, and LVGL headroom, with a concrete recommendation for a basic Mochi build and a Mochi AI build.