

ESP32 Beginner Guide – P2: Setup and Upload Your First Sketch
Install Arduino IDE and Arduino-ESP32, select the correct board and port, upload your first sketch, and fix Failed to connect errors on ESP32, ESP32-C3, and ESP32-S3.
Share
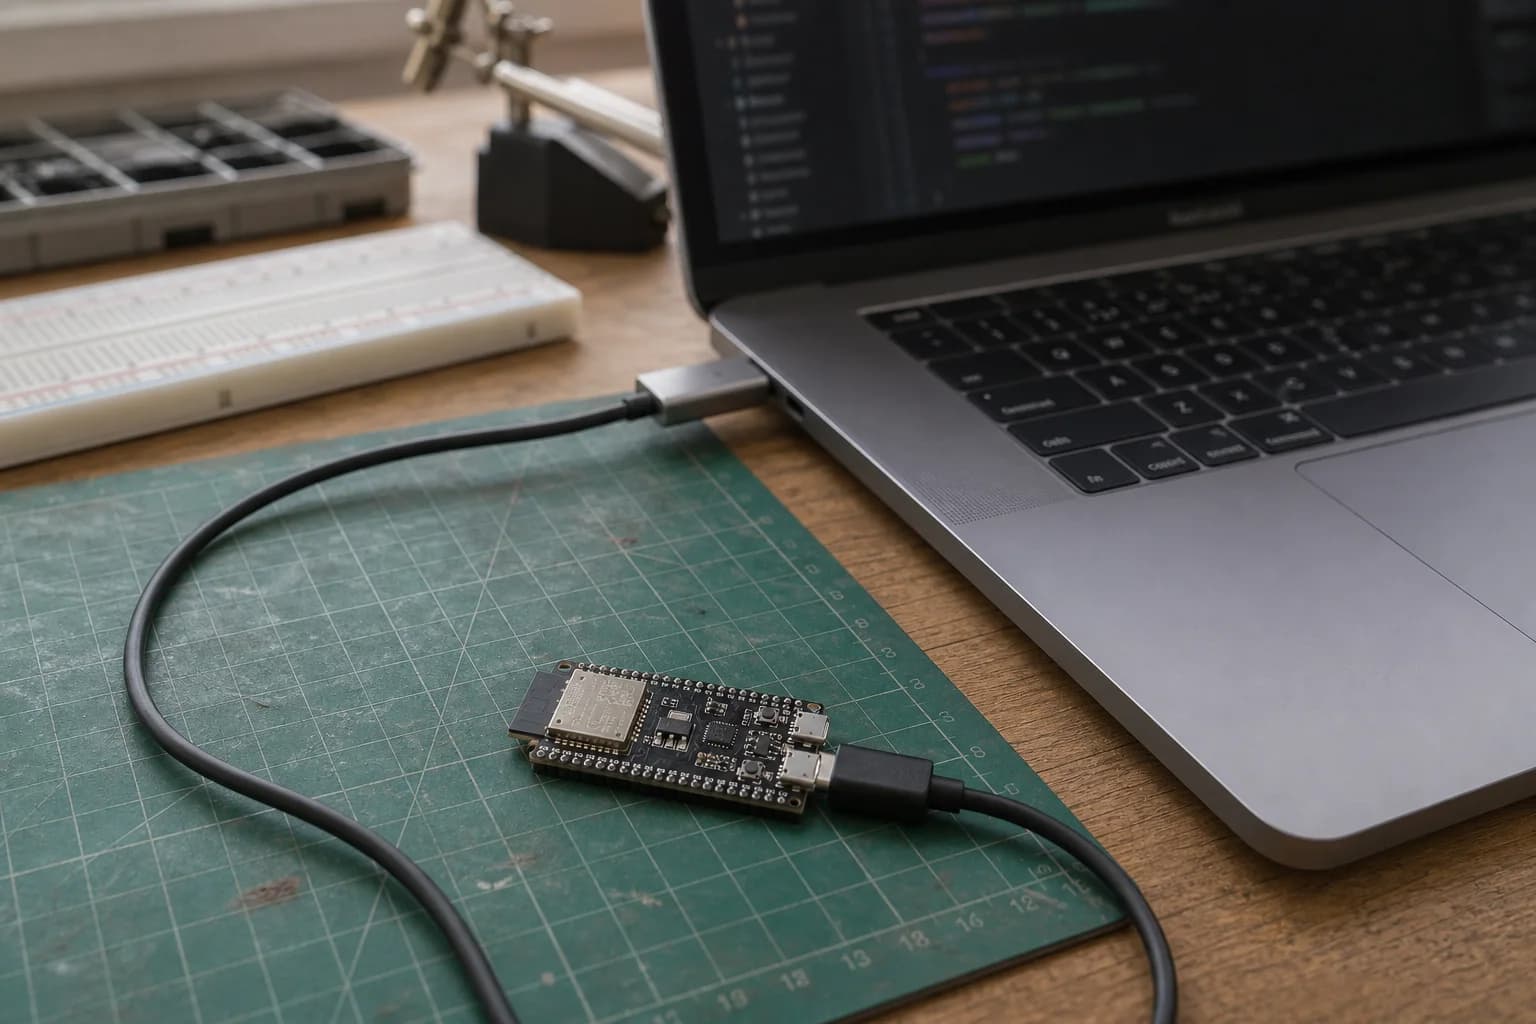
In P1, we separated ESP32 chips, modules, and development boards. Now we can do the most important job after opening the box: make the computer recognize the board, upload a program, and read a log from the ESP32.
I use Arduino IDE for this first upload because it gives us a short, easy-to-debug path. PlatformIO and ESP-IDF are both worth learning, but adding them now only creates more variables. Once uploads work reliably in Arduino IDE, changing tools becomes much less intimidating.
Prepare before installing anything
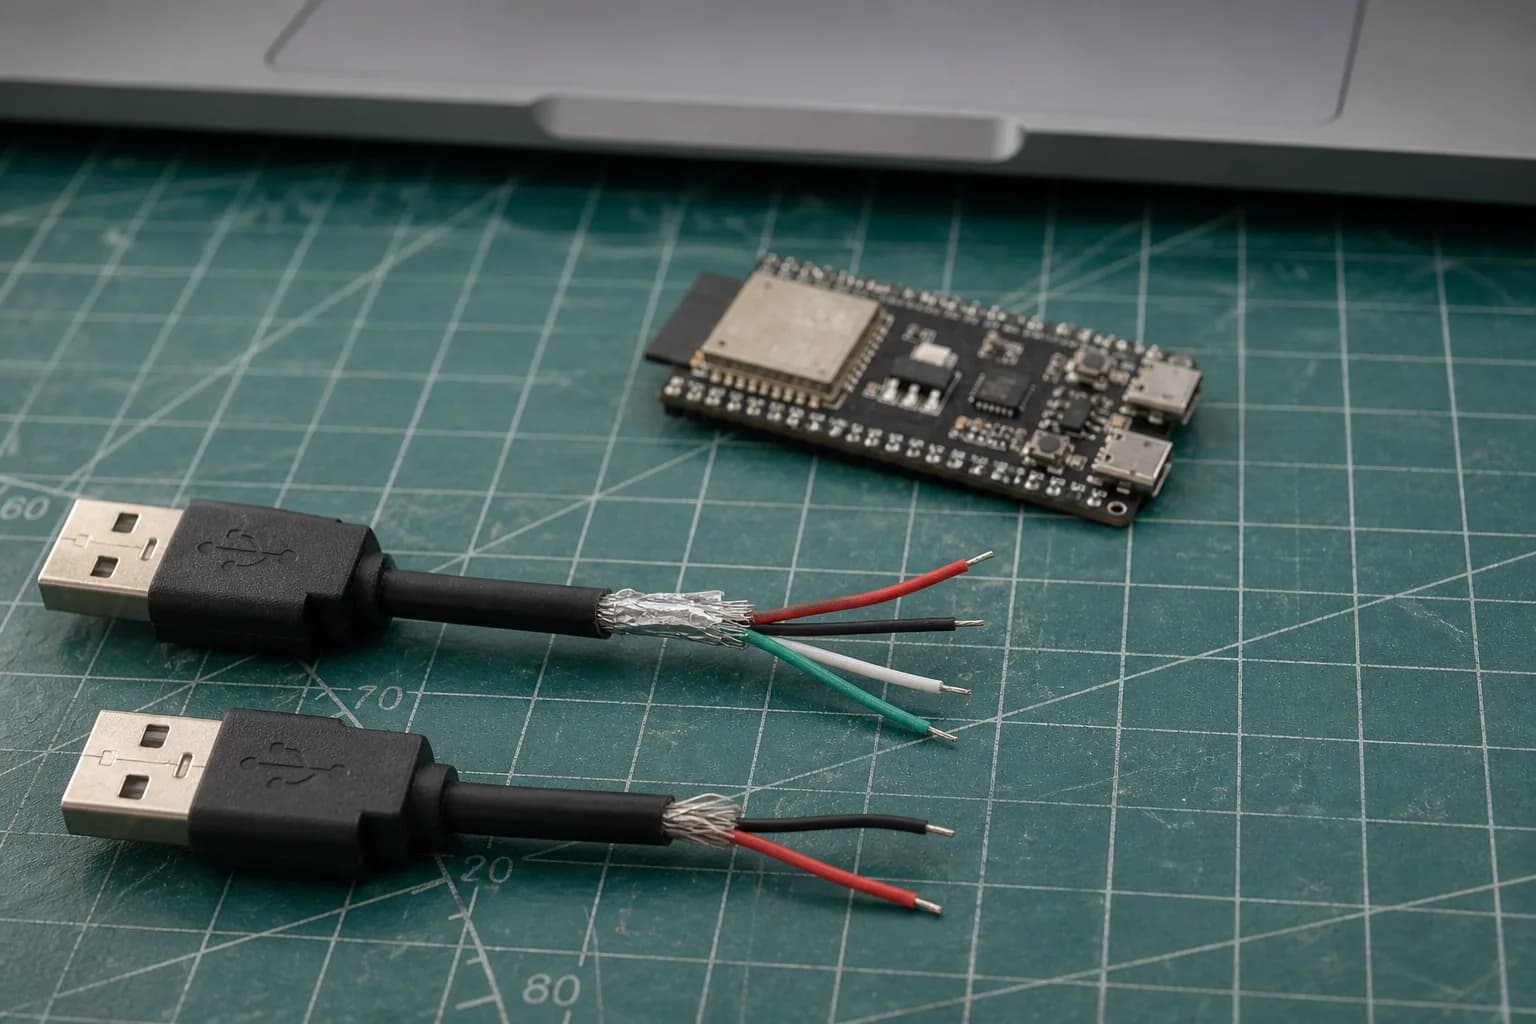
A data cable includes a signal pair but can look identical to a charge-only cable outside.
You need an ESP32 development board, a USB cable that carries data, and a Windows, macOS, or Linux computer. A charge-only cable can still light the power LED, which makes this failure confusing: the board has power, but Arduino IDE never sees a serial port.
Before installing a random driver, identify which connection your board uses:
- USB-to-UART: usually provided by a CP210x, CH340, or FTDI bridge. Classic ESP32 DevKits and the
UARTconnector on many S3 boards use this path. - Native USB: connected directly to the USB peripheral inside a C3 or S3. It can flash firmware and provide USB CDC, but the connector and IDE options must match.
If a board has two connectors, like ESP32-S3-DevKitC-1, I recommend the one labeled USB-to-UART for the first upload. It depends less on the firmware already running on the board. Install a driver from the USB bridge manufacturer only when the operating system genuinely fails to recognize that device.
1. Install Arduino IDE and Arduino-ESP32
Download the current Arduino IDE from Arduino's official website, install it, and open it. Then:
- Open Arduino IDE → Settings (usually File → Preferences on Windows/Linux).
- Add this stable URL under Additional Boards Manager URLs:
https://espressif.github.io/arduino-esp32/package_esp32_index.json
- Open Boards Manager, search for
esp32 by Espressif Systems, and click Install. - Let both the core and toolchain finish downloading. Restart the IDE if its board list does not refresh.
This is the official package from the open-source espressif/arduino-esp32 project. Avoid the development package for your first project; the stable package makes the result easier to reproduce.
2. Select the correct board and Port
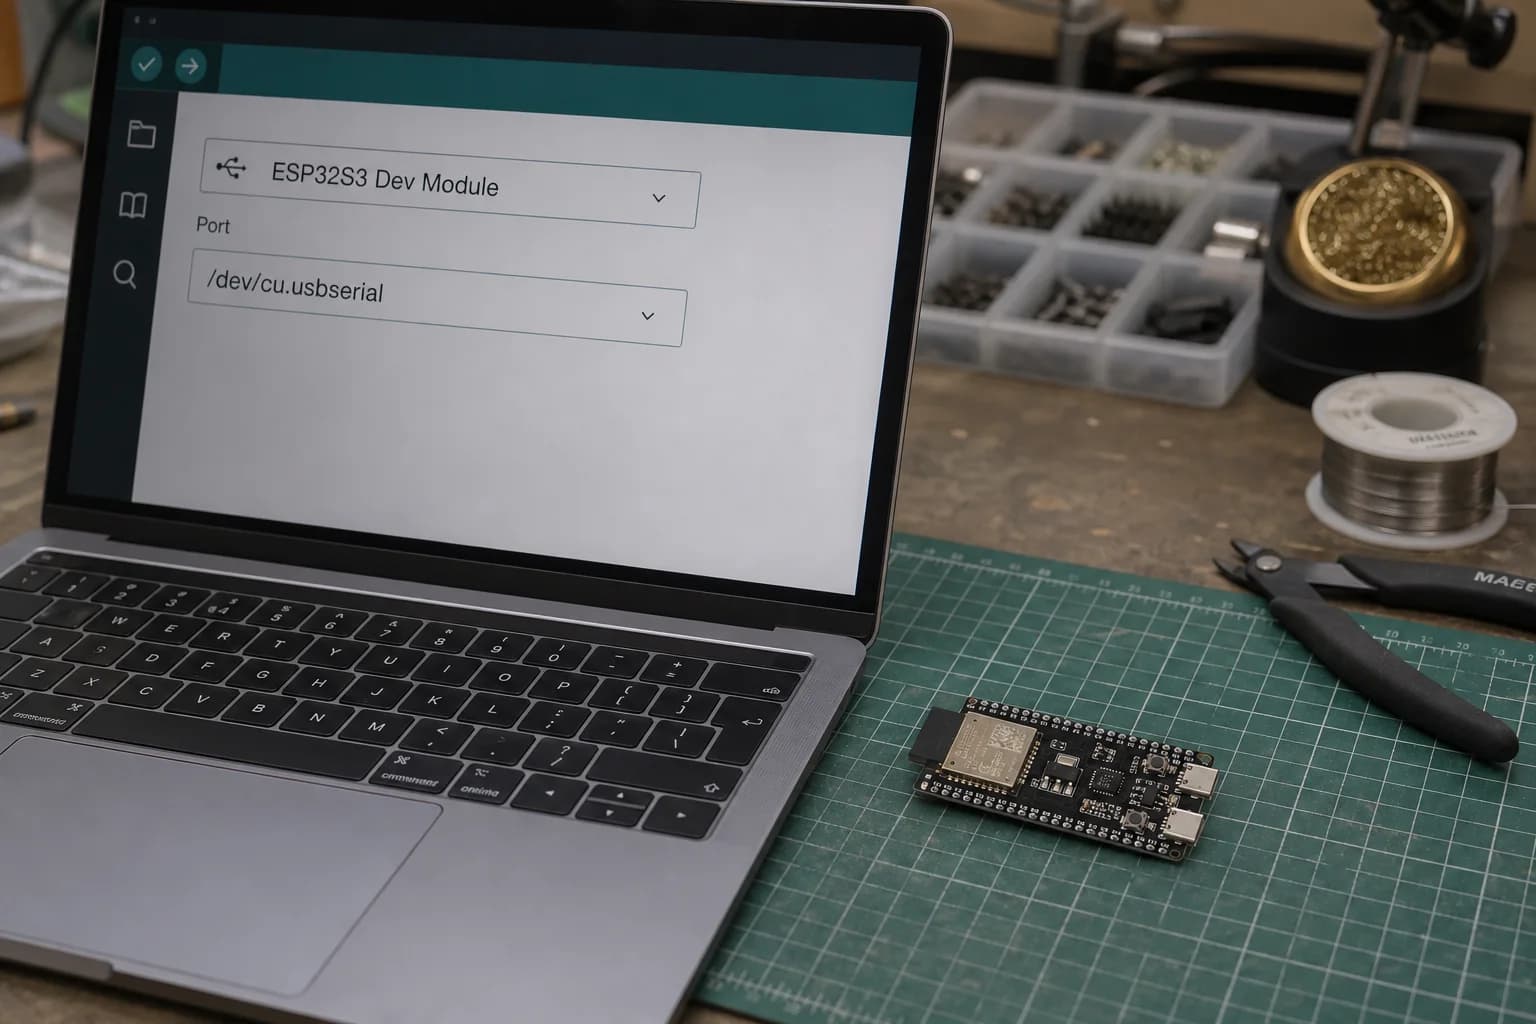
Select the right chip family, board, and Port first; advanced options can stay at defaults.
Connect the board, wait a few seconds, and use the board selector in Arduino IDE. If your commercial board name is not listed, Espressif provides one generic development module for each chip family:
| Hardware in front of you | Safe starting selection |
|---|---|
| ESP32 DevKitC / classic WROOM board | ESP32 Dev Module |
| ESP32-C3-DevKitM-1 / generic C3 | ESP32C3 Dev Module |
| ESP32-S3-DevKitC-1 / generic S3 | ESP32S3 Dev Module |
Next, select the Port that just appeared. The reliable method is to unplug the board, inspect the list, reconnect it, and choose the new entry. Do not guess from names such as COM3, /dev/cu.usbserial..., or /dev/ttyACM...; they vary across computers and USB ports.
Keep Flash Mode, Flash Frequency, and Partition Scheme at their defaults for now. On boards with several memory variants, match Flash Size and PSRAM to the module marking or manufacturer documentation—not a store title. An error such as “This chip is ESP32-S3, not ESP32” means the wrong chip family is selected.
3. Upload your first sketch
I use serial output instead of an LED as the first test because it behaves consistently on classic ESP32, C3, and S3 boards:
void setup() {
  Serial.begin(115200);
  delay(1000);
  Serial.println("ESP32 is ready");
}

void loop() {
  Serial.printf("Uptime: %lu ms\n", millis());
  delay(1000);
}
Click Verify to compile. If that succeeds, click Upload. The output should show a connection, several flash regions being written, and a reset message at the end. Do not disconnect the cable while progress is moving.
When upload finishes, open Serial Monitor, select 115200 baud, and press EN/RESET once if nothing appears. You should see:
ESP32 is ready
Uptime: 1000 ms
Uptime: 2000 ms
...
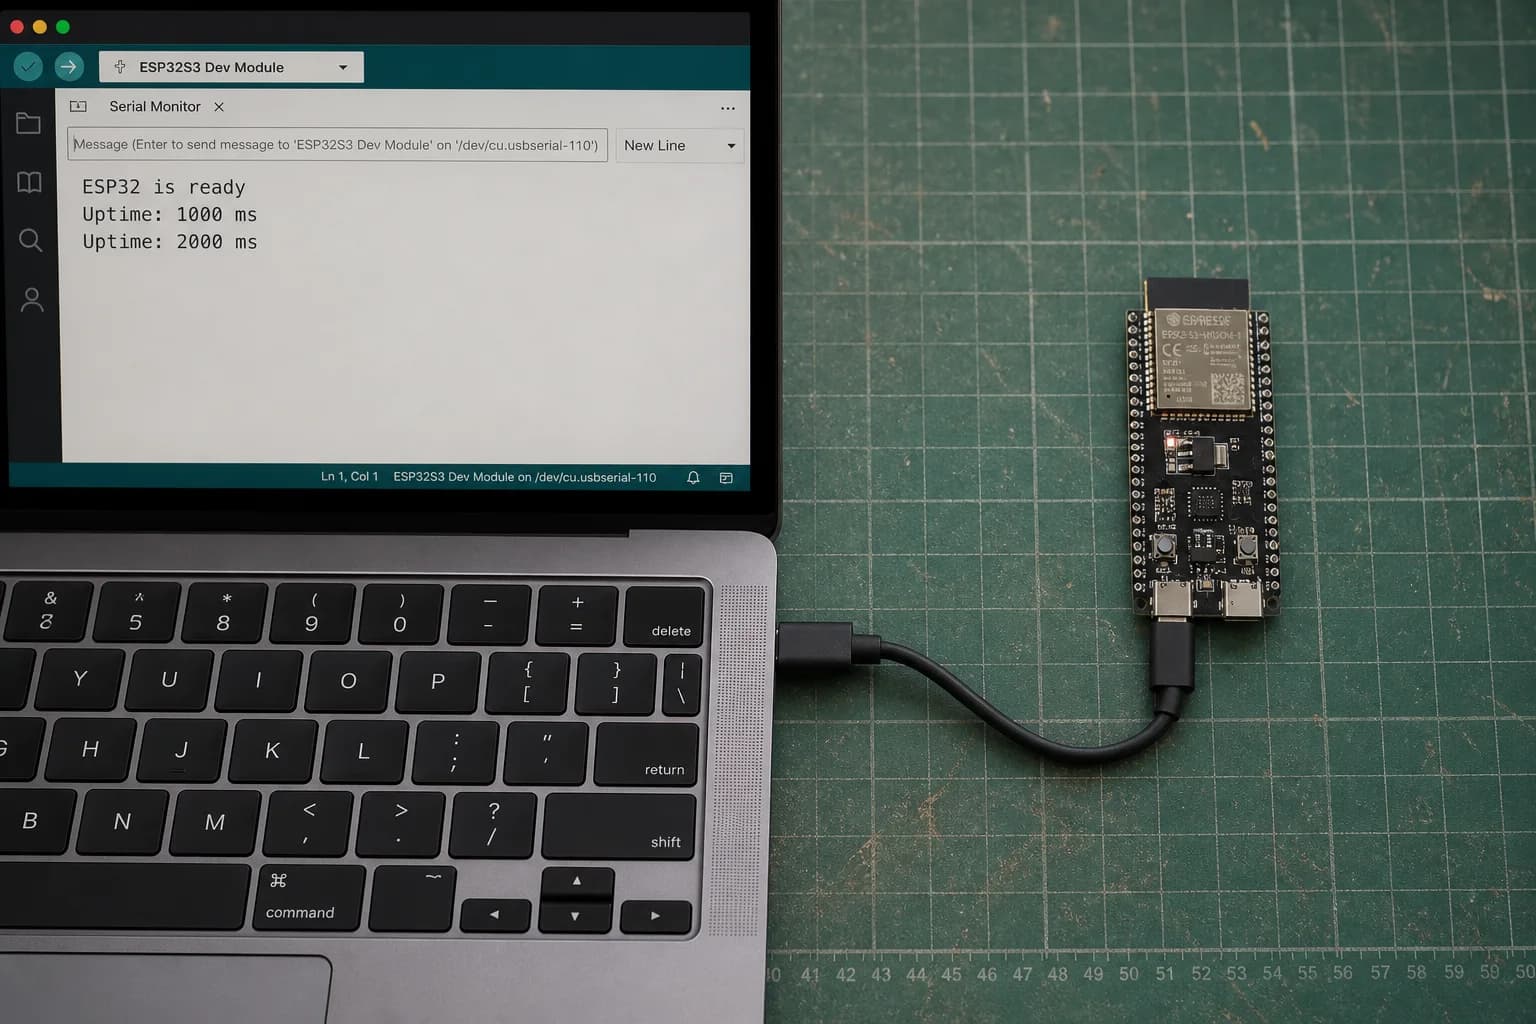
Serial Monitor at 115200 baud is a more consistent first test than an onboard LED, which varies between boards.
Garbled characters mean the Monitor baud rate does not match Serial.begin(115200). When using a C3/S3 native USB connector, you may need USB CDC On Boot enabled; its first setup can also require manually entering download mode. Leave USB options at their defaults when using USB-to-UART.
4. Blink the LED your board actually has
A constantly lit power LED is not software-controlled. Official classic ESP32-DevKitC boards do not provide one universal LED_BUILTIN, while C3 and S3 boards may carry an addressable RGB LED rather than a simple LED.
Open File → Examples → ESP32 → GPIO:
- Use Blink when the board definition provides
LED_BUILTIN. - Use BlinkRGB when the board provides
RGB_BUILTIN. - If neither applies, use an external LED in series with a 220–1,000 Ω resistor on a safe GPIO from the board's correct pinout. P3 will cover the wiring and GPIO choice.
Do not change GPIO numbers at random until something flashes. An onboard LED pin can change between revisions, and some C3/S3 pins are strapping pins or reserved by flash and PSRAM.
5. Fix Failed to connect in a useful order
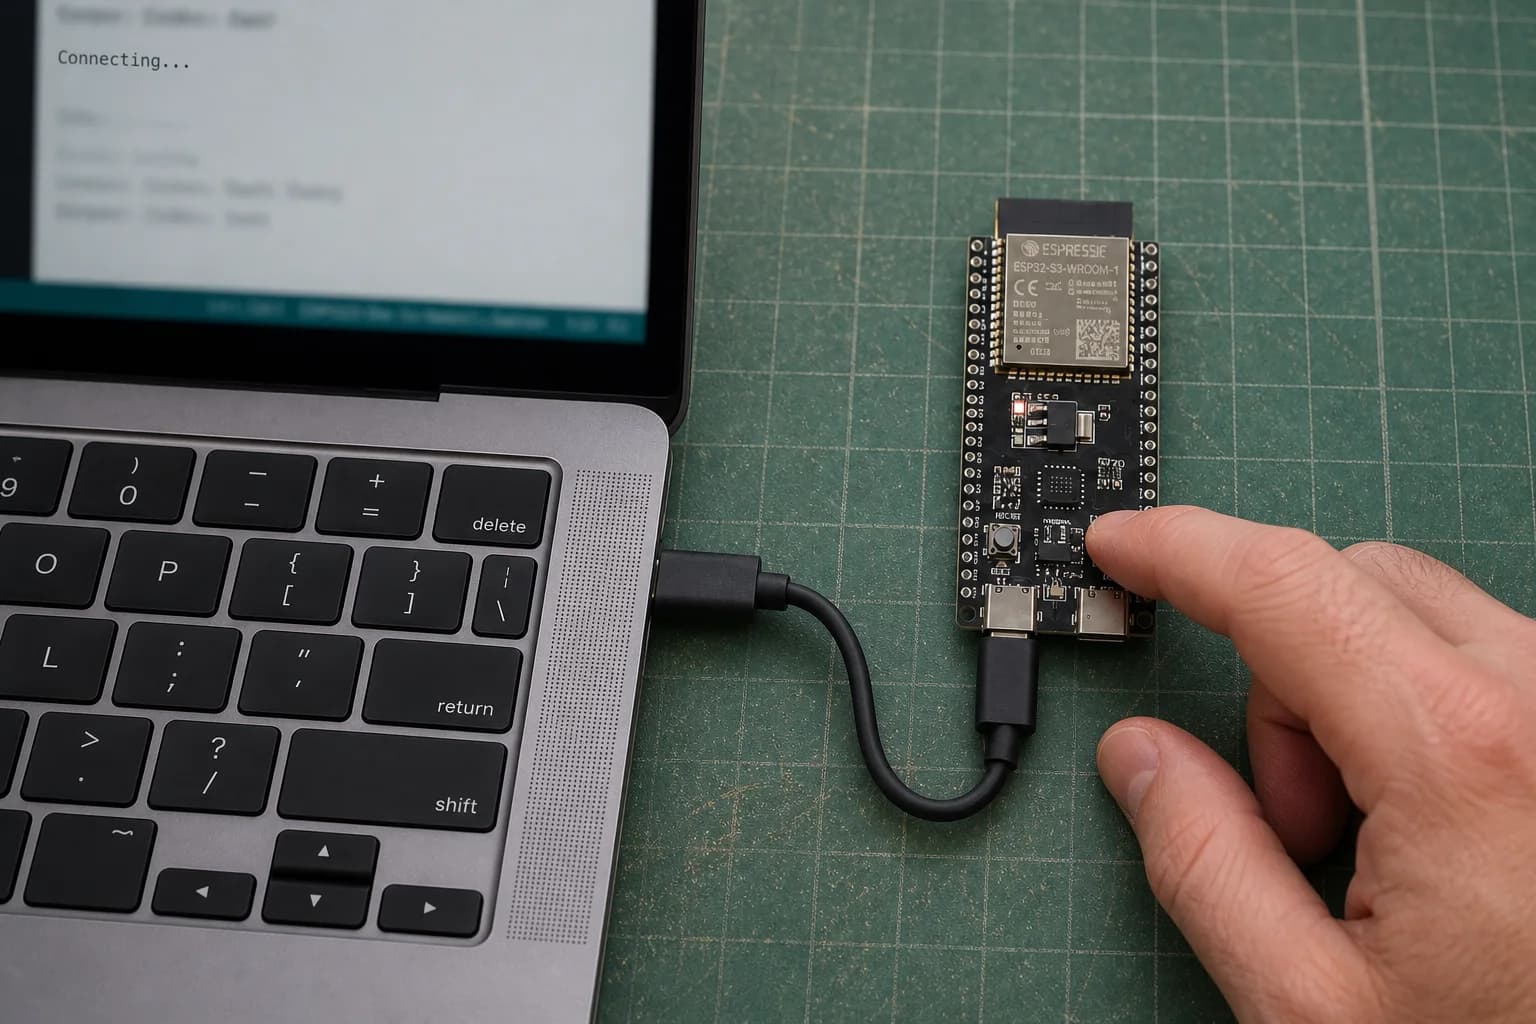
Use the BOOT and RESET sequence only when automatic download mode fails; most DevKits handle it automatically.
When an upload stalls at Connecting..., I work from the simplest cause outward:
- Remove sensors and jumper wires, leaving only the board and USB cable. External circuits can pull a strapping pin to the wrong level.
- Try a known data cable and another USB port, avoiding a loose adapter or cheap hub.
- Select Board and Port again, then close Serial Monitor or any other program holding that port.
- Lower Upload Speed if the connection is intermittent.
- Enter download mode manually: hold BOOT, press and release EN/RESET, then release BOOT. Select the port again if the operating system creates a new one, then retry the upload.
Many DevKits automatically drive BOOT and RESET, so pressing buttons should not be part of every upload. Manual download mode is a recovery step when auto-reset fails, existing USB firmware is broken, or a clone has an unreliable reset circuit.
| Symptom | First thing to check |
|---|---|
| No new Port | Data cable, USB port, USB bridge, and the bridge vendor's driver |
Failed to connect | Correct Port, disconnected external circuit, BOOT/RESET sequence |
| Wrong-chip error | Select the matching ESP32, ESP32C3, or ESP32S3 Dev Module |
| Upload succeeds, but no log appears | 115200 baud, correct Port, RESET, and USB CDC setting |
| Port disappears after a native USB upload | Enter download mode, choose the new port, enable USB CDC On Boot |
If the failure remains, save the complete output, not just a screenshot of the final line. The detected chip, port, boot mode, and point where the process stops usually separate configuration errors from cable or power problems. Common ESP32 Errors – Part 1 has a deeper checklist for flashing, boot loops, and brownouts.
Checklist before P3
- Arduino IDE has installed
esp32 by Espressif Systemsfrom the stable URL. - The IDE sees the correct chip family and board Port.
- The serial sketch uploads without errors.
- Serial Monitor shows the expected text at 115200 baud.
- You know whether your connector is USB-to-UART or native USB.
- If Blink fails, you check the LED type and board pinout instead of guessing GPIO numbers.
Once all six items pass, your environment is ready. In P3: Pinout and GPIO, we will cover input/output, pull-ups, 3.3 V logic, and how to read a pinout without damaging the board.
References
Share
Keep exploring
Read next
Related articles
ESP32 Beginner Guide – P5: Wi-Fi and Web Server
Connect ESP32 to Wi-Fi, find its IP address, and build a local web server that displays BME280 temperature, humidity, and pressure in a browser.
ESP32 Beginner Guide – P6: Bluetooth Low Energy
Learn ESP32 BLE, GATT services, and characteristics by sending BME280 readings to a phone with Read and Notify.
ESP32 Beginner Guide – P7: Build a Complete ESP32 Project
Finish the series with a Room Comfort Monitor: ESP32 reads a BME280, controls a warning LED and serves a local Wi-Fi dashboard.