

Real-Time Operating System (RTOS): FreeRTOS on ESP32
A beginner-friendly guide to using FreeRTOS on ESP32 for multitasking firmware with tasks, queues, notifications, mutexes, and practical debugging habits.
Share
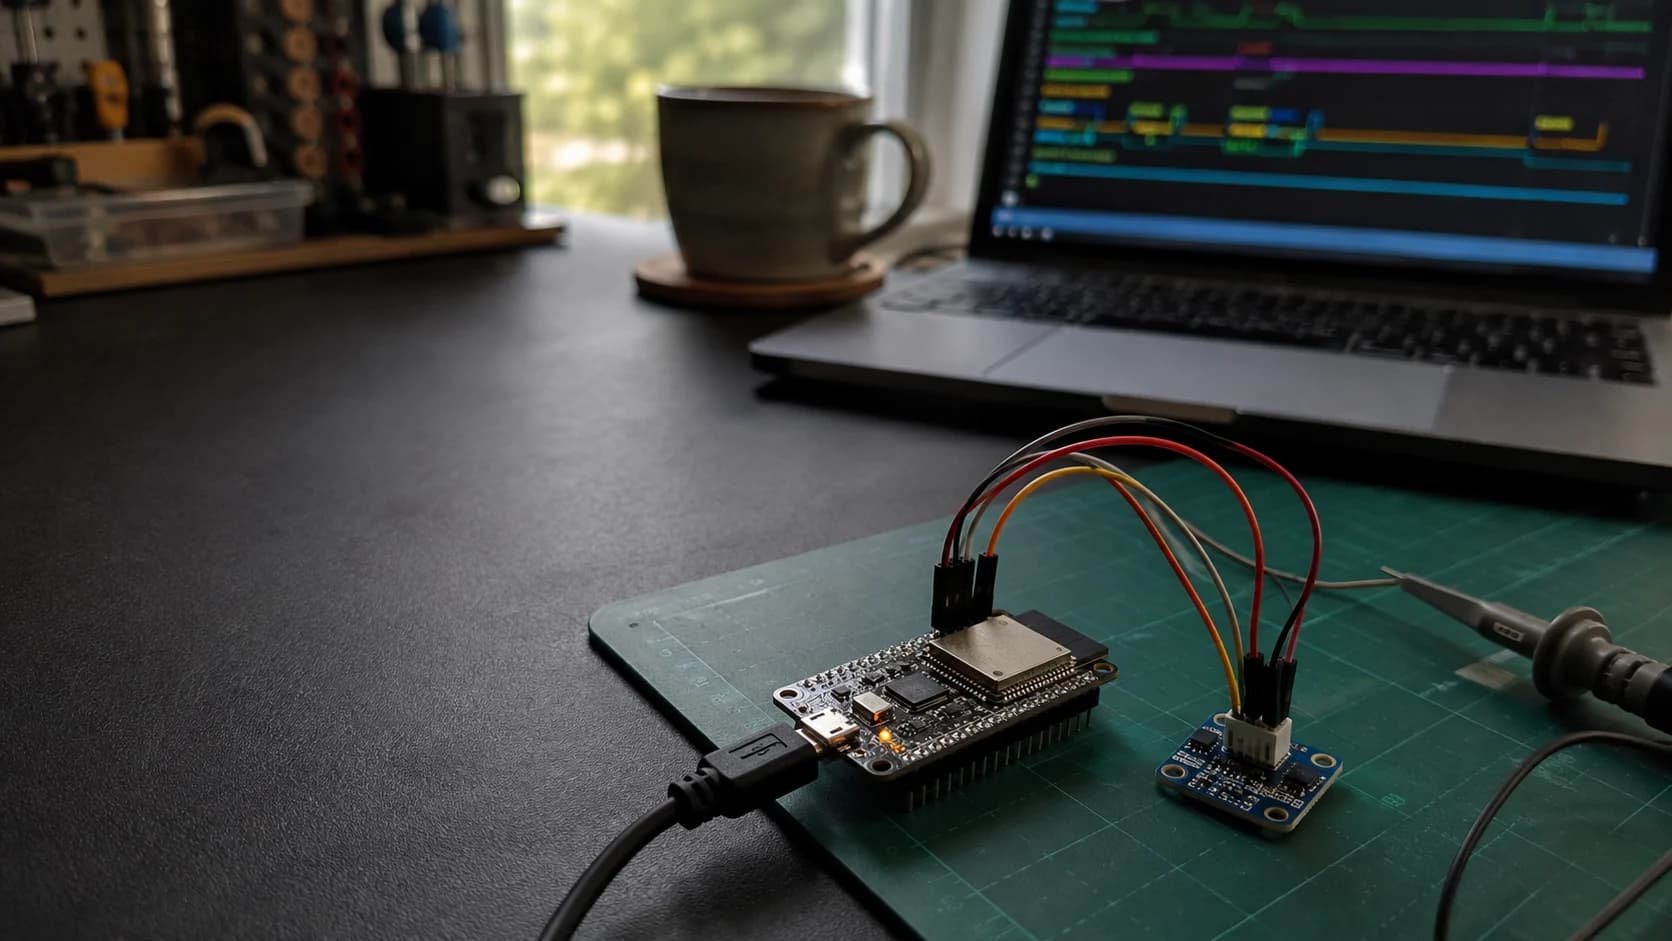
When an ESP32 project only reads one sensor and blinks one LED, a single loop() feels perfectly fine. The trouble starts when Wi-Fi, a display, buttons, logging, and sensor sampling all need attention at different times.
This is where FreeRTOS helps. It lets us split firmware into small tasks that can wait, wake up, and communicate without turning one giant loop into a traffic jam. In ESP-IDF, FreeRTOS is already part of the system, so you do not install a separate operating system on the board.
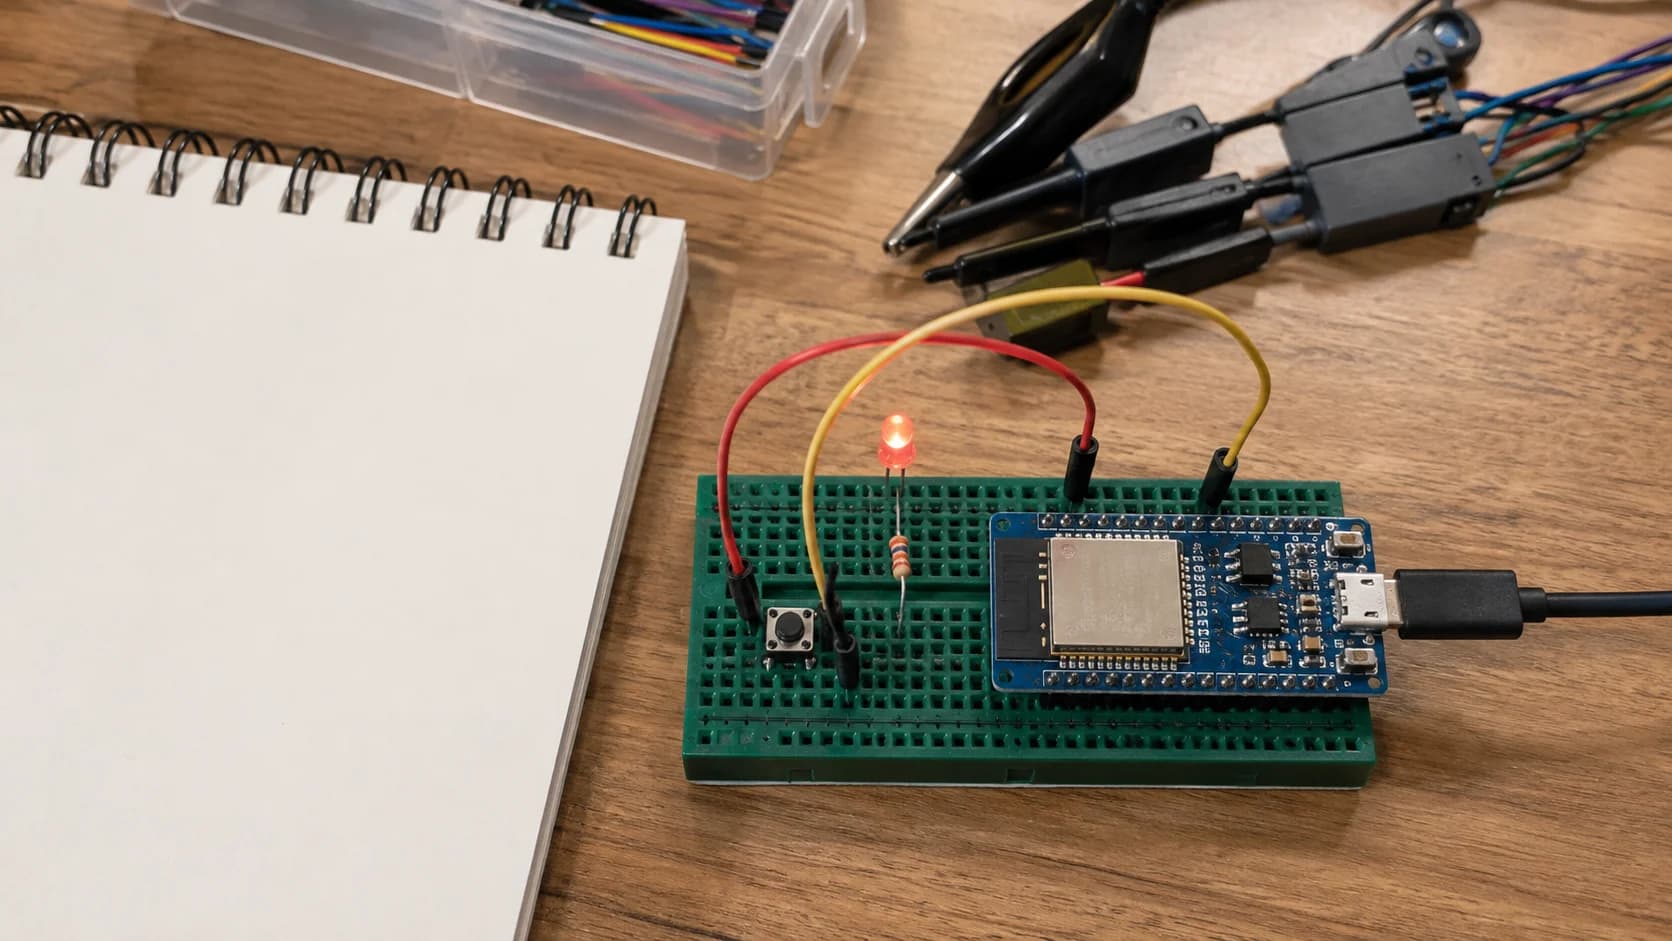
A small setup is enough to observe several tasks working together.
What does “real-time” mean here?
Real-time does not mean “everything runs instantly”. It means we can define how work should be scheduled and what delay is acceptable. A button task may react within a few milliseconds, while a temperature task only needs to run once every second.
FreeRTOS gives us the building blocks to express that intent:
- Task: an independent unit of work with its own stack and priority.
- Queue: a small mailbox for passing data between tasks.
- Task notification: a lightweight signal sent directly to one task.
- Mutex: a lock for protecting a shared resource, such as one display.
- Event group: a set of bits for system states such as Wi-Fi ready or sensor ready.
- Software timer: a callback scheduled from the FreeRTOS timer service task.
The scheduler normally runs the highest-priority task that is ready. A task that calls vTaskDelay() or waits on a queue becomes blocked, allowing another ready task to run.
A simple architecture that scales
For a small sensor demo, I would separate the work like this:
sensor_tasksamples the input on a fixed interval.- It sends a compact reading to a queue.
worker_taskreceives the reading and decides whether the LED should change.logger_taskprints status without making the sensor task wait on serial output.
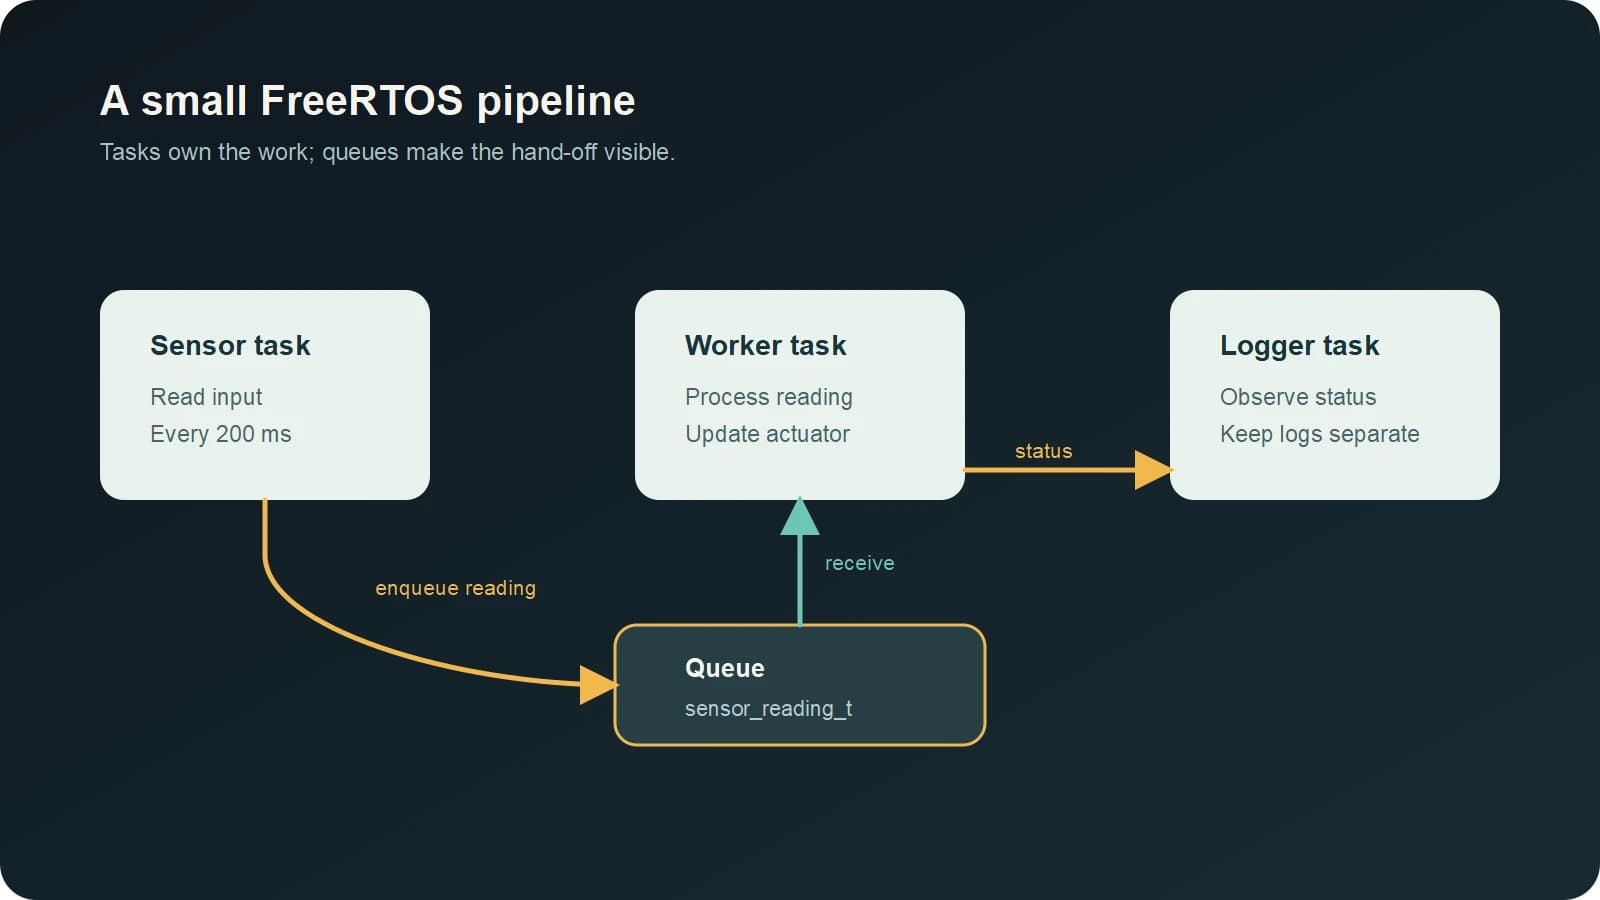
Give each task a clear role, and use a queue as the data boundary.
The important detail is the boundary between tasks. Instead of letting every task touch every global variable, pass a small message. That makes ownership easier to reason about and reduces accidental races.
Creating two tasks with ESP-IDF
Create a project with ESP-IDF, then include the FreeRTOS headers you need:
#include "freertos/FreeRTOS.h"
#include "freertos/task.h"

static void heartbeat_task(void *arg)
{
    for (;;) {
        // Toggle an LED or perform a small periodic job here.
        vTaskDelay(pdMS_TO_TICKS(500));
    }
}

void app_main(void)
{
    xTaskCreate(
        heartbeat_task,
        "heartbeat",
        2048,               // ESP-IDF stack size is in bytes
        NULL,
        5,                  // priority
        NULL
    );
}
A task function normally runs forever. If it really needs to finish, call vTaskDelete(NULL) instead of simply returning. On dual-core ESP32 targets, xTaskCreatePinnedToCore() can make core affinity explicit; xTaskCreate() leaves the task unpinned in IDF FreeRTOS.
One ESP32-specific detail is easy to miss: ESP-IDF specifies task stack sizes in bytes, while classic Vanilla FreeRTOS documentation often describes stack depth in words. Always check the API for the port you are using.
Passing sensor data through a queue
Here is the core of a small producer-consumer example. The queue copies the message, so the producer does not need to keep a pointer to a temporary local variable alive.
#include "freertos/FreeRTOS.h"
#include "freertos/queue.h"
#include "freertos/task.h"

typedef struct {
    int value;
    TickType_t tick;
} sensor_reading_t;

static QueueHandle_t reading_queue;

static void sensor_task(void *arg)
{
    for (;;) {
        sensor_reading_t reading = {
            .value = read_sensor_value(),
            .tick = xTaskGetTickCount(),
        };

        // Block briefly if the consumer is temporarily behind.
        xQueueSend(reading_queue, &reading, pdMS_TO_TICKS(20));
        vTaskDelay(pdMS_TO_TICKS(200));
    }
}

static void worker_task(void *arg)
{
    sensor_reading_t reading;

    for (;;) {
        if (xQueueReceive(reading_queue, &reading, portMAX_DELAY)) {
            set_led(reading.value > 700);
        }
    }
}

void app_main(void)
{
    reading_queue = xQueueCreate(8, sizeof(sensor_reading_t));
    configASSERT(reading_queue != NULL);

    xTaskCreate(sensor_task, "sensor", 3072, NULL, 5, NULL);
    xTaskCreate(worker_task, "worker", 3072, NULL, 5, NULL);
}
Queues are a good default when a task needs to send actual data. Keep messages small: a reading, an enum, or a pointer to a buffer with clear ownership. Do not put a large image frame directly into a tiny queue; use a buffer pool or a ring buffer for that kind of workload.
Queue, notification, semaphore, or mutex?
The choice becomes much easier if you start from the question “what am I trying to communicate?”
| Need | Good fit | Example |
|---|---|---|
| Send a value or struct | Queue | Sensor reading to a processing task |
| Wake exactly one task | Task notification | UART received, work is ready |
| Protect one shared device | Mutex | Two tasks share an OLED display |
| Signal an event from an ISR | Binary semaphore or notification | GPIO interrupt wakes a task |
| Wait for several system states | Event group | Wi-Fi connected and sensor initialized |
A mutex is not just a binary semaphore with a different name: it provides priority inheritance and is intended for mutual exclusion. Use it around a short critical section, not around a network request or a long delay.
For example:
static SemaphoreHandle_t display_mutex;

void display_status(const char *text)
{
    if (xSemaphoreTake(display_mutex, pdMS_TO_TICKS(50)) == pdTRUE) {
        oled_print(text);
        xSemaphoreGive(display_mutex);
    }
}
If the display update can be owned by one task, an even cleaner design is to send display messages to that task instead of locking the display from multiple places.
Timing: delay is not synchronization
This pattern is fragile:
vTaskDelay(pdMS_TO_TICKS(1000));
assume_wifi_is_ready();
The delay only means “do not run this task for at least this long”. It does not prove that Wi-Fi, a peripheral, or another task has finished. Use a queue, notification, semaphore, or event group when one task must wait for a real event.
For periodic work, vTaskDelayUntil() keeps a steadier schedule than repeatedly adding a relative delay:
TickType_t last_wake = xTaskGetTickCount();
const TickType_t period = pdMS_TO_TICKS(100);

for (;;) {
    sample_sensor();
    vTaskDelayUntil(&last_wake, period);
}
The task can still miss a deadline if its work takes too long or a higher-priority task consumes the CPU. That is why measuring the real workload matters more than choosing a pretty number for the delay.
Stack size, priority, and the bugs they hide
Give a task enough stack for its deepest call path, but do not solve every crash by allocating a huge stack. On ESP32, task stacks consume RAM that the rest of the application also needs.
During testing, inspect the minimum unused stack:
ESP_LOGI("worker", "stack spare: %u bytes",
         uxTaskGetStackHighWaterMark(NULL));
Exercise the real worst case: long JSON, a busy Wi-Fi transaction, a display refresh, and the error path. Also keep large arrays out of the task's local scope when a dedicated buffer is clearer.
Priorities should express urgency, not importance in the product roadmap. A high-priority task that never blocks can starve lower-priority work. Most application tasks can start at a modest priority, block on the object they need, and be raised only after measurement shows a scheduling problem.
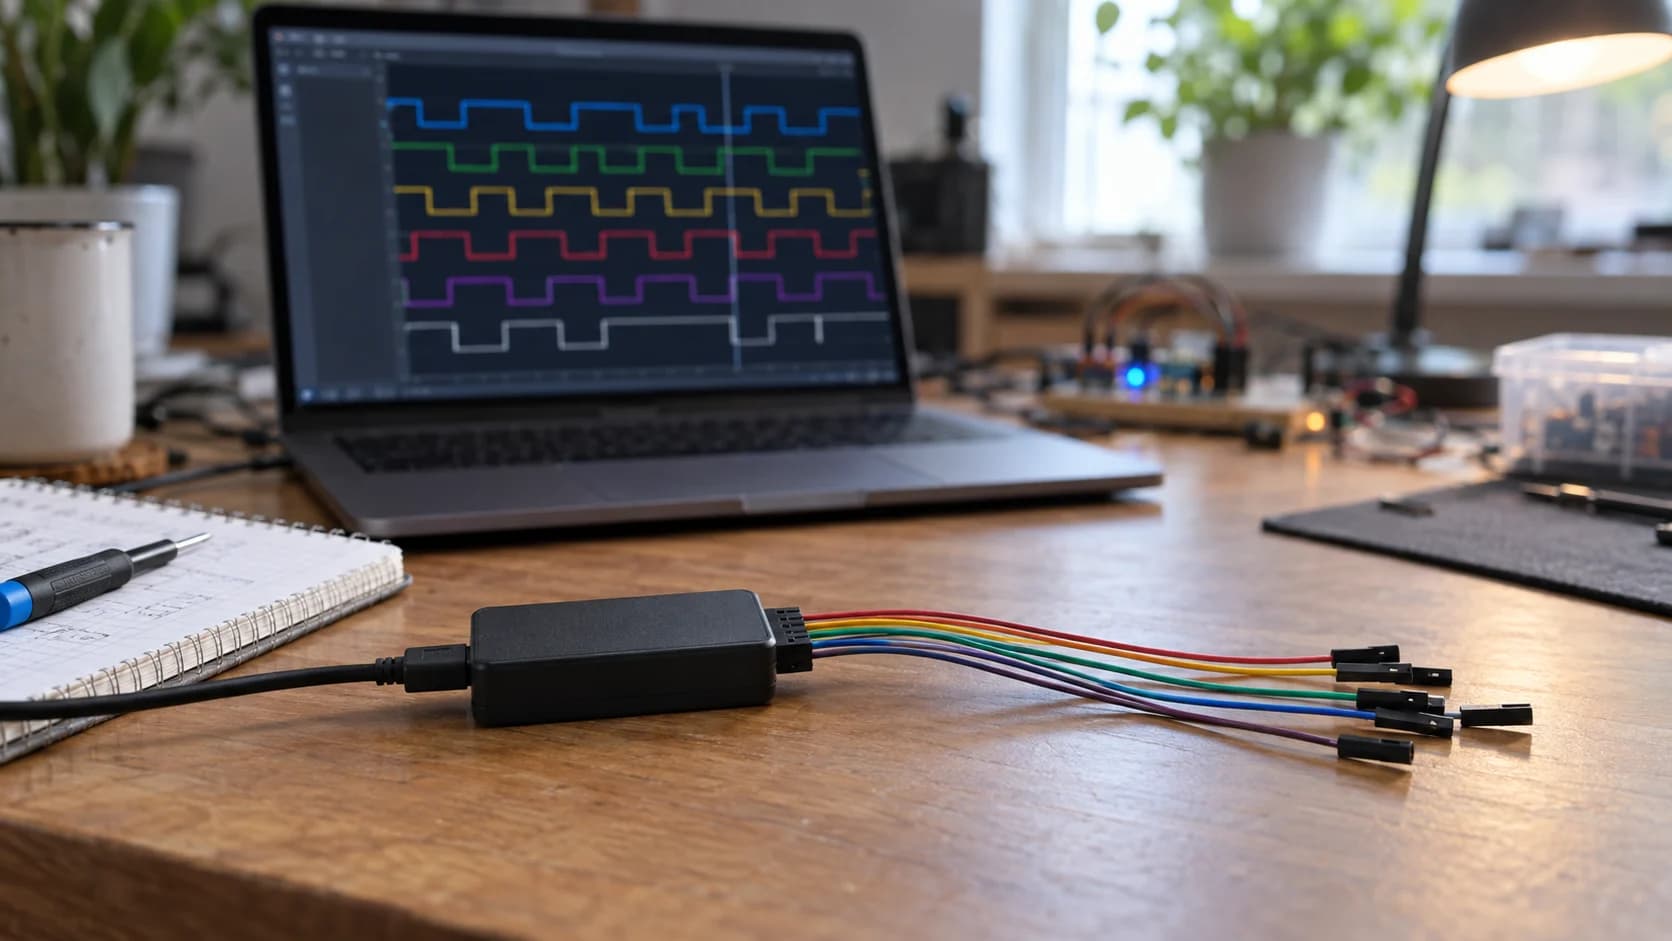
Set up the measurement clearly first; when timing is unstable, the real signal is often faster than guessing.
A practical debugging routine
When the firmware behaves “randomly”, I check these things in order:
- Give every task a useful name and log its core ID when debugging a dual-core target.
- Check the return value of
xQueueSend,xQueueReceive, mutex takes, and task creation. - Log queue depth and
uxTaskGetStackHighWaterMark()under the heaviest workflow. - Use a mutex for shared state; do not rely on disabling the scheduler as a cross-core lock.
- Keep logs out of tight timing loops and avoid blocking network calls while holding a mutex.
- If timing still looks wrong, put a GPIO toggle around the work and inspect it with a logic analyzer.
Do not use printf as the only timing instrument. Serial logging itself takes time and can change the behavior you are trying to measure.
My beginner rule of thumb
Start with two or three tasks, not ten. Give each task one job, define how it receives data, and make the ownership of every buffer explicit. Use queues for messages, notifications for a direct wake-up, mutexes for short shared-resource access, and event groups for broad system state.
FreeRTOS feels complicated when every task can touch everything. It becomes much more comfortable when the firmware is treated as a set of small workers connected by narrow, visible paths. That is the habit worth carrying into a larger ESP32 product.
References
Share
Keep exploring
Read next
Related articles
ESP32 Memory Management Deep Dive: SRAM, PSRAM, Heap and FreeRTOS Stacks
A practical ESP32 memory guide covering SRAM layout, PSRAM usage, heap fragmentation, RTOS task stacks, and small optimization tricks that are useful in real firmware.
RISC-V Embedded Development: Getting Started with ESP32-P4
A practical ESP32-P4 RISC-V guide: install ESP-IDF, select the esp32p4 target, build a first project, flash over USB, and understand the dual-core architecture.
18 Common ESP32 Errors – Part 2: Critical Errors
How I read ESP32 backtraces and troubleshoot crashes, watchdogs, heap, stack, FreeRTOS, Wi-Fi, ADC, deep sleep, and OTA with a practical runtime checklist.