

LVGL and Mochi Robot: Building Emotional Interfaces for Embedded Devices - Part 2: Mochi & LVGL
Part 2 of the Mochi LVGL series, covering faces, expressions, battery status, connectivity, screens, components, and UI states.
Share
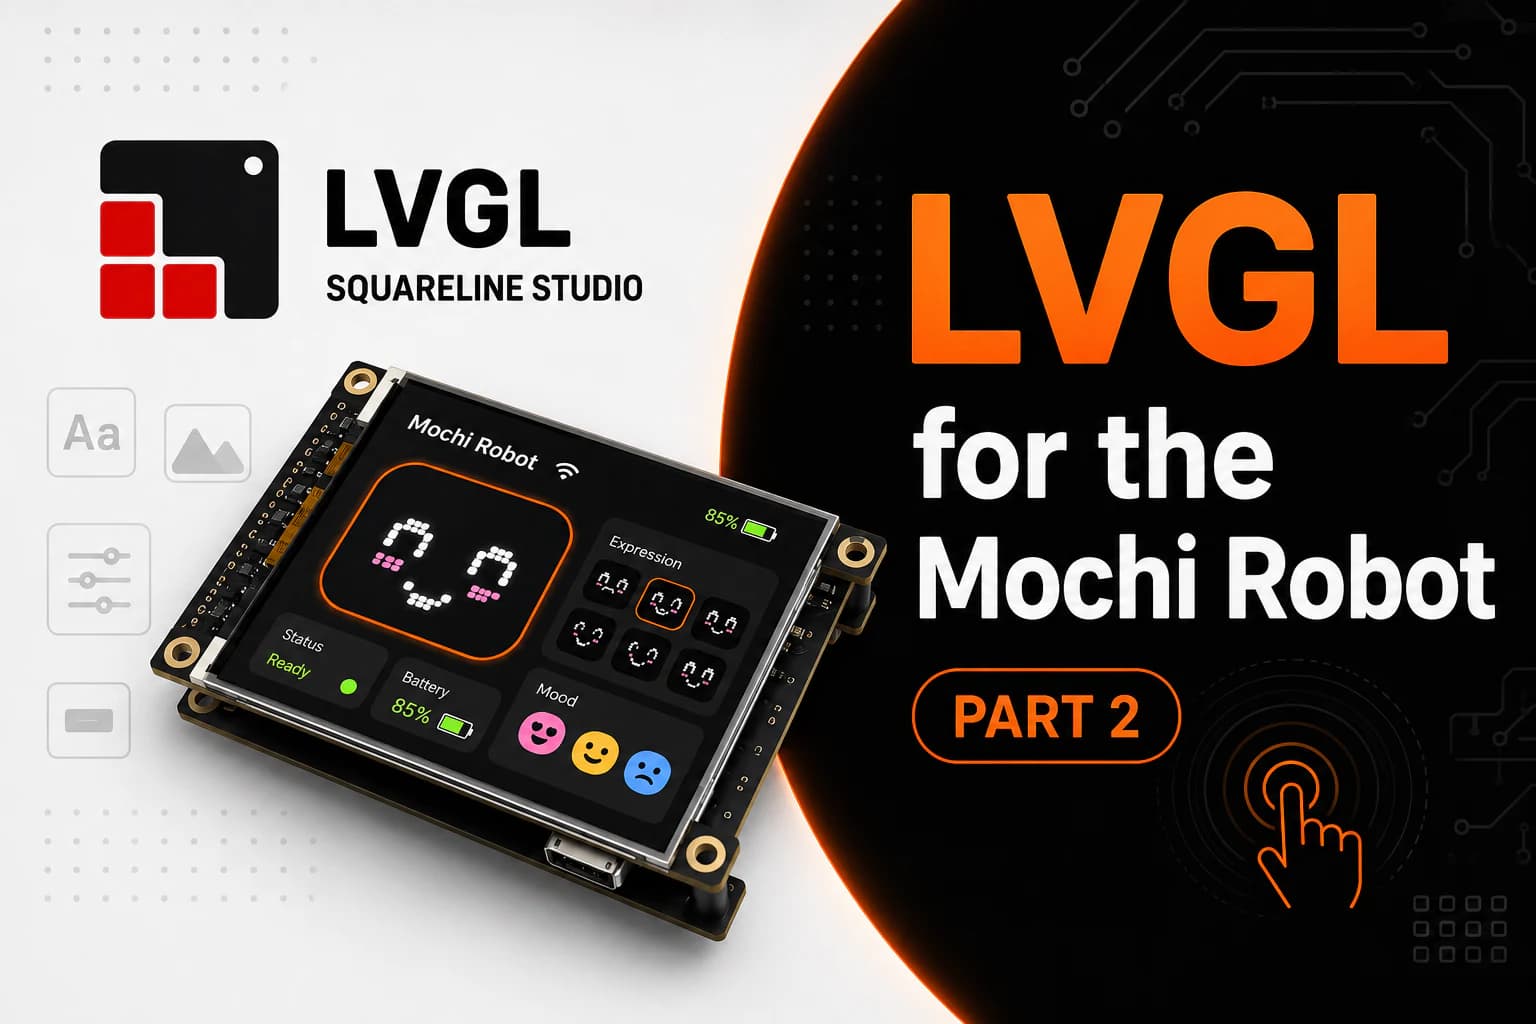
In the previous part, I introduced LVGL as a graphics library for embedded devices. Here, I want to make it concrete by using LVGL for Mochi's face and interface.
With the Mochi robot, the screen isn't just for displaying status. It's also the robot's face: eyes, mouth, expressions, animations, battery status, operating mode, and potentially a configuration menu later. This is why LVGL is a very worthwhile option to explore if you want to develop Mochi as a long-term product.
Application of LVGL for Mochi Robot
On Mochi, LVGL can drive the whole display interface. Instead of showing fixed GIFs or emotion bitmaps, you can split the UI into screens, states, and smaller components that are easier to manage.
For example, the main screen could be the robot's face. When Mochi is in its normal state, the screen displays a slightly cheerful face. When the user touches the robot, Mochi can change to a happy, surprised, or curious expression. When the battery is low, a battery icon may appear in the corner of the screen. When charging, Mochi can display a charging effect. When connected to Wi-Fi or Bluetooth, the screen can display the corresponding status icon.
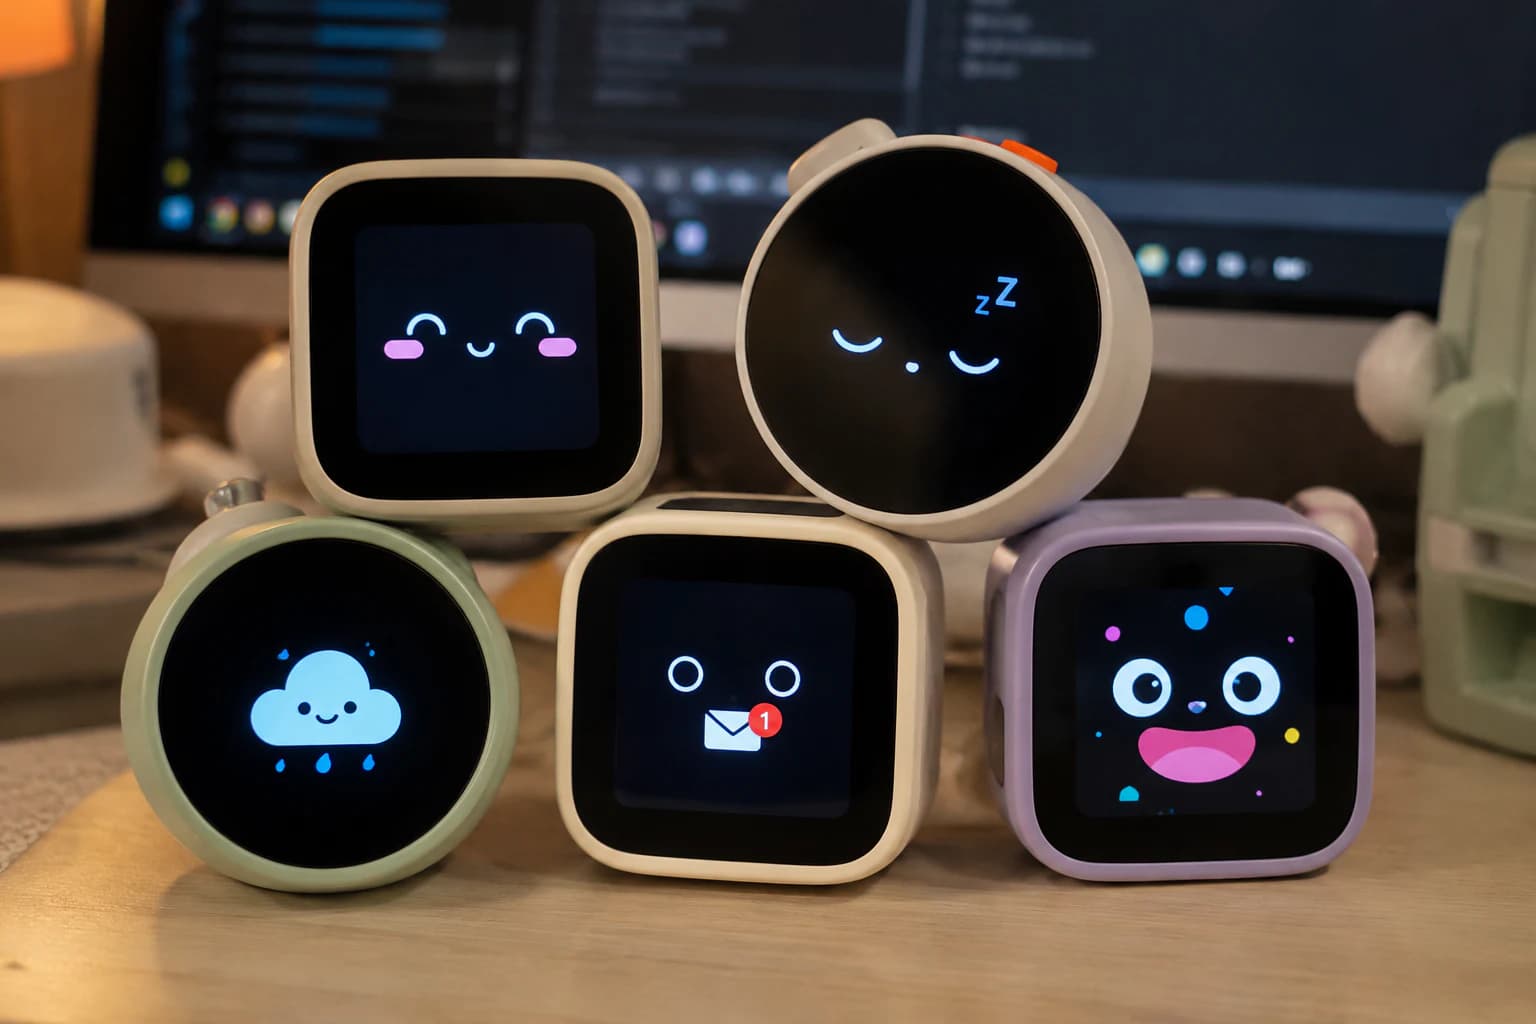
Variations of the Mochi Robot, LVGL, help Mochi look more like a real product.
If Mochi has a touch screen, LVGL can also handle touch gestures to open menus, change expressions, adjust volume, select operating modes, or access the configuration screen.
The great thing about LVGL is that it allows combining many UI elements. The face can be an image or canvas. The status line can be a label. The battery icon can be a small image. The menu can be a list or a button. Transition effects can use animation. Thanks to this, Mochi's interface is no longer a few disjointed images, but a clearly structured UI system.
LVGL makes Mochi look more like a real product.
A small robot that can run is one thing. But to make it feel like a complete product, the UI plays a huge role.
If Mochi only displayed a static image, users would see it as a simple toy. But if Mochi had smooth animations, natural expression transitions, touch feedback, low battery warnings, charging warnings, connection warnings, and clear emotional states, the experience would be completely different.
LVGL gives those details a clearer structure. Instead of scattering drawing functions throughout the firmware, I can divide the interface into screens, components, and states.
For example, Mochi could have a main screen to display its face, a configuration screen, an error screen, a charging screen, and a sleep screen. Each screen has its own components such as the robot face, battery icon, Wi-Fi icon, buttons, or status bar.
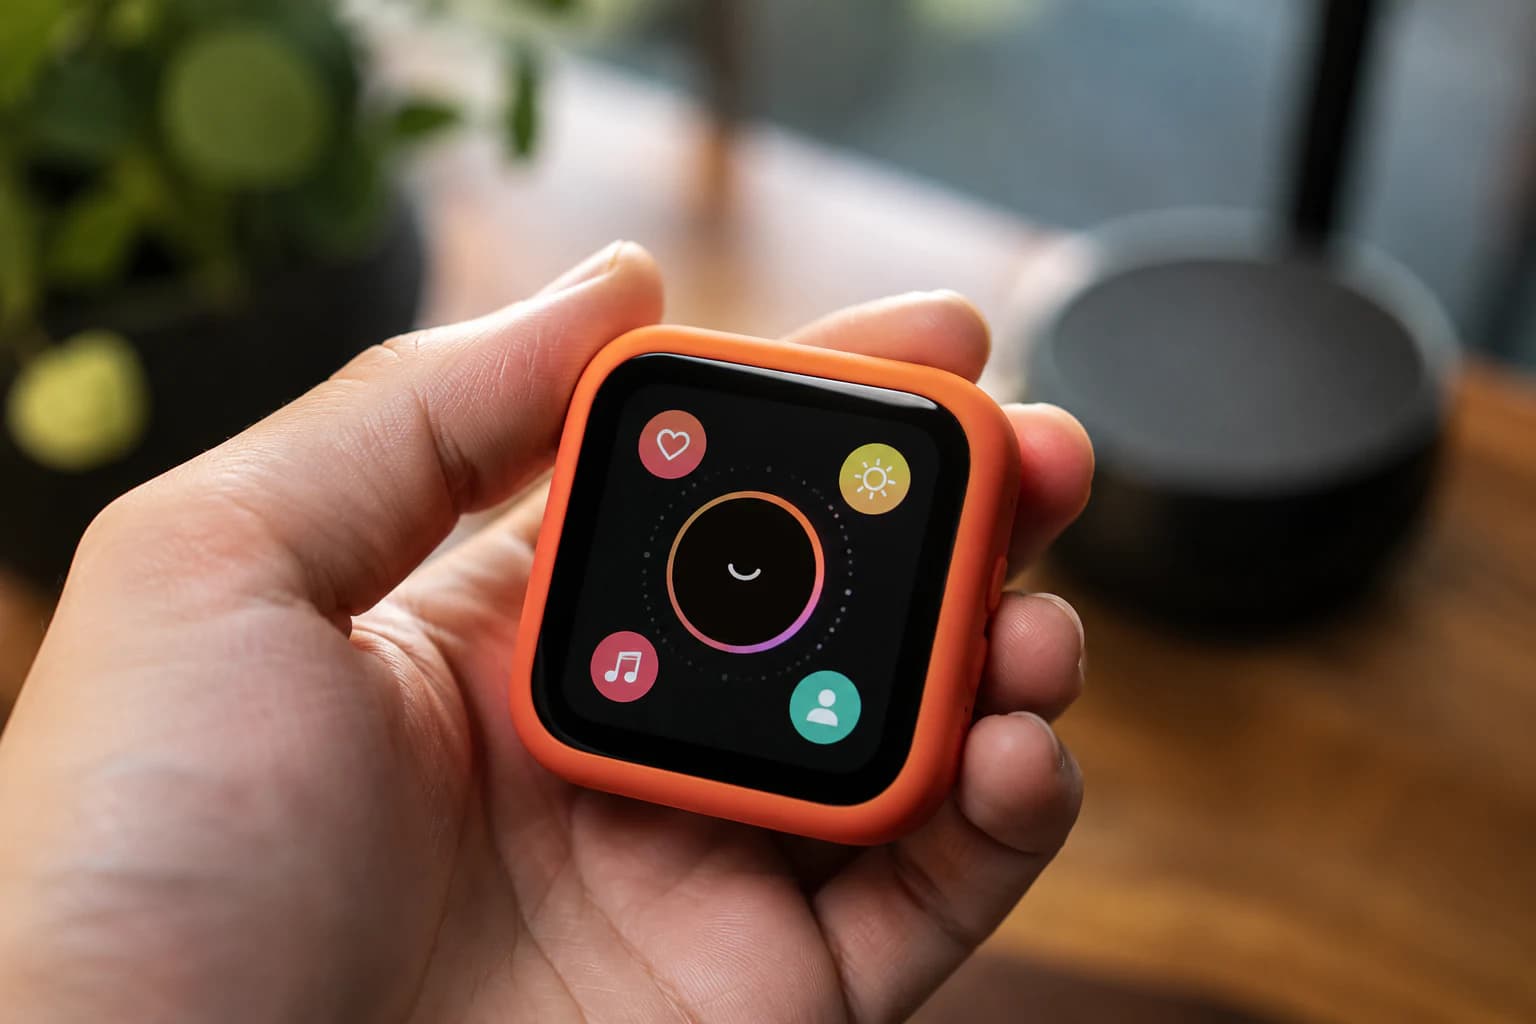
Transform the simple Mochi Robot model into a perfect assistant.
This organization is crucial if Mochi later develops into different versions such as Mochi Basic, Mochi Car, Mochi Desk, Mochi Voice, or Mochi AI Assistant.
When should Mochi use LVGL?
Mochi doesn't always have to use LVGL. If the initial version only uses a 128x64 OLED display to show a few simple expressions, using bitmap or frame animation with a lighter library might be a quicker and easier option.
In that case, libraries like Adafruit SSD1306, U8g2, or a custom OLED driver might suffice. The code will be lighter, require less configuration, and be easier to run on small boards like the ESP32-C3.
However, LVGL would be more suitable if Mochi starts using color displays, multiple interface screens, status icons, configuration menus, touch functionality, complex animations, or requires long-term expansion.
For Mochi, a logical approach is to split it into two branches. The basic 128x64 OLED version can use a lightweight library to display bitmaps or GIF frames. The color TFT or touch screen version should consider using LVGL from the start for easier UI expansion later.
Suggested UI Architecture for Mochi
A simple architecture for Mochi can be divided into three main layers.
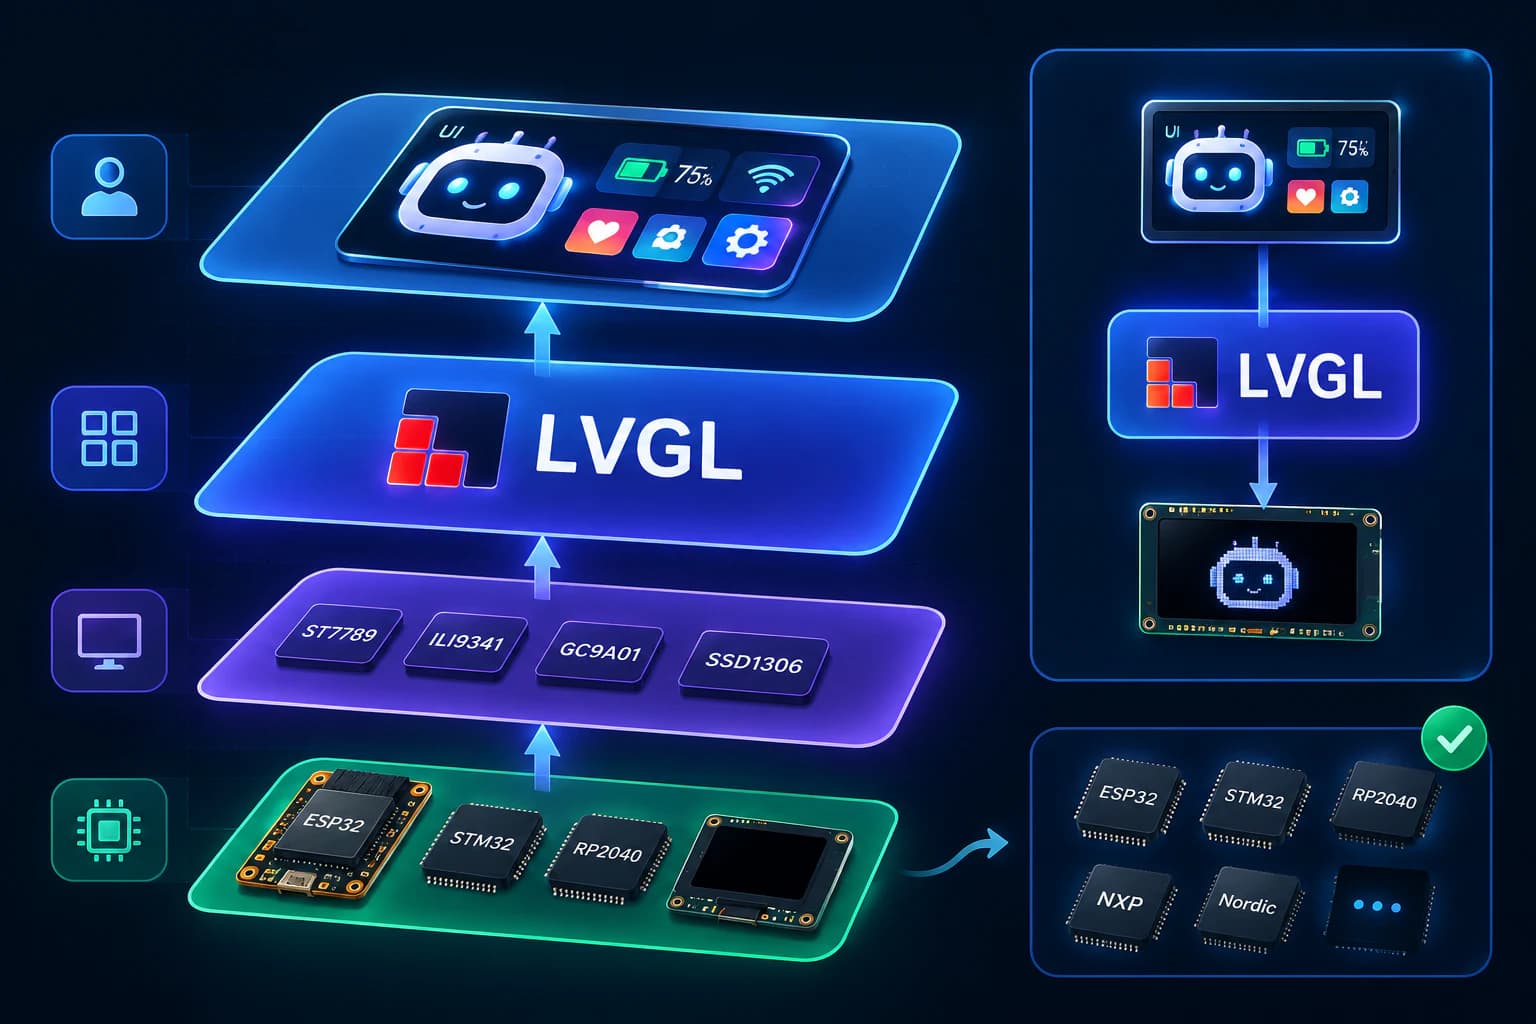
The overall UI architecture for the Mochi Robot uses LVGL.
The first layer is the display backend. This layer is responsible for communicating with the screen via drivers such as ST7789, SSD1306, GC9A01, or ILI9341. The goal is to enable the project to switch screens without having to rewrite the entire UI.
The second layer is the UI framework. If using LVGL, this is where LVGL is initialized, buffers are created, display drivers, input drivers, and timer ticks are registered. This layer acts as an intermediary between the UI logic and the display hardware.
The third layer is Mochi UI logic. This layer manages states such as idle, happy, sad, angry, sleepy, charging, low battery, listening, talking, or thinking. Each state determines which expression is displayed, which animation runs, and which icon appears.
This division helps Mochi avoid being overly dependent on a single screen type or interface style. When switching from OLED to TFT, the display backend may change, but Mochi's UI logic can largely remain the same.
Examples of Mochi's UI States
A UI system for Mochi can start with a few simple states.
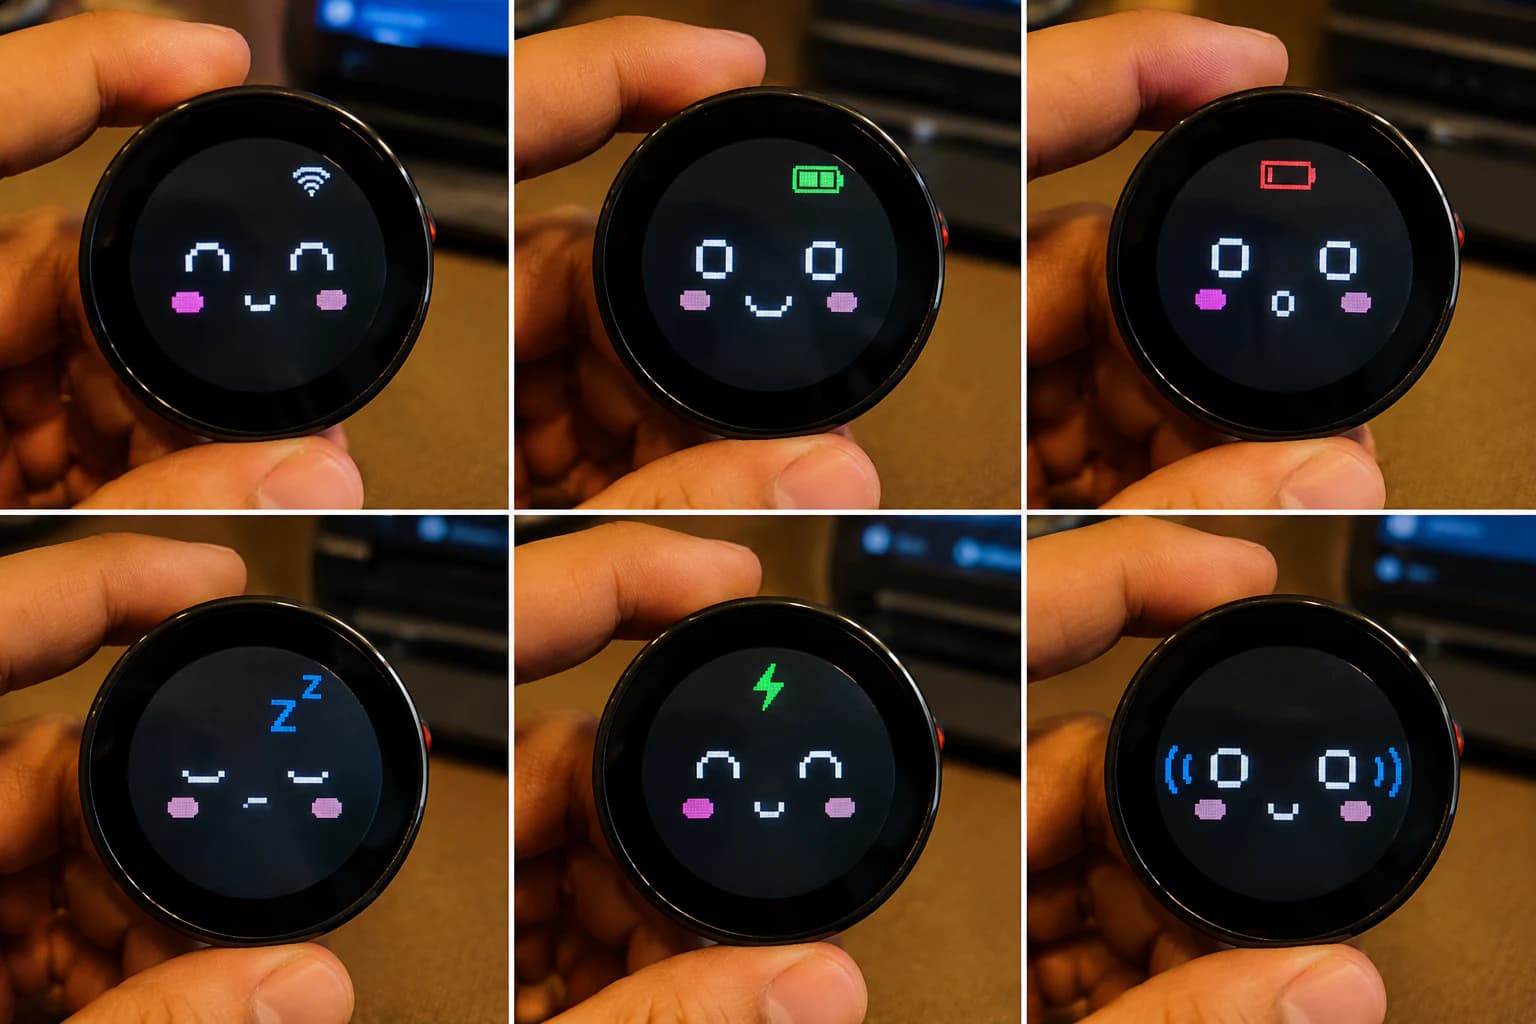
Display Mochi's status using LVGL.
In the idle state, Mochi displays a normal face and occasionally has a blinking animation. When the user touches the robot, the state can change to happy or surprised. When the battery is low, Mochi switches to low battery and displays a small warning icon. While charging, the face can soften with a charging battery icon. When the robot is listening, the screen can display a sound wave effect or a focused expression. When the robot is responding, Mochi can switch to a talking state.
These states aren't overly complex, but if well organized, they will make Mochi feel much more alive.
Points to Note When Using LVGL
When using LVGL on a microcontroller, pay attention to RAM, buffer size, display bus speed, and interface update methods.
Avoid rendering full screen too frequently if the screen is large and the data bus is slow. Optimize image assets, reduce icon size, use colors appropriate for the screen, and avoid overly heavy animations.
With ESP32, if using a TFT screen via SPI, prioritize a high-speed SPI configuration and a reasonable buffer. If using ESP32-S3, you'll have more space for color UI, animation, and a high-resolution screen. If using ESP32-C3, keep the interface simpler to avoid RAM shortages or slow refresh rates.
If using a monochrome OLED like the SSD1306, more careful consideration is needed. LVGL can still be used, but it's not always the lightest option. With small OLED screens, direct bitmap/frame animation is sometimes more practical.
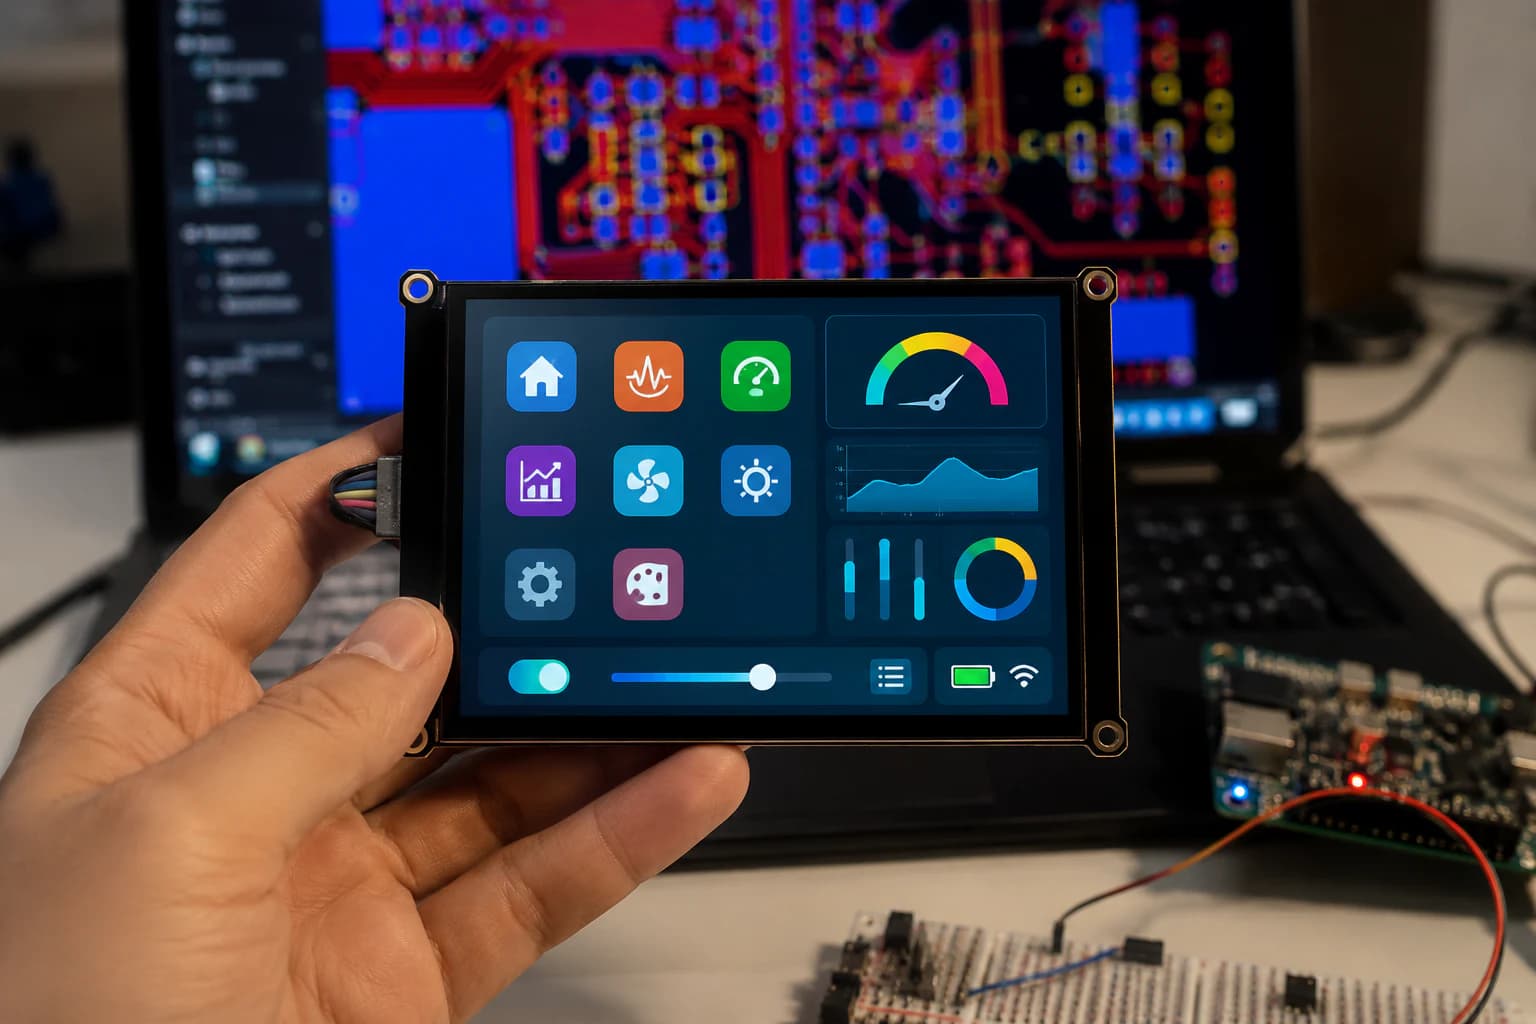
LVGL's UI programming produces visually appealing and highly professional products.
Conclusion
LVGL isn't a mandatory choice for every Mochi version, but it's a very worthwhile platform to learn if you want to build a professional interface for the robot.
With the Mochi robot, LVGL can help transform the display from a simple emoji screen into a UI system with state, animation, feedback, and scalability. The first version might only need OLED and a simple bitmap, but as Mochi progresses to color TFT screens, touch screens, or AI assistants, LVGL will become a very logical choice.
If you see Mochi as a product you will keep improving, learning LVGL early can make the UI cleaner and easier to extend. If you only need one static face on a small OLED, keep it simple and skip the extra layer.
Related reading
Share
Keep exploring
Read next
Related articles
What Is a MEMS Microphone? From a Silicon Diaphragm to ESP32 Audio
Learn how MEMS microphones work, how analog, PDM, and I2S outputs differ, and how to avoid PCB, power, and acoustic-port mistakes.
Complete Hardware Architecture for an ESP32-S3 Mochi Robot
A practical breakdown of ESP32-S3 Mochi Robot hardware: display, touch, I2S microphone, amplifier, speaker, battery, charging, and GPIO.
ESP32-C3 or ESP32-S3: Which Chip for a Robot with a Screen and Audio?
Comparing ESP32-C3 and ESP32-S3 on GPIO, RAM, PSRAM, USB, I2S, and LVGL headroom, with a concrete recommendation for a basic Mochi build and a Mochi AI build.