

STM32 Beginner Guide P1: What Is STM32 and Which Board Should You Choose?
Learn what STM32 is, distinguish chips, modules, and development boards, then choose a practical board for learning GPIO, HAL, STM32CubeIDE, and embedded firmware from the beginning.
Share
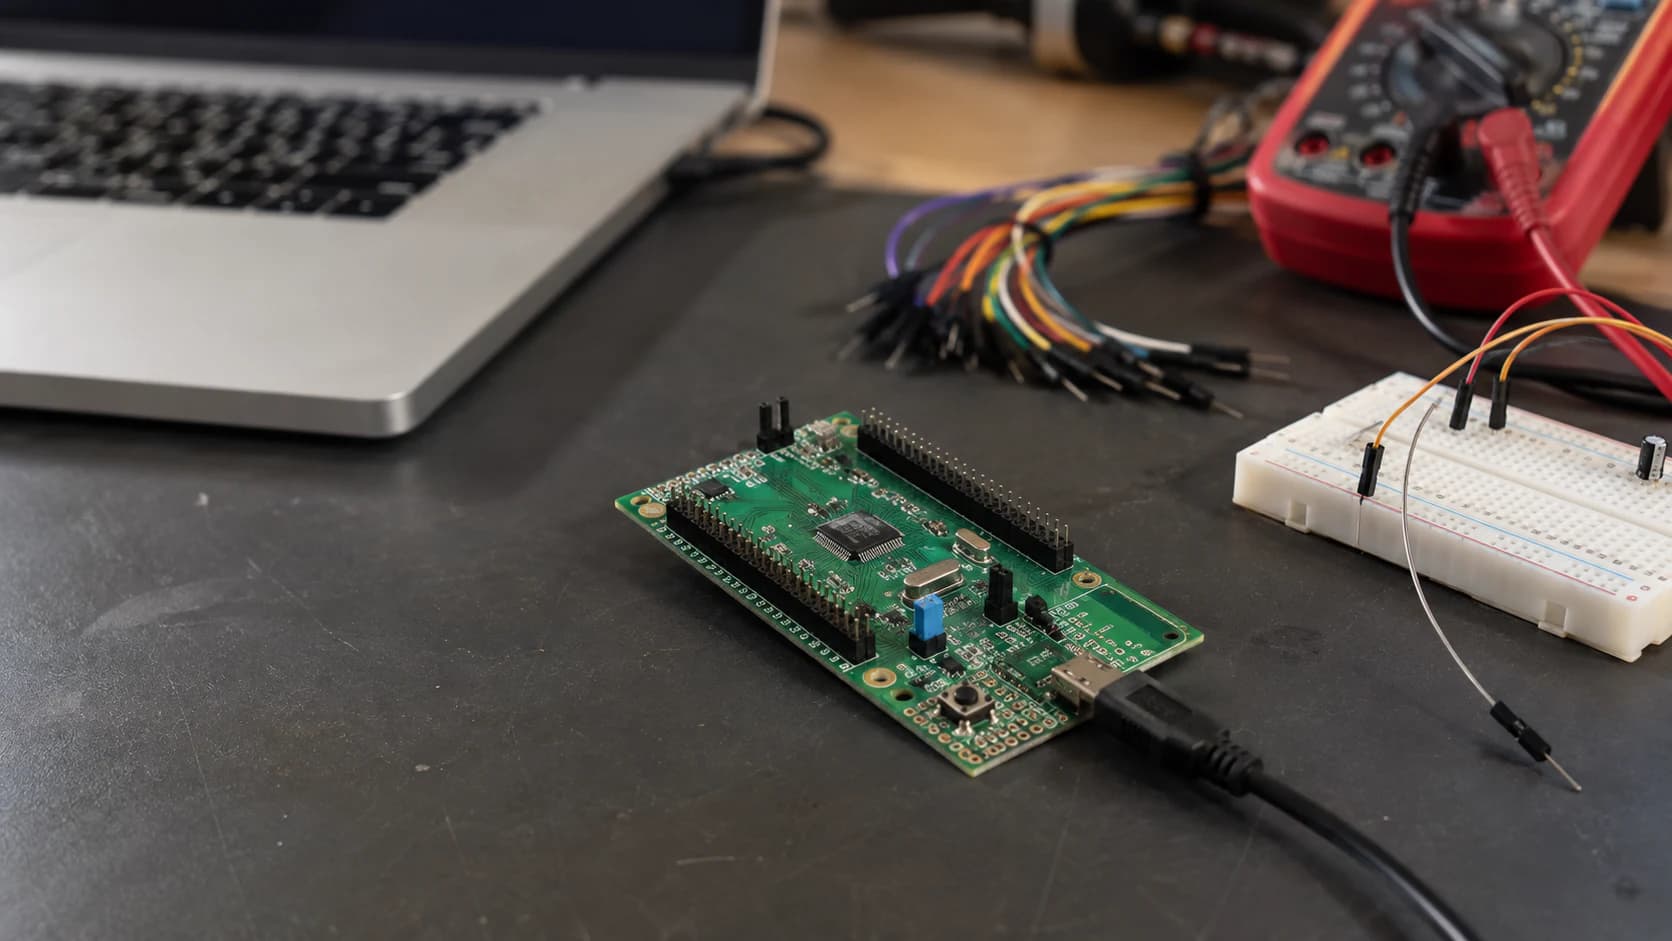
When you move from Arduino or ESP32 to STM32, the first confusing part is usually not the code. It is the list of names on the store page: STM32F103C8T6, STM32G0, Nucleo, Discovery, Blue Pill, Black Pill, STM32CubeIDE, HAL, and LL.
I used to assume that anything labelled STM32 would work with the same tutorial. In practice, two boards with STM32 in the name can use different MCUs, GPIOs, debuggers, and power arrangements. Choosing the wrong board turns small setup differences into confusing errors.
This is the STM32 Beginner Guide, a series that moves from the first board to GPIO, timers, UART, I2C, SPI, and a complete firmware application. In P1, I want to answer three practical questions:
Series: P1 is here · P2: GPIO, Interrupts, and Timers · P3 continues with UART, I2C, and SPI.
- What is STM32, really?
- How are a chip, module, and development board different?
- Which board should a beginner buy to learn without making the first steps harder?
What is STM32?
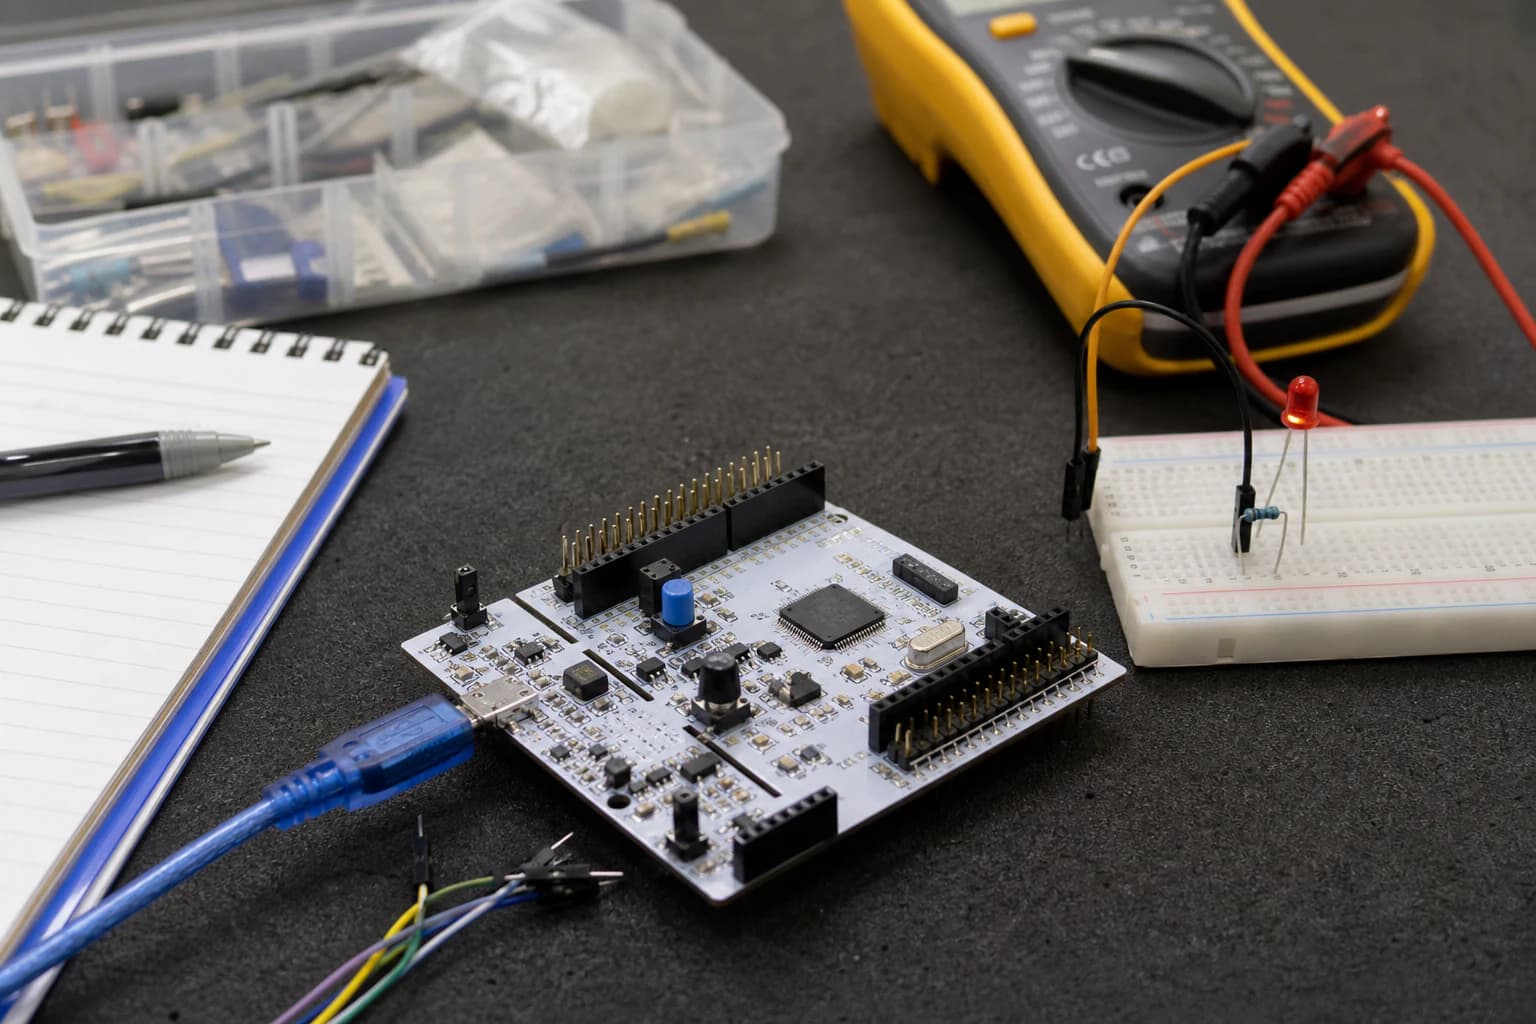
For the first lesson, a board with an integrated ST-LINK and a few basic parts is enough.
STM32 is a family of microcontrollers developed by STMicroelectronics. Most STM32 families use Arm Cortex-M cores and integrate GPIO, timers, ADC, UART, SPI, I2C, and other peripherals inside one chip.
The strength of STM32 is not one feature. It is the breadth of the ecosystem: low-cost mainstream parts for basic control, high-performance parts, low-power families, wireless devices, and chips with specialized peripherals for real products.
You will commonly see these families:
- STM32F0/F1/G0: mainstream families that work well for fundamentals and ordinary control devices.
- STM32F4/G4: more resources and peripherals for applications that need more performance or signal-processing capability.
- STM32L0/L4/U0/U5: families focused on low-power, battery-operated devices.
- STM32H5/H7: high-performance families, but not the easiest starting point.
- STM32WB/WBA/WL: families with integrated wireless capabilities or a wireless focus.
You do not need to memorize every family before buying a board. The important point is that STM32 is a product family, not the name of one specific board.
Chip, module, and development board are different things
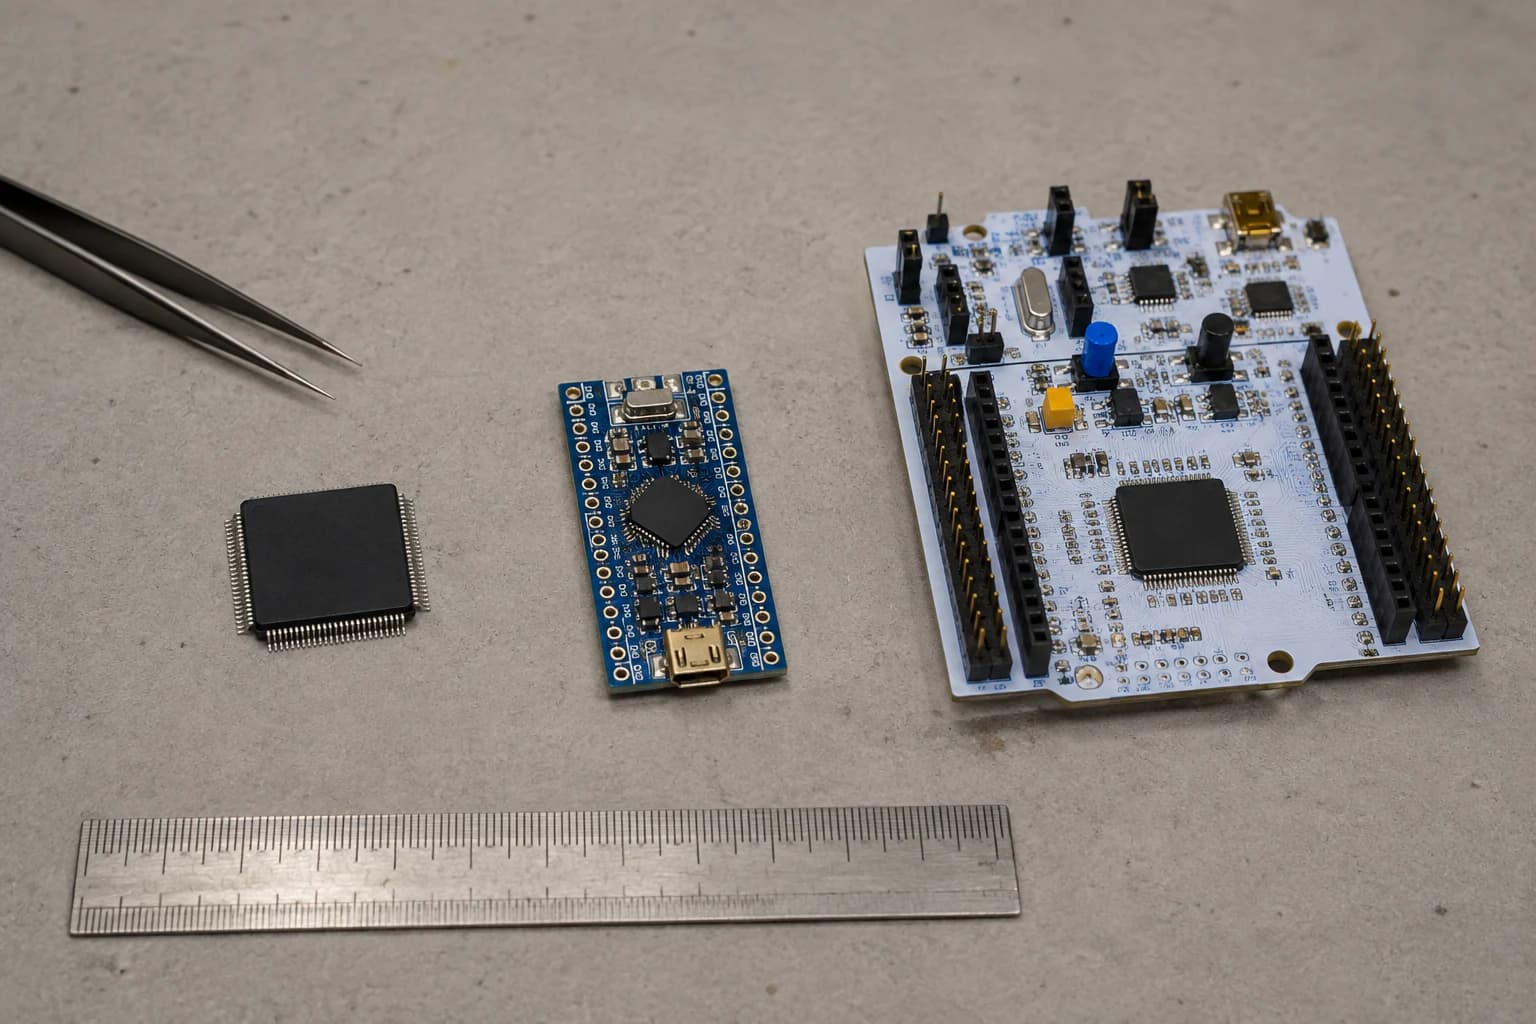
A chip, module, and development board are different hardware levels, even when a store calls all of them an STM32 board.
This distinction is worth learning first:
| Part | What you see | When it is used |
|---|---|---|
| MCU/chip | A small IC that needs its own power, clock, reset, and programming circuit | Custom product and PCB design |
| Module | A small PCB containing the MCU and part of its supporting circuitry | Faster integration into a custom design |
| Development board | An MCU or module with regulator, headers, buttons, and usually a debugger | Learning, experiments, and prototypes |
For a beginner, the safest choice is usually a development board with an onboard debugger. You can connect USB, open a project, build, and debug without designing a programming circuit or guessing the SWD pins first.
Why do I recommend a Nucleo board for the first lesson?
Many ST Nucleo boards integrate ST-LINK. It is the circuit used to program and debug an STM32 over SWD; some boards also expose a virtual COM port to the computer.
That lets you do important things from the beginning:
- Program firmware without buying a separate ST-LINK.
- Set breakpoints and inspect variables while debugging.
- Read logs over a serial port on supported boards.
- Use official schematics, user manuals, and examples as a reference.
- Add a shield or external circuit through Arduino-compatible headers on many models.
For this series, I am using NUCLEO-G071RB as the reference board for the fundamentals. It is not the only valid choice, but it is approachable, officially documented, and used in ST's STM32CubeIDE learning material.
Check the exact board code before buying. NUCLEO-G071RB, NUCLEO-F401RE, and NUCLEO-G431RB are not simply different names for the same hardware; they use different MCUs and peripherals.
Three practical choices for a beginner
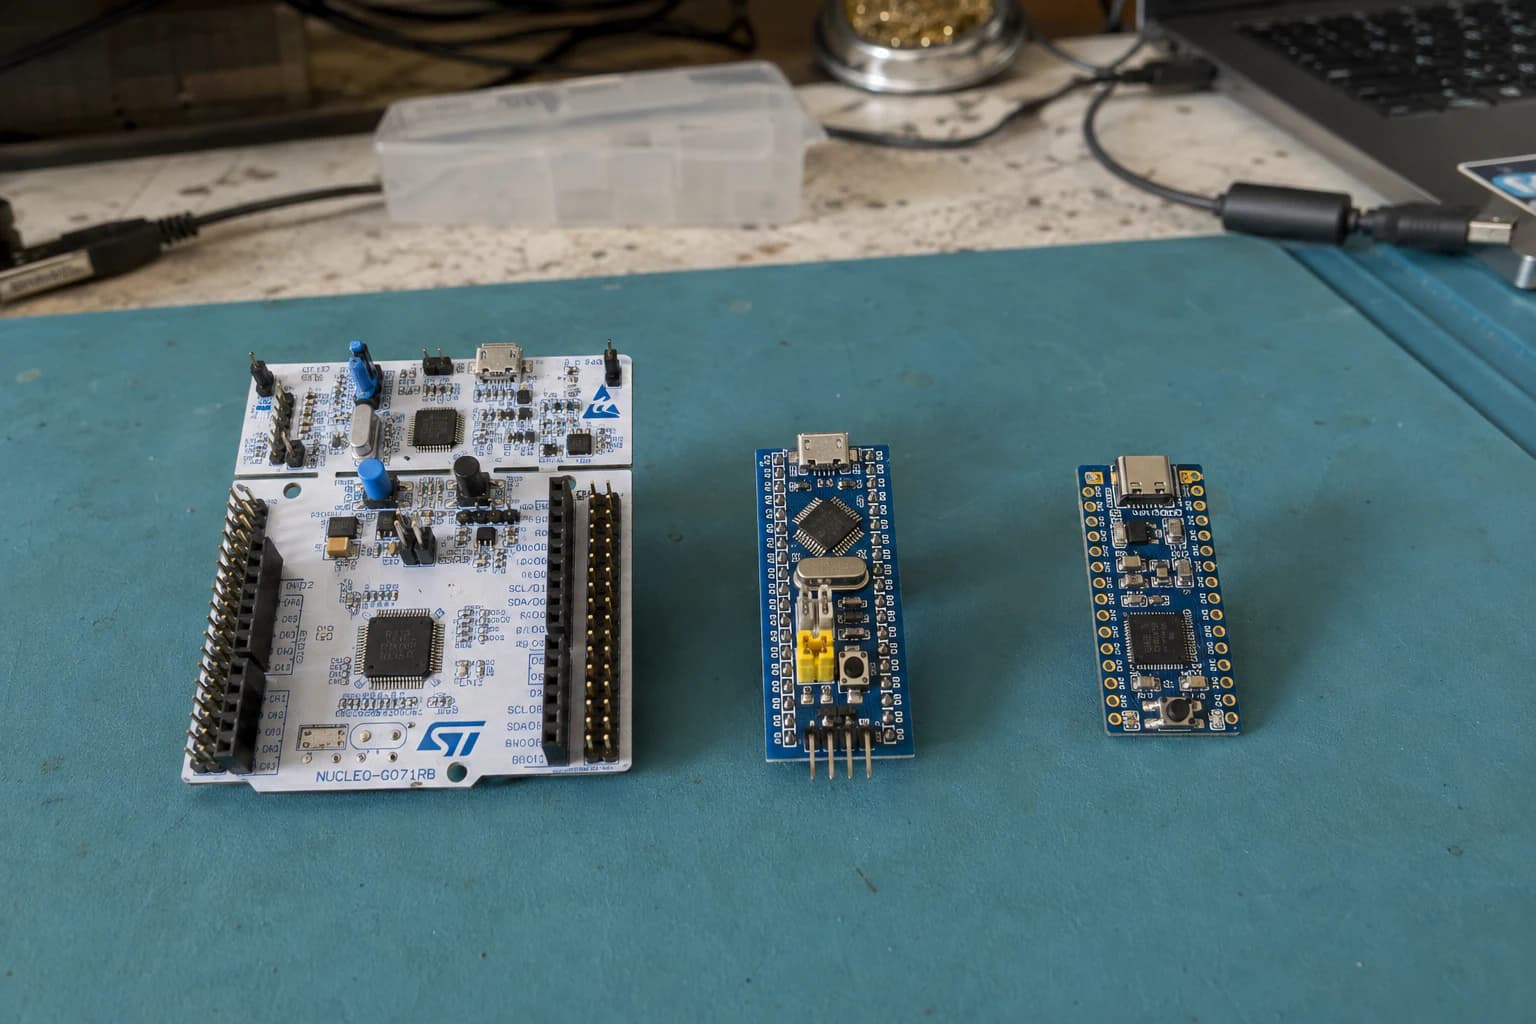
The easiest board to learn on is not always the cheapest one; documentation, debugging, and a clear pinout matter more.
1. NUCLEO-G071RB: my recommended learning board
If you do not own a board yet and want to learn firmware systematically, I would start with NUCLEO-G071RB or a comparable Nucleo board with onboard ST-LINK.
It is enough for GPIO, interrupts, timers, PWM, ADC, UART, I2C, and SPI without requiring much extra hardware. It is larger than a cheap Blue Pill-style board, which is useful while learning: the pins are easier to read, probe, and verify.
The trade-off is price. Nucleo boards usually cost more than clones, but the difference buys clear documentation, an integrated debugger, and less time spent on problems unrelated to the lesson.
2. NUCLEO-F401RE: a practical match for many tutorials
NUCLEO-F401RE is based on the STM32F401RE and has a broad example ecosystem. If the course or project you follow already targets the F4 family, it is a sensible choice.
F4 is not necessary for Blink or UART. Still, its documentation and examples make it a useful learning platform. Remember that code generated for F401RE cannot automatically run on G071RB when the peripheral, clock, or pin mapping is different.
3. STM32F103C8T6 Blue Pill: inexpensive, but more hands-on
The Blue Pill is popular because it is cheap, small, and covered by many tutorials. It is useful for learning what a minimal STM32 board looks like, but it would not be my first choice if the goal is to learn debugging and a product-like development workflow.
Clone boards can differ in regulator quality, USB connector, bootloader, and pin arrangement. Many do not include ST-LINK, so you may need an ST-LINK V2 or another programming method.
Blue Pill still makes sense once you understand SWD, can check a schematic, and want a small prototype board. I would not buy it only because it is the cheapest search result.
What are STM32CubeIDE, CubeMX, HAL, and LL?
These four names appear constantly:
| Component | Simple role |
|---|---|
| STM32CubeIDE | IDE for creating, building, flashing, and debugging STM32 projects |
| STM32CubeMX | Tool for configuring the MCU, clock, pins, and peripherals, then generating initialization code |
| HAL | A higher-level API that makes code easier to read and more portable across some STM32 families |
| LL | A lower-level API for finer control and lighter abstractions |
For this beginner series, I will start with CubeMX + HAL. That does not mean blindly trusting generated code. Once a project exists, get used to reading main.c, gpio.c, usart.c, the clock configuration, and the USER CODE sections so you understand what the tool is doing.
After the fundamentals are clear, LL and register-level programming become much easier to appreciate. Starting with registers in the first lesson forces a beginner to solve clocks, startup code, linker scripts, toolchains, and peripherals all at once.
A minimal hardware kit
You do not need a box of sensors yet. A small kit that is easy to verify is more useful:
- One Nucleo board with onboard ST-LINK, such as NUCLEO-G071RB.
- A known data-capable USB cable that matches the board connector.
- A breadboard and Dupont wires.
- A loose LED, a 220–1,000 Ω resistor, and a push button.
- A common I2C sensor such as a BME280 or SHT30.
- A basic multimeter.
Before connecting a sensor, plug in the board by itself and check three things: whether the computer sees ST-LINK, whether the board powers up, and whether the board selected in the project matches the actual MCU.
STM32 board buying checklist
These are the checks I normally make:
- Exact MCU part number: for example STM32G071RB or STM32F401RE, not only “STM32 board.”
- Onboard debugger: Nucleo usually includes ST-LINK; Blue Pill usually does not.
- Schematic and user manual: prefer documentation from ST or a clearly identified manufacturer.
- Power pins: check USB, 5V, 3V3, and GND before attaching external circuits.
- Onboard LED and buttons: find which GPIOs they use so you do not create a conflict.
- Headers: some boards ship with headers loose or unsoldered.
- Board name in CubeMX: select the exact part number instead of a similar-looking board.
- Example source: prefer ST projects or repositories with a clear license.
If a listing has no schematic, pinout, or visible MCU part number, I skip it. An inexpensive board with an unknown revision can cost more time than the money it saves.
Conclusion: choose the board that is easy to debug first
STM32 offers many choices, but you do not need the most complicated one to begin. Without a special requirement, NUCLEO-G071RB is a balanced starting point: it has ST-LINK, clear documentation, and enough peripherals for many fundamentals.
Choose NUCLEO-F401RE when your tutorial or project already targets the F4 family. Choose a Blue Pill when you specifically want a cheap, small board and are ready to handle debugging, bootloaders, and clone-board differences yourself.
In P2, I will create the first STM32CubeIDE project: select the correct MCU, configure the clock and GPIO, build, flash through ST-LINK, and verify a blinking LED. The goal is not only to turn an LED on, but to understand where an STM32 project begins.
References and open-source projects
- STMicroelectronics/STM32Cube_MCU_Overall_Offer — map of the official STM32Cube repositories on GitHub.
- STMicroelectronics/STM32CubeG0 — firmware package, drivers, and example projects for STM32G0.
- STM32CubeIDE basics MOOC — ST's official course using NUCLEO-G071RB for hands-on examples.
- STM32CubeIDE quick start guide — official IDE onboarding guide.
- STM32-base/STM32-base-STM32Cube — community repository bundling official CMSIS and HAL sources for reference.
Share
Keep exploring
Read next
Related articles
STM32 Beginner - Part 5: Building a Complete Application
Combine timer, ADC, DMA, PWM, I2C, and UART into a small STM32 bench monitor with a clear firmware architecture, fault handling, and room to grow into a real project.
STM32 Beginner - P3: UART, I2C, and SPI with HAL
Learn the three common STM32 interfaces: use UART for debugging, I2C for sensors, and SPI for displays or memory with STM32CubeIDE and HAL.
STM32 Beginner Guide P2: GPIO, Interrupts, and Timers from the First Example
Learn to configure GPIO, capture a button event with an EXTI interrupt, and create a periodic time base with a timer on STM32CubeIDE using a NUCLEO-G071RB board.