

ESP32 Beginner Guide – P5: Wi-Fi and Web Server
Connect ESP32 to Wi-Fi, find its IP address, and build a local web server that displays BME280 temperature, humidity, and pressure in a browser.
Share
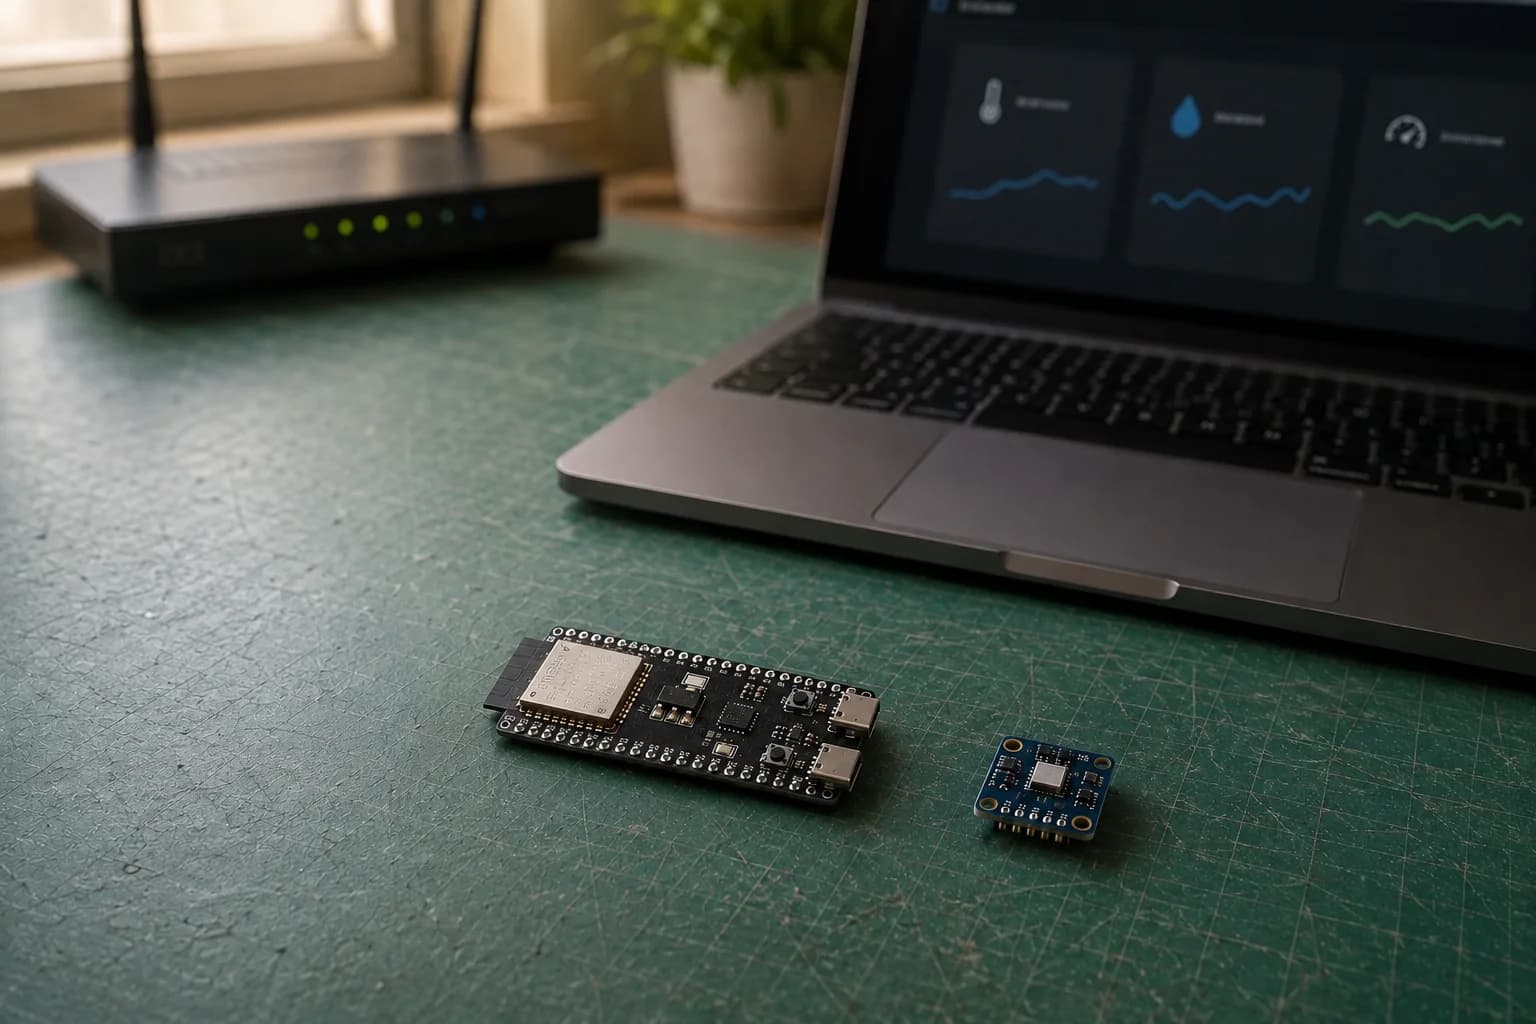
In P4: Connecting Sensors, we read temperature, humidity, and pressure from a BME280. P5 keeps that circuit, adds Wi-Fi, and turns the ESP32 into a small web server you can open from a browser on the local network.
This is not a cloud project. We are deliberately building a short, observable path that is easy to debug:
BME280 → ESP32 → local Wi-Fi → browser
Station, access point, and web server are different roles
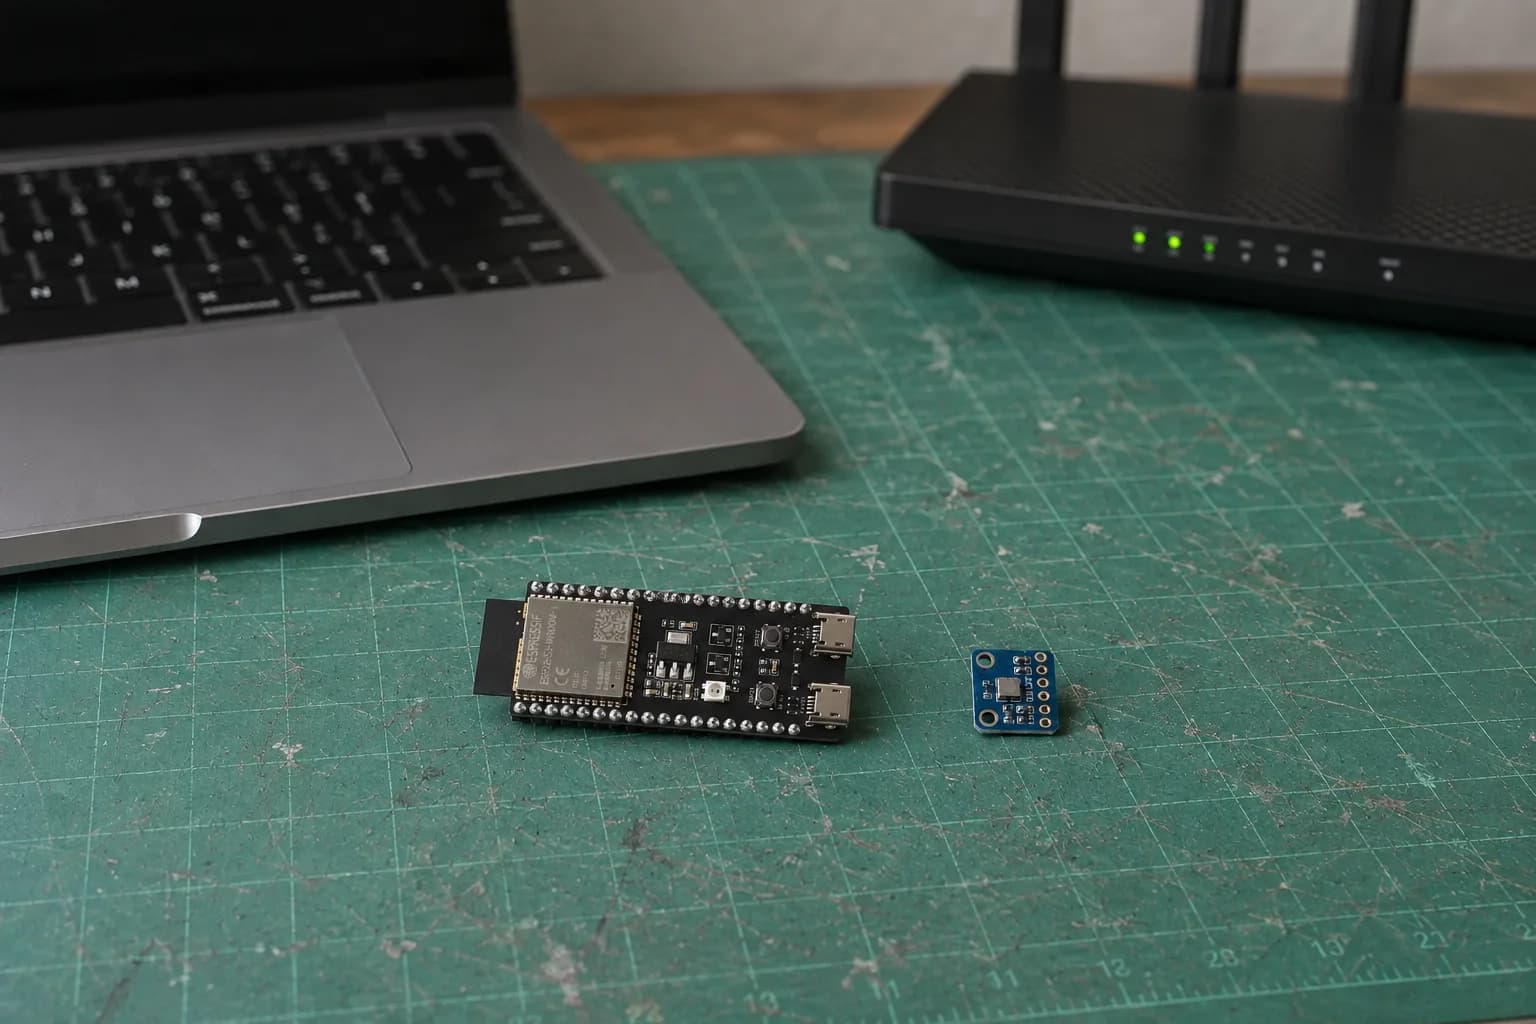
ESP32-S3 and C3 use 2.4 GHz Wi-Fi; verify the SSID, password, and guest-network settings before changing code.
Two common ESP32 Wi-Fi modes are:
| Mode | What connects to what? | Typical use |
|---|---|---|
Station (WIFI_STA) | ESP32 joins an existing router | Home dashboards and Internet clients |
Soft AP (WIFI_AP) | A phone or laptop joins a network created by ESP32 | Initial setup or operation without a router |
This guide uses station mode. A web server is the program listening for HTTP requests on port 80 after the ESP32 joins the network; it is not another Wi-Fi mode.
The ESP32-S3 and ESP32-C3 boards in this series use 2.4 GHz 802.11 b/g/n Wi-Fi. They cannot join an SSID that is available only on 5 GHz. A dual-band router is fine when 2.4 GHz is enabled and uses compatible security.
Before changing code, verify:
- SSID and password, including letter case.
- The 2.4 GHz network is enabled.
- Laptop and ESP32 are on the same LAN; guest Wi-Fi may isolate clients.
- Metal, power wires, or a breadboard do not closely cover the ESP32 PCB antenna.
Keep Wi-Fi credentials out of Git
Create a secrets.h tab or file beside the sketch:
#pragma once

constexpr char WIFI_SSID[] = "YOUR_2_4_GHZ_SSID";
constexpr char WIFI_PASSWORD[] = "YOUR_WIFI_PASSWORD";
In a Git project, ignore secrets.h and commit a secrets.example.h containing placeholders. Removing a password in a later commit does not remove it from history. Rotate the password if it was published.
Connect with a timeout and print the IP address
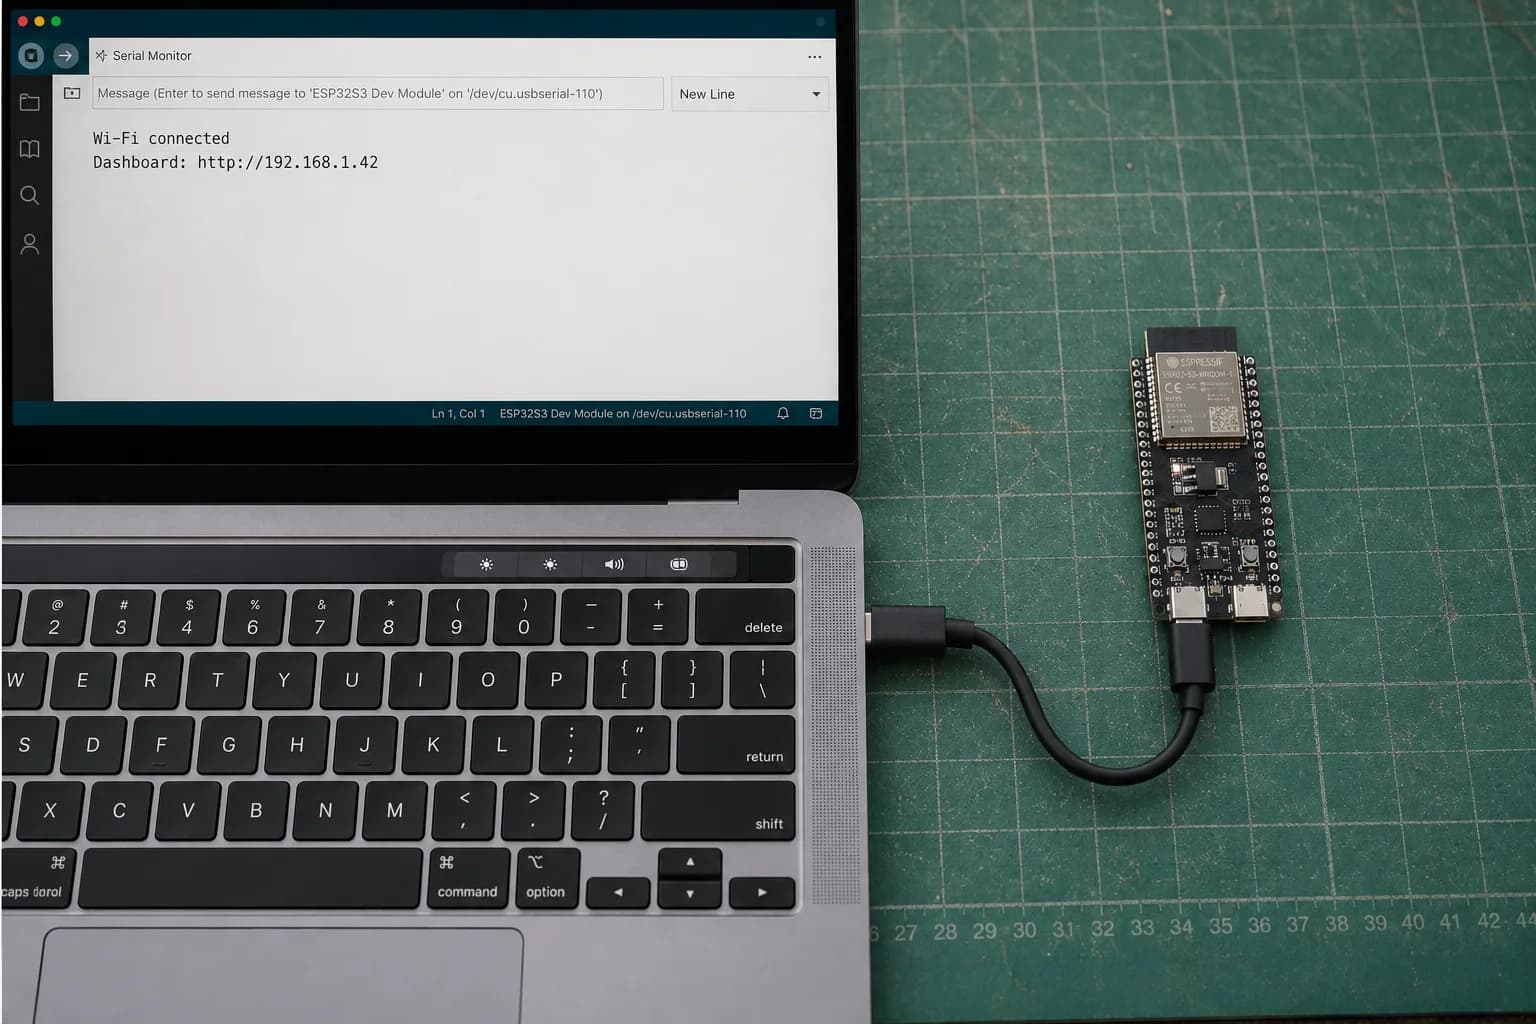
The router-assigned IP address is the most reliable starting point for opening the web server on the same LAN.
This minimal sketch enters station mode but waits no more than 15 seconds:
#include <WiFi.h>
#include "secrets.h"

constexpr uint32_t WIFI_TIMEOUT_MS = 15000;

bool connectWiFi() {
  WiFi.mode(WIFI_STA);
  WiFi.setAutoReconnect(true);
  WiFi.begin(WIFI_SSID, WIFI_PASSWORD);

  const uint32_t startedAt = millis();
  while (WiFi.status() != WL_CONNECTED &&
         millis() - startedAt < WIFI_TIMEOUT_MS) {
    delay(250);
    Serial.print('.');
  }

  if (WiFi.status() != WL_CONNECTED) {
    Serial.println("\nWi-Fi timeout; firmware keeps running.");
    return false;
  }

  Serial.print("\nOpen http://");
  Serial.println(WiFi.localIP());
  return true;
}

void setup() {
  Serial.begin(115200);
  delay(500);
  connectWiFi();
}

void loop() {}
When connection succeeds, the router assigns an address such as 192.168.1.42. A phone or MacBook Pro on the same network can open http://192.168.1.42. The address may change after the router or ESP32 restarts; DHCP reservation or mDNS can solve that later.
The timeout matters more than the code's appearance. A wrong password must not trap the firmware forever while sensors, buttons, and the rest of the product stop working.
From one HTML page to a JSON API
Arduino-ESP32 includes the WebServer library. We will expose two routes:
/returns the HTML dashboard./api/readingsreturns the latest readings as JSON.
The browser loads HTML once, then JavaScript fetches the API every two seconds. Separating interface from data scales better than rebuilding a long HTML String for every request.
Complete sketch: BME280 and a local dashboard
Keep the P4 wiring: BME280 to 3V3, GND, SDA GPIO4, and SCL GPIO5. The address below is 0x77; use the result from your own I2C scan.
#include <WiFi.h>
#include <WebServer.h>
#include <Wire.h>
#include <Adafruit_BME280.h>
#include "secrets.h"

constexpr uint8_t SDA_PIN = 4;
constexpr uint8_t SCL_PIN = 5;
constexpr uint8_t BME280_ADDRESS = 0x77;
constexpr uint32_t WIFI_TIMEOUT_MS = 15000;
constexpr uint32_t WIFI_RETRY_INTERVAL_MS = 10000;
constexpr uint32_t SAMPLE_INTERVAL_MS = 2000;

WebServer server(80);
Adafruit_BME280 bme;

bool sensorReady = false;
bool wasConnected = false;
uint32_t lastSampleAt = 0;
uint32_t lastWiFiAttemptAt = 0;
float temperature = NAN;
float humidity = NAN;
float pressure = NAN;

const char PAGE[] PROGMEM = R"HTML(
<!doctype html>
<html lang="en">
<meta name="viewport" content="width=device-width,initial-scale=1">
<title>ESP32 Sensor</title>
<style>
  body{font:16px system-ui;margin:0;background:#f4f6f8;color:#17202a}
  main{max-width:720px;margin:48px auto;padding:0 20px}
  .grid{display:grid;grid-template-columns:repeat(3,1fr);gap:12px}
  .card{background:white;padding:20px;border-radius:14px;box-shadow:0 4px 18px #0001}
  strong{display:block;font-size:1.7rem;margin-top:8px}
  @media(max-width:600px){.grid{grid-template-columns:1fr}}
</style>
<main>

  <h1>ESP32 Sensor</h1>

  <p>Local readings from BME280</p>
  <div class="grid">
    <div class="card">Temperature<strong id="t">--</strong></div>
    <div class="card">Humidity<strong id="h">--</strong></div>
    <div class="card">Pressure<strong id="p">--</strong></div>
  </div>
</main>
<script>
const t=document.getElementById('t');
const h=document.getElementById('h');
const p=document.getElementById('p');
async function refresh(){
  try{
    const response=await fetch('/api/readings',{cache:'no-store'});
    if(!response.ok) throw new Error('sensor unavailable');
    const data=await response.json();
    t.textContent=data.temperature.toFixed(1)+' °C';
    h.textContent=data.humidity.toFixed(1)+' %';
    p.textContent=data.pressure.toFixed(1)+' hPa';
  }catch(error){ t.textContent=h.textContent=p.textContent='offline'; }
}
refresh(); setInterval(refresh,2000);
</script>
</html>
)HTML";

bool connectWiFi() {
  WiFi.mode(WIFI_STA);
  WiFi.setAutoReconnect(true);
  WiFi.begin(WIFI_SSID, WIFI_PASSWORD);

  const uint32_t startedAt = millis();
  while (WiFi.status() != WL_CONNECTED &&
         millis() - startedAt < WIFI_TIMEOUT_MS) {
    delay(250);
    Serial.print('.');
  }
  return WiFi.status() == WL_CONNECTED;
}

void sampleSensor() {
  if (!sensorReady) return;
  temperature = bme.readTemperature();
  humidity = bme.readHumidity();
  pressure = bme.readPressure() / 100.0F;
}

void sendReadings() {
  if (!sensorReady || isnan(temperature)) {
    server.send(503, "application/json", "{\"error\":\"sensor unavailable\"}");
    return;
  }

  char json[128];
  snprintf(json, sizeof(json),
           "{\"temperature\":%.2f,\"humidity\":%.2f,\"pressure\":%.2f}",
           temperature, humidity, pressure);
  server.sendHeader("Cache-Control", "no-store");
  server.send(200, "application/json", json);
}

void setup() {
  Serial.begin(115200);
  Wire.begin(SDA_PIN, SCL_PIN);
  sensorReady = bme.begin(BME280_ADDRESS, &Wire);
  sampleSensor();

  const bool connected = connectWiFi();
  lastWiFiAttemptAt = millis();
  wasConnected = connected;
  if (connected) {
    Serial.print("\nDashboard: http://");
    Serial.println(WiFi.localIP());
  } else {
    Serial.println("\nWi-Fi unavailable; waiting for auto-reconnect.");
  }

  server.on("/", HTTP_GET, []() {
    server.send_P(200, "text/html", PAGE);
  });
  server.on("/api/readings", HTTP_GET, sendReadings);
  server.onNotFound([]() {
    server.send(404, "text/plain", "Not found");
  });
  server.begin();
}

void loop() {
  server.handleClient();

  const uint32_t now = millis();
  if (now - lastSampleAt >= SAMPLE_INTERVAL_MS) {
    lastSampleAt = now;
    sampleSensor();
  }

  const bool connected = WiFi.status() == WL_CONNECTED;
  if (!connected && now - lastWiFiAttemptAt >= WIFI_RETRY_INTERVAL_MS) {
    lastWiFiAttemptAt = now;
    WiFi.reconnect();
  }
  if (connected && !wasConnected) {
    Serial.print("Wi-Fi restored: http://");
    Serial.println(WiFi.localIP());
  } else if (!connected && wasConnected) {
    Serial.println("Wi-Fi lost; sensor sampling continues.");
  }
  wasConnected = connected;
  delay(2);
}
server.handleClient() must run frequently. A delay(10000), an endless connection loop, or heavy computation in loop() makes the page unresponsive. The sketch uses a millis() timer so sensor sampling does not block the server.
Open the dashboard from another device
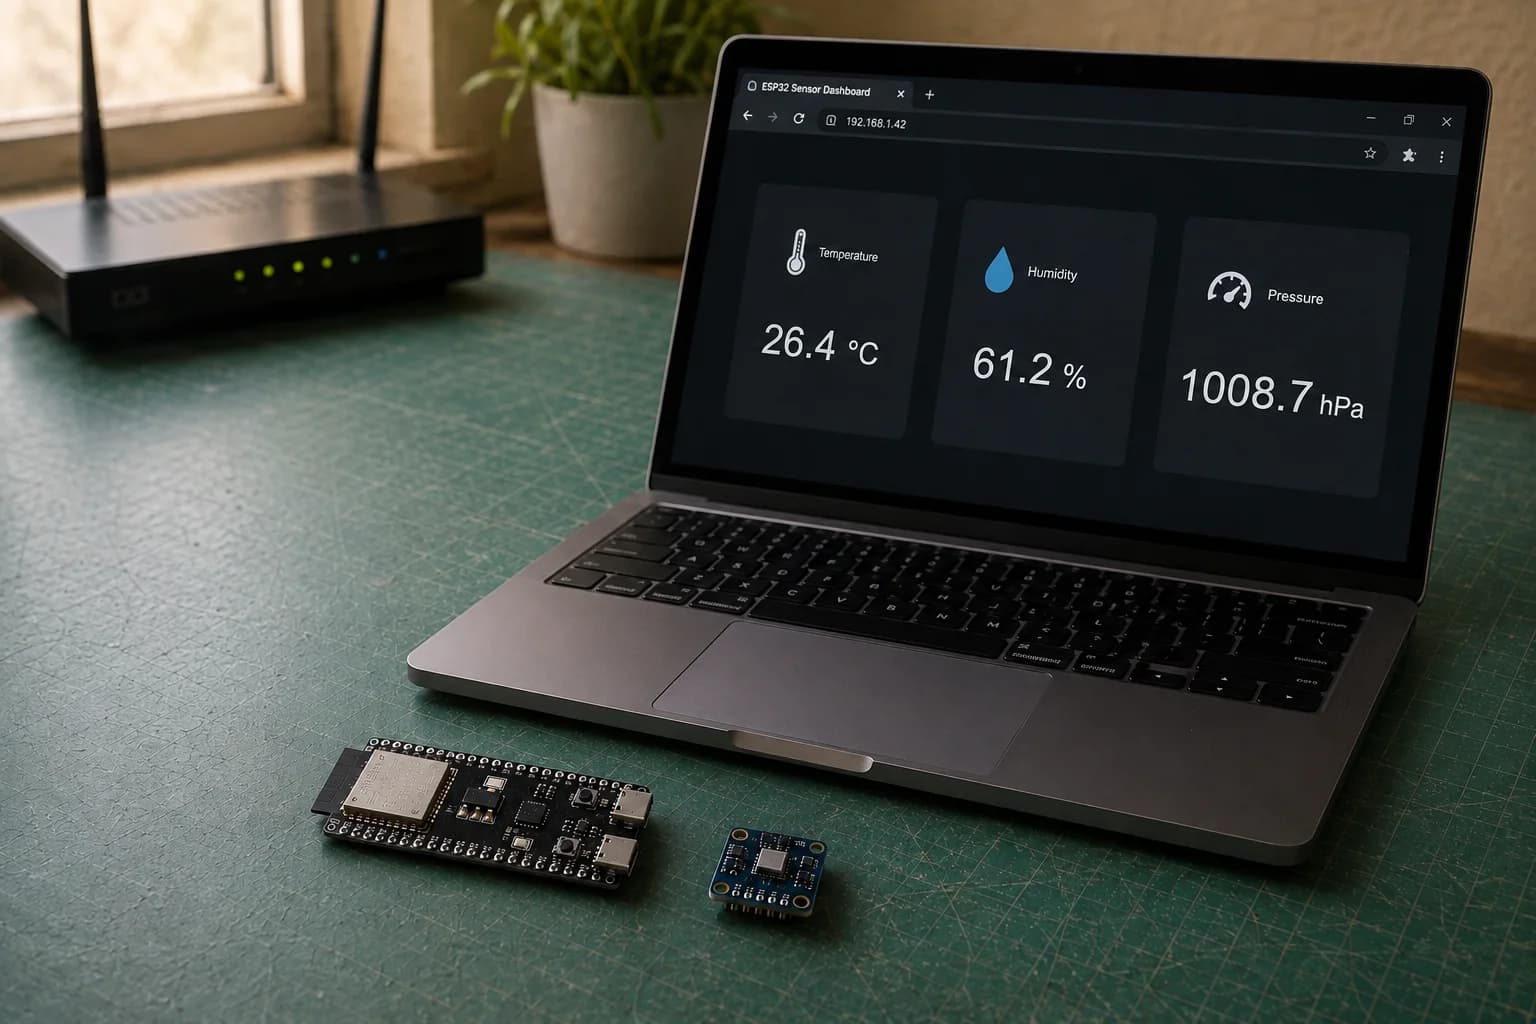
The dashboard is served by the ESP32 on the local network; readings are not automatically sent to the Internet or cloud.
- Open Serial Monitor at
115200baud. - Copy the address printed after
Dashboard: http://. - Open it on a MacBook Pro or phone connected to the same network.
- Append
/api/readingsto inspect the JSON directly.
If the MacBook Pro works but the phone does not, the firmware may be fine. Temporarily disable mobile data, verify both devices are on the same subnet, and check whether the router enables AP/client isolation.
Common Wi-Fi failures
| Symptom | Check first |
|---|---|
Wi-Fi timeout | SSID, password, 2.4 GHz network, and security mode |
| IP exists but browser times out | Same LAN, correct http://, guest isolation, or firewall |
| Dashboard disappears after reboot | DHCP assigned another IP; read Serial again or reserve the address |
| Web page is very slow | Blocking loop(), infrequent handleClient(), or weak signal |
| Sensor runs but web disappears | This is intentional; wait for auto-reconnect and watch the log |
| ESP32 resets when Wi-Fi starts | Weak USB power, poor cable, or voltage dip during radio transmission |
Do not expose this server directly to the Internet
This example uses plain HTTP with no authentication. It belongs in a trusted lab LAN. Do not forward router port 80 to the ESP32. Remote access requires an explicit design for authentication, TLS, firmware updates, rate limiting, and patching—not merely port forwarding.
P5 completion checklist
- ESP32 joins a 2.4 GHz network in
WIFI_STAmode. - Firmware stops waiting after a timeout instead of hanging forever.
- Serial prints the IP address but never the password.
/serves the dashboard and/api/readingsserves JSON.server.handleClient()runs frequently.- Sensor sampling continues through a temporary Wi-Fi loss.
- The server stays inside the LAN and is not Internet-exposed.
P5 moves readings beyond Serial Monitor while keeping them local. If you want a phone to connect directly without a router, continue with P6: Bluetooth Low Energy.
References
Share
Keep exploring
Read next
Related articles
ESP32 Beginner Guide – P7: Build a Complete ESP32 Project
Finish the series with a Room Comfort Monitor: ESP32 reads a BME280, controls a warning LED and serves a local Wi-Fi dashboard.
ESP32 Beginner Guide – P6: Bluetooth Low Energy
Learn ESP32 BLE, GATT services, and characteristics by sending BME280 readings to a phone with Read and Notify.
ESP32 Beginner Guide – P4: Connecting Sensors
Connect digital, analog, and I2C sensors to ESP32; read temperature, humidity, and pressure from a BME280 and diagnose devices that are not detected.