

ESP32 Beginner Guide – P6: Bluetooth Low Energy
Learn ESP32 BLE, GATT services, and characteristics by sending BME280 readings to a phone with Read and Notify.
Share
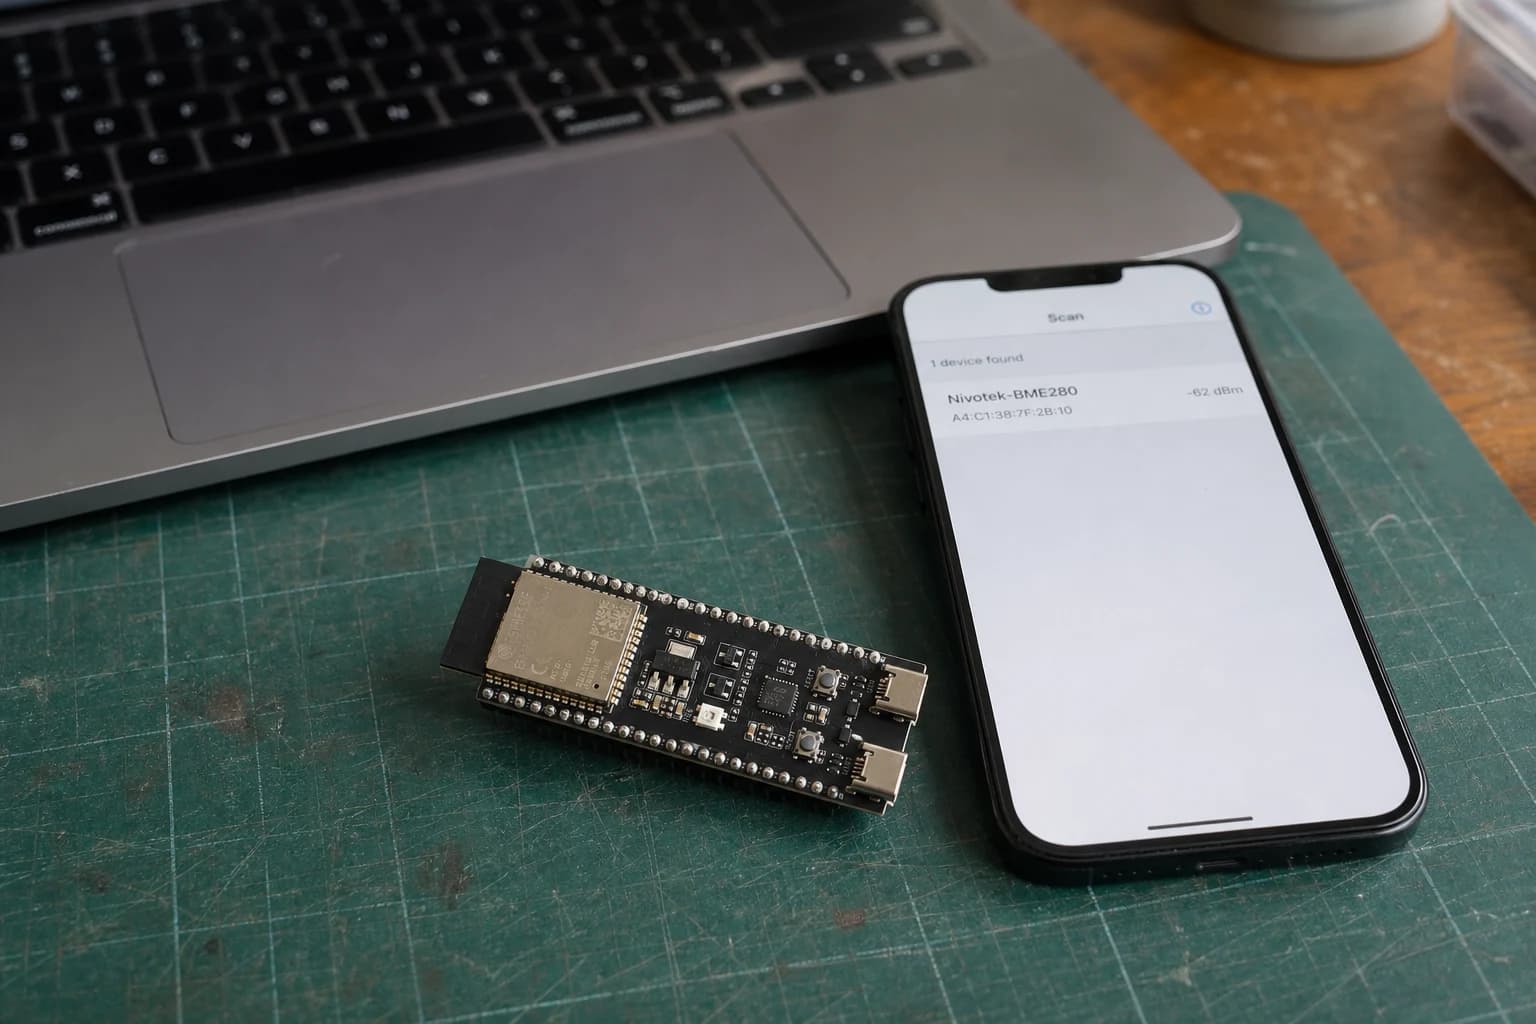
In P5: Wi-Fi and Web Server, we viewed BME280 readings through a router. P6 builds another path: a phone connects directly to ESP32 over Bluetooth Low Energy, with no SSID, IP address, or Internet connection required.
BME280 → ESP32 → BLE → phone
The goal is a small, observable GATT server. The phone can read the current value or subscribe to receive a new value every two seconds.
BLE is not Bluetooth Serial
The original ESP32 supports both Bluetooth Classic and Bluetooth Low Energy. The ESP32-S3 and ESP32-C3 boards used in this series support BLE but not Bluetooth Classic, so BluetoothSerial examples are not suitable for them.
BLE is designed for short exchanges such as sensor readings, device status, and nearby configuration. “Low Energy” does not make every circuit automatically efficient: advertising timing, connection intervals, sensors, LEDs, and the firmware's sleep strategy still determine real current consumption.
Four concepts are enough to begin
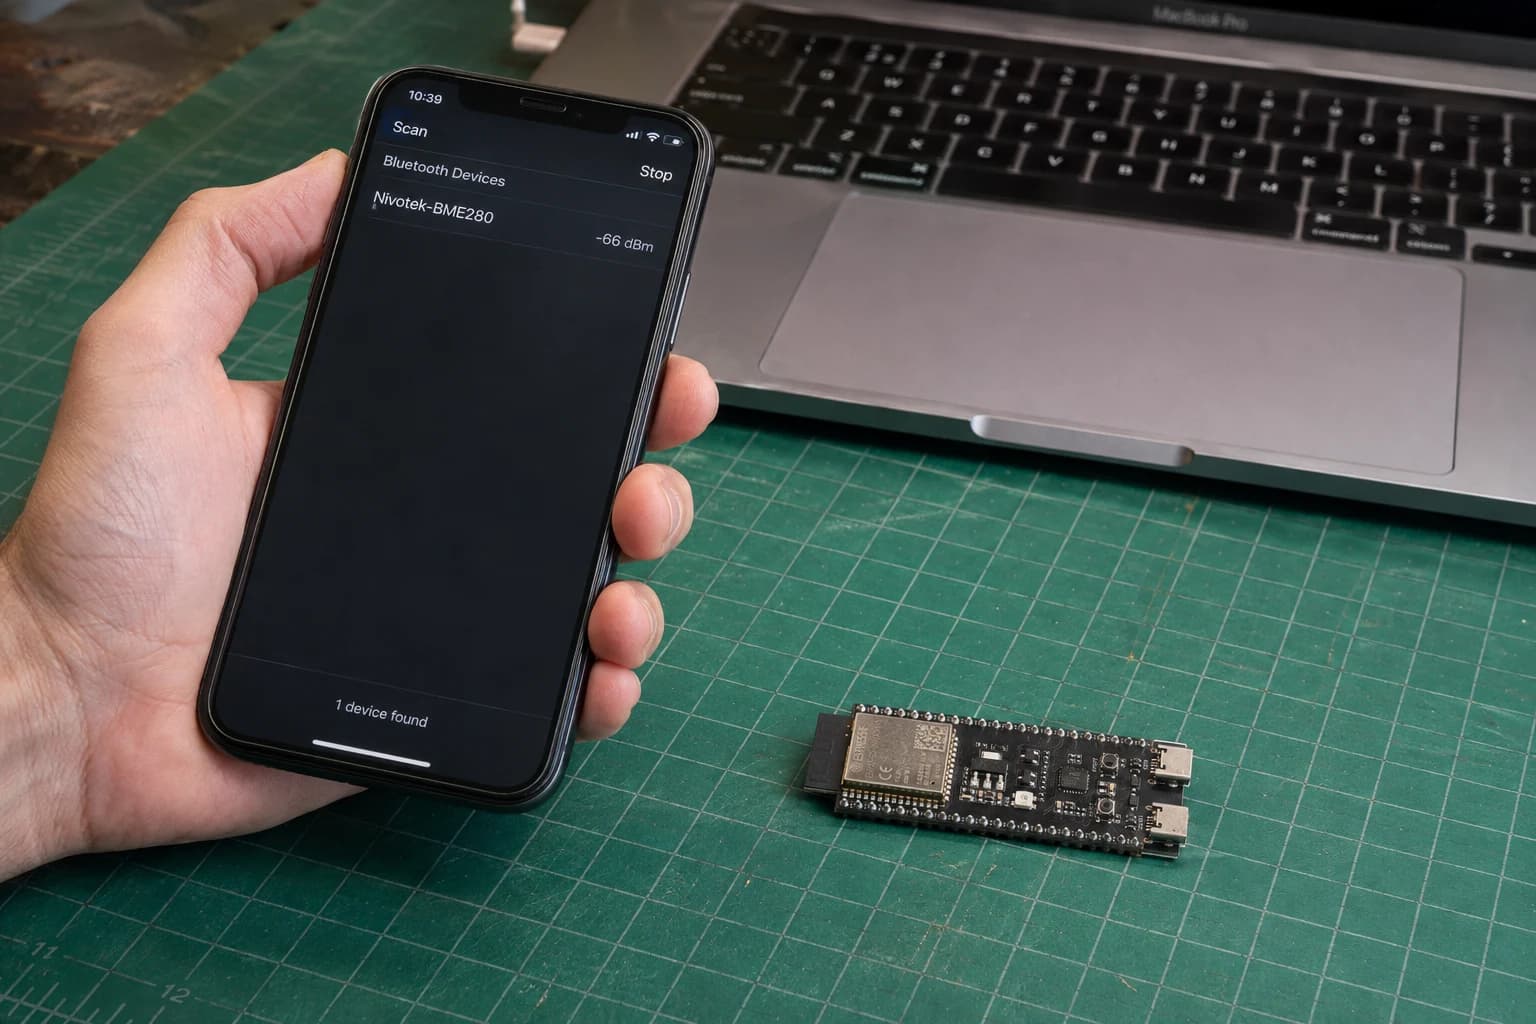
ESP32 advertises as the peripheral; the phone acts as the central that discovers and connects to it.
| Concept | Role in this guide |
|---|---|
| Peripheral | ESP32 advertises and waits for a connection |
| Central | The phone scans and connects to ESP32 |
| GATT server | The data table hosted by ESP32 |
| GATT client | The phone app that discovers and uses that table |
Advertising says, roughly, “this device is nearby and offers this service.” It is not a continuous sensor-data stream. After connecting, the client discovers this GATT structure:
Nivotek sensor service
└── Measurement characteristic
    ├── Read
    └── Notify
A service groups one feature. A characteristic holds a value and its allowed operations. A UUID lets an app find the intended service or characteristic even when its interface shows only a long identifier.
Prepare the circuit and test app
Keep the P4 circuit: BME280 3V3, GND, SDA to GPIO4, and SCL to GPIO5. The code uses address 0x77; change it to 0x76 if that is what your module's I2C scanner reports.
You need:
- An ESP32-S3-DevKitC-1 and a data-capable USB-C cable.
- A BME280 already working with the P4 sketch.
Adafruit BME280 Libraryand itsAdafruit Unified Sensordependency.- A phone GATT client such as nRF Connect for Mobile.
The BLE headers below ship with the ESP32 core in Arduino IDE. You do not need another similarly named BLE library from Library Manager.
Complete sketch: send BME280 data with Read and Notify
This example creates one custom service and one characteristic. Its payload looks like T=26.4,H=61,P=1009 and deliberately stays around 20 bytes so it is easy to test with the default MTU. It is a learning format, not a production protocol.
#include <Arduino.h>
#include <Wire.h>
#include <Adafruit_BME280.h>
#include <BLEDevice.h>
#include <BLEServer.h>
#include <BLEUtils.h>
#include <BLE2902.h>

constexpr uint8_t SDA_PIN = 4;
constexpr uint8_t SCL_PIN = 5;
constexpr uint8_t BME280_ADDRESS = 0x77;
constexpr uint32_t SAMPLE_INTERVAL_MS = 2000;

constexpr char DEVICE_NAME[] = "Nivotek-BME280";
constexpr char SERVICE_UUID[] =
    "8f7e1201-6a2d-4f0b-9c31-5d2a7e991001";
constexpr char MEASUREMENT_UUID[] =
    "8f7e1202-6a2d-4f0b-9c31-5d2a7e991001";

Adafruit_BME280 bme;
BLEServer *bleServer = nullptr;
BLECharacteristic *measurement = nullptr;

volatile bool deviceConnected = false;
bool wasConnected = false;
bool sensorReady = false;
uint32_t lastSampleAt = 0;

class ServerCallbacks : public BLEServerCallbacks {
  void onConnect(BLEServer *) override {
    deviceConnected = true;
  }

  void onDisconnect(BLEServer *) override {
    deviceConnected = false;
  }
};

void publishReading() {
  if (!sensorReady) {
    measurement->setValue("sensor unavailable");
    return;
  }

  const float temperature = bme.readTemperature();
  const float humidity = bme.readHumidity();
  const float pressure = bme.readPressure() / 100.0F;

  char payload[24];
  snprintf(payload, sizeof(payload), "T=%.1f,H=%.0f,P=%.0f",
           temperature, humidity, pressure);

  measurement->setValue(payload);
  if (deviceConnected) {
    measurement->notify();
  }

  Serial.println(payload);
}

void setup() {
  Serial.begin(115200);
  Wire.begin(SDA_PIN, SCL_PIN);
  sensorReady = bme.begin(BME280_ADDRESS, &Wire);

  BLEDevice::init(DEVICE_NAME);
  bleServer = BLEDevice::createServer();
  bleServer->setCallbacks(new ServerCallbacks());

  BLEService *service = bleServer->createService(SERVICE_UUID);
  measurement = service->createCharacteristic(
      MEASUREMENT_UUID,
      BLECharacteristic::PROPERTY_READ |
      BLECharacteristic::PROPERTY_NOTIFY);

  // CCCD lets the client enable or disable notifications.
  measurement->addDescriptor(new BLE2902());
  publishReading();
  service->start();

  BLEAdvertising *advertising = BLEDevice::getAdvertising();
  advertising->addServiceUUID(SERVICE_UUID);
  advertising->setScanResponse(true);
  advertising->setMinPreferred(0x06);
  advertising->setMaxPreferred(0x12);
  BLEDevice::startAdvertising();

  Serial.println("BLE ready. Scan for Nivotek-BME280.");
}

void loop() {
  const uint32_t now = millis();

  if (now - lastSampleAt >= SAMPLE_INTERVAL_MS) {
    lastSampleAt = now;
    publishReading();
  }

  if (!deviceConnected && wasConnected) {
    delay(500);  // Let the BLE stack finish disconnect handling.
    bleServer->startAdvertising();
    Serial.println("Disconnected; advertising restarted.");
    wasConnected = false;
  } else if (deviceConnected && !wasConnected) {
    Serial.println("BLE client connected.");
    wasConnected = true;
  }

  delay(5);
}
The callbacks only change connection state. I2C reads, string formatting, and notifications stay in loop(), where timing is easier to control. This is a useful habit: do not put delay(), sensor transactions, or heavy work inside BLE callbacks.
How are Read and Notify different?
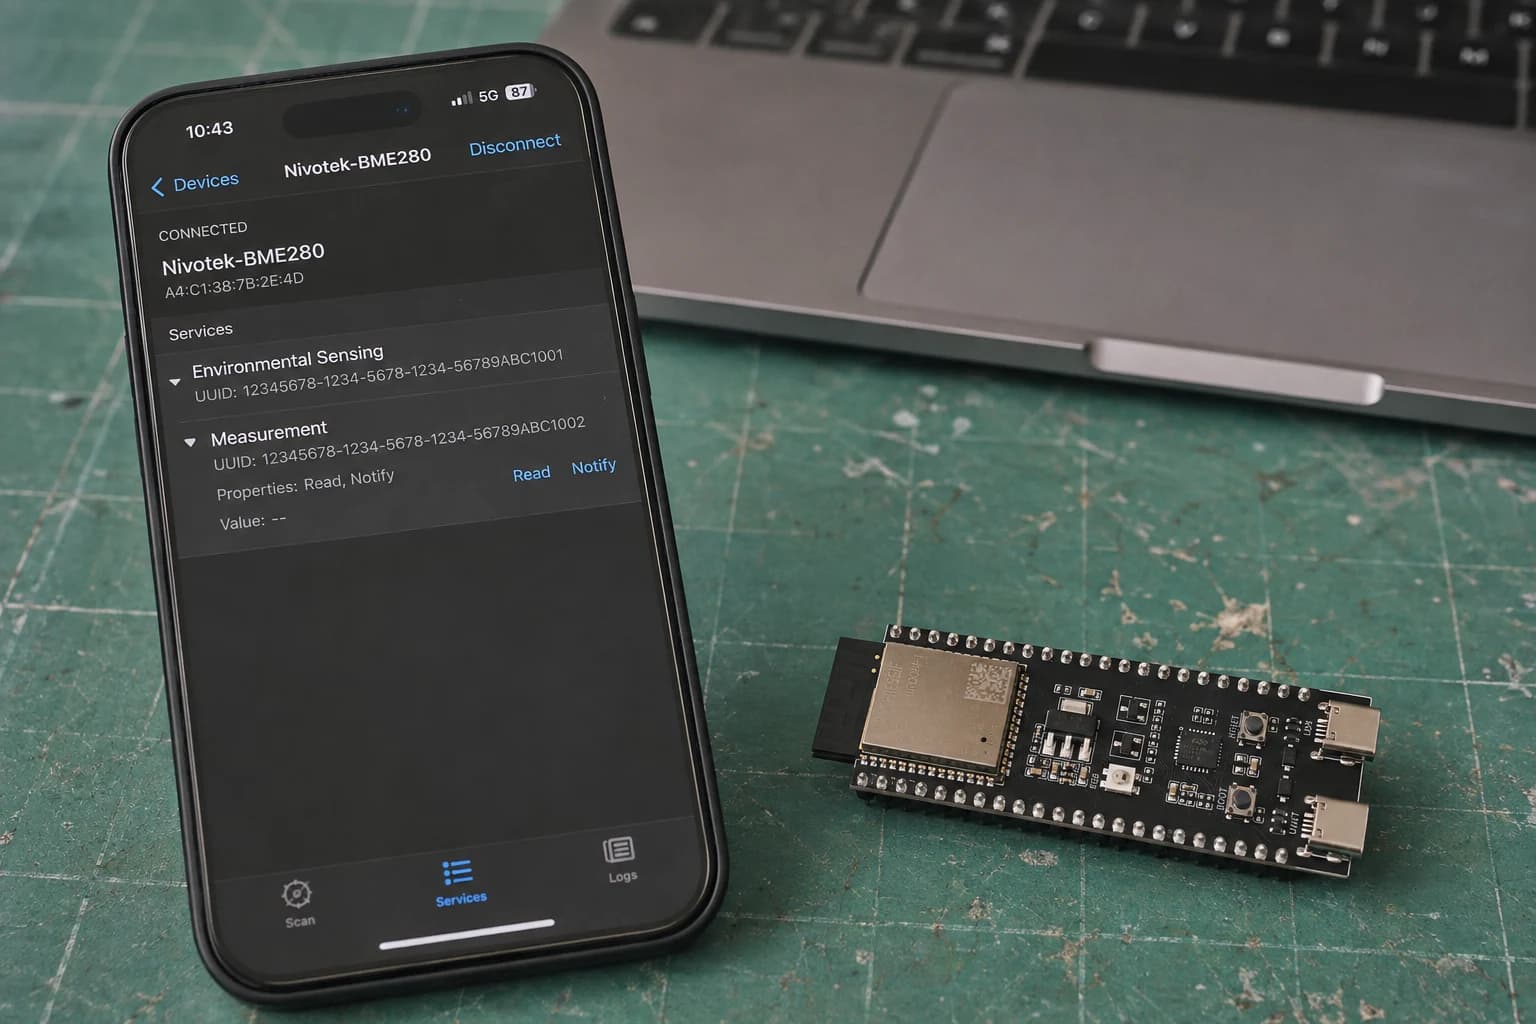
GATT arranges data into services and characteristics; UUIDs let a client find the intended attribute.
- Read: the phone asks for the value currently stored in the characteristic.
- Notify: the phone subscribes once; ESP32 pushes new values whenever the firmware calls
notify().
BLE2902 adds the Client Characteristic Configuration Descriptor (CCCD), where a client enables or disables notifications. Adding PROPERTY_NOTIFY in firmware does not make the phone receive updates automatically; you must still tap the subscribe/notification control in the app.
Test it on a phone
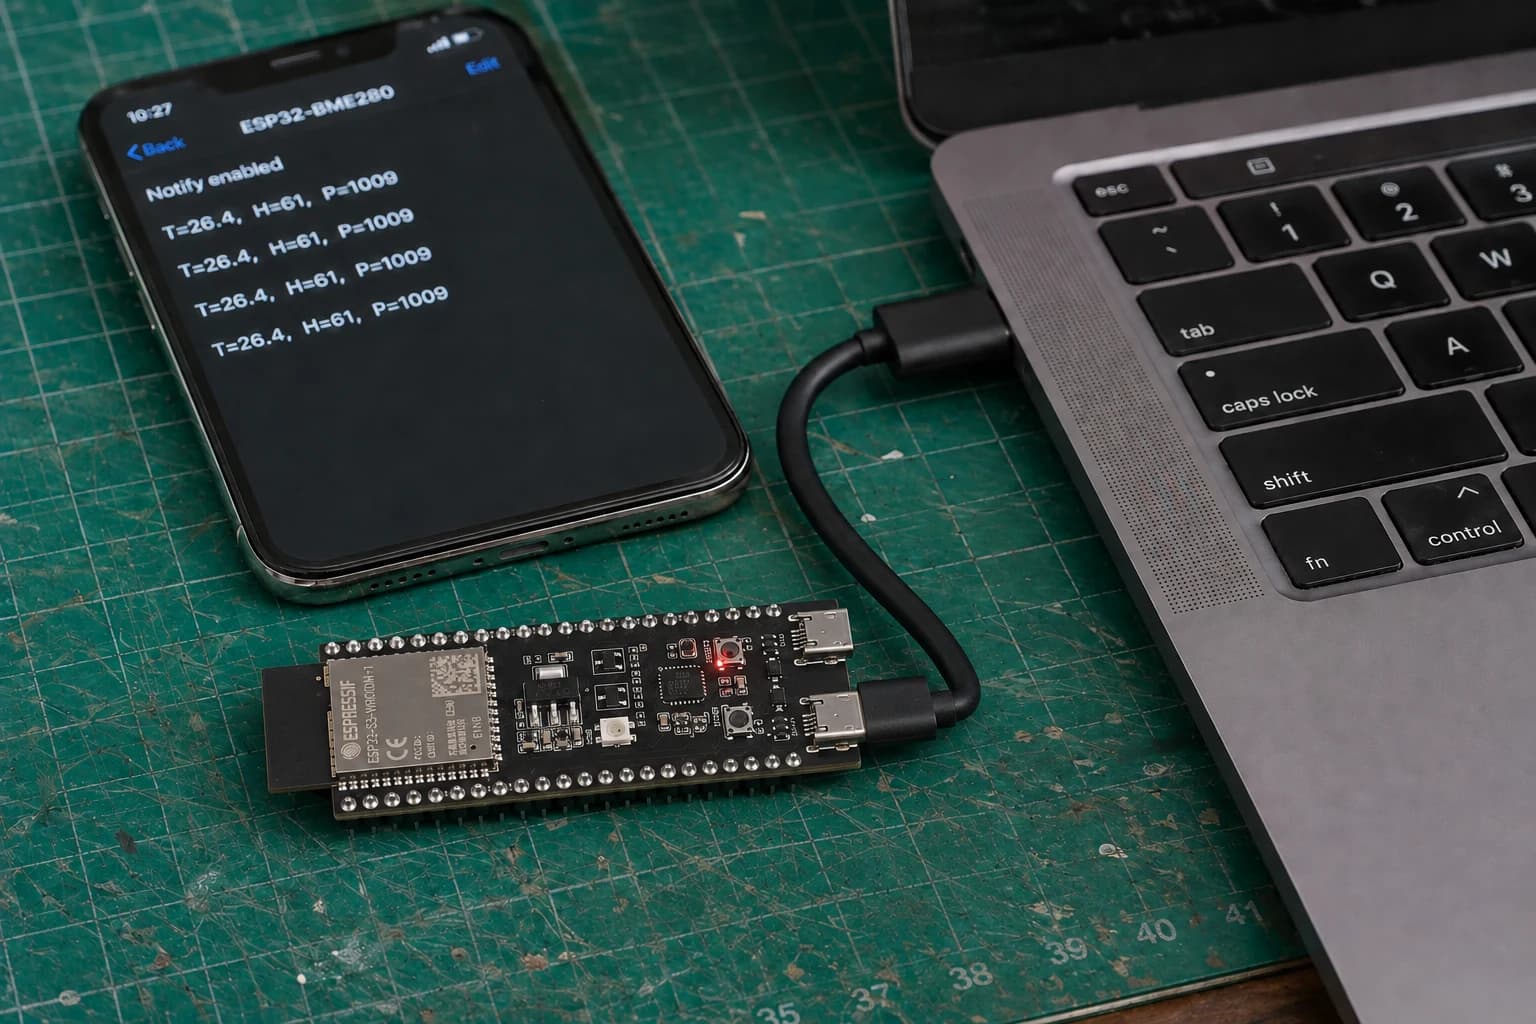
Once Notify is enabled, ESP32 pushes a fresh value to the phone every two seconds.
- Upload the sketch and open Serial Monitor at
115200baud. - Open a GATT client, grant the Bluetooth permission requested by the operating system, and start scanning.
- Select
Nivotek-BME280, then connect. - Find the service UUID ending in
1001and characteristic ending in1002. - Tap Read to inspect the current value.
- Enable Notify/Subscribe; the value should change about every two seconds.
- Disconnect and scan again. Serial should print
advertising restarted, and the device should reappear.
If the app displays hexadecimal bytes, switch its parser to UTF-8/ASCII. For example, 54 3D 32 36 2E 34 is the beginning of T=26.4.
Common BLE failures
| Symptom | Check first |
|---|---|
| Device name is missing | Correct board/port, BLE ready log, Bluetooth permission, and distance |
| Device appears but connection fails | Disconnect the old client, reset ESP32, and scan again |
| Read works but Notify does not | Enable subscribe and verify descriptor 0x2902 exists |
| Value appears as hex | Change the app's data parser to UTF-8/ASCII |
| BME280 says unavailable | Check 0x76/0x77, SDA/SCL, 3V3, and GND |
| Device vanishes after disconnect | Restart advertising after disconnection |
| Firmware runs low on memory after BLE | Remove unused Wi-Fi code; consider NimBLE for a larger BLE project |
ESP32-S3 shares its 2.4 GHz radio between Wi-Fi and BLE. The protocols can coexist, but P6 deliberately leaves Wi-Fi disabled so you can debug one communication path at a time.
One important security note
This sketch does not require pairing, encryption, or authentication. A nearby device can see its advertising, and a client can connect to read the data. That is acceptable for lab temperature, but not for Wi-Fi passwords, tokens, door locks, or sensitive control commands.
When a project moves beyond a demo, define Read/Write permissions, pairing, bonding, encryption, reconnection, and payload versions explicitly. The BLE communication guide for IoT devices goes deeper into those topics with NimBLE and binary packets.
P6 completion checklist
- The phone finds
Nivotek-BME280while scanning. - You can distinguish peripheral/central from server/client.
- The GATT client discovers the custom service and characteristic.
- Read returns the current BME280 value.
- Notify updates roughly every two seconds after subscription.
- ESP32 advertises again after the client disconnects.
- The demo contains no secrets because BLE security is not enabled.
P6 adds a nearby communication path that does not depend on a router. Continue to the final article, P7: Build a Complete ESP32 Project, to combine GPIO, sensors, and connectivity into a testable device.
References
Share
Keep exploring
Read next
Related articles
ESP32 Beginner Guide – P5: Wi-Fi and Web Server
Connect ESP32 to Wi-Fi, find its IP address, and build a local web server that displays BME280 temperature, humidity, and pressure in a browser.
ESP32 Beginner Guide – P7: Build a Complete ESP32 Project
Finish the series with a Room Comfort Monitor: ESP32 reads a BME280, controls a warning LED and serves a local Wi-Fi dashboard.
ESP32 Beginner Guide – P4: Connecting Sensors
Connect digital, analog, and I2C sensors to ESP32; read temperature, humidity, and pressure from a BME280 and diagnose devices that are not detected.