

ESP32 IoT Project Roadmap: From LED to Production
An interactive ESP32 project roadmap from LEDs and buttons through connected sensors and edge ML to production OTA and security, with practical guides at each level.
Share
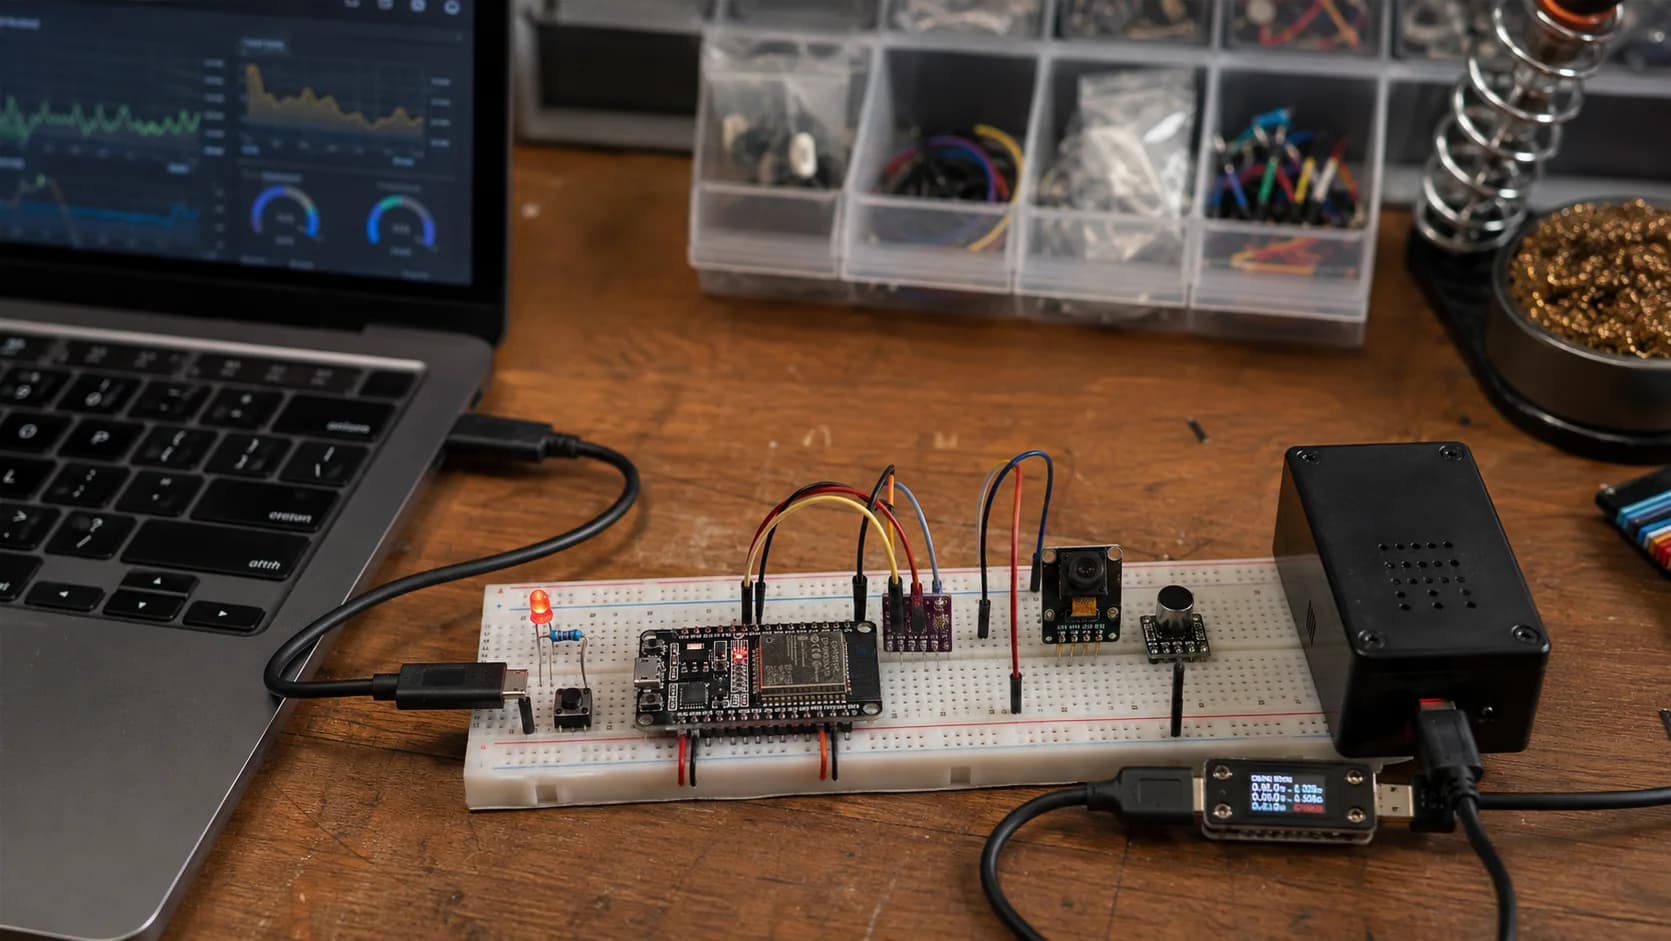
Learning ESP32 can turn into ten open tutorial tabs, another box of sensors, and no clear answer to “what should I build next?” I have done that too. Plenty of examples ran, but my ability to combine them into a dependable device barely moved.
This roadmap follows one rule: each stage adds only one new group of problems. Beginner is about GPIO. Intermediate adds sensors and a data path. Advanced moves a small ML decision to the edge. Production deals with the days when a device loses its network, loses power, or receives bad firmware.
Interactive roadmap
Pick the right stage and build one manageable project
Select a level to see what to build and what being ready for the next stage actually looks like.
Beginner · LED + Button
Choose a board, upload code, and understand GPIO before adding modules.
Stage outcome
You can wire an LED, read a button, and debug through Serial Monitor.
You do not need to complete every project. Pick one that resembles something you actually want, make it work repeatedly, and only then move on.
Stage 1 — Beginner: LED + Button
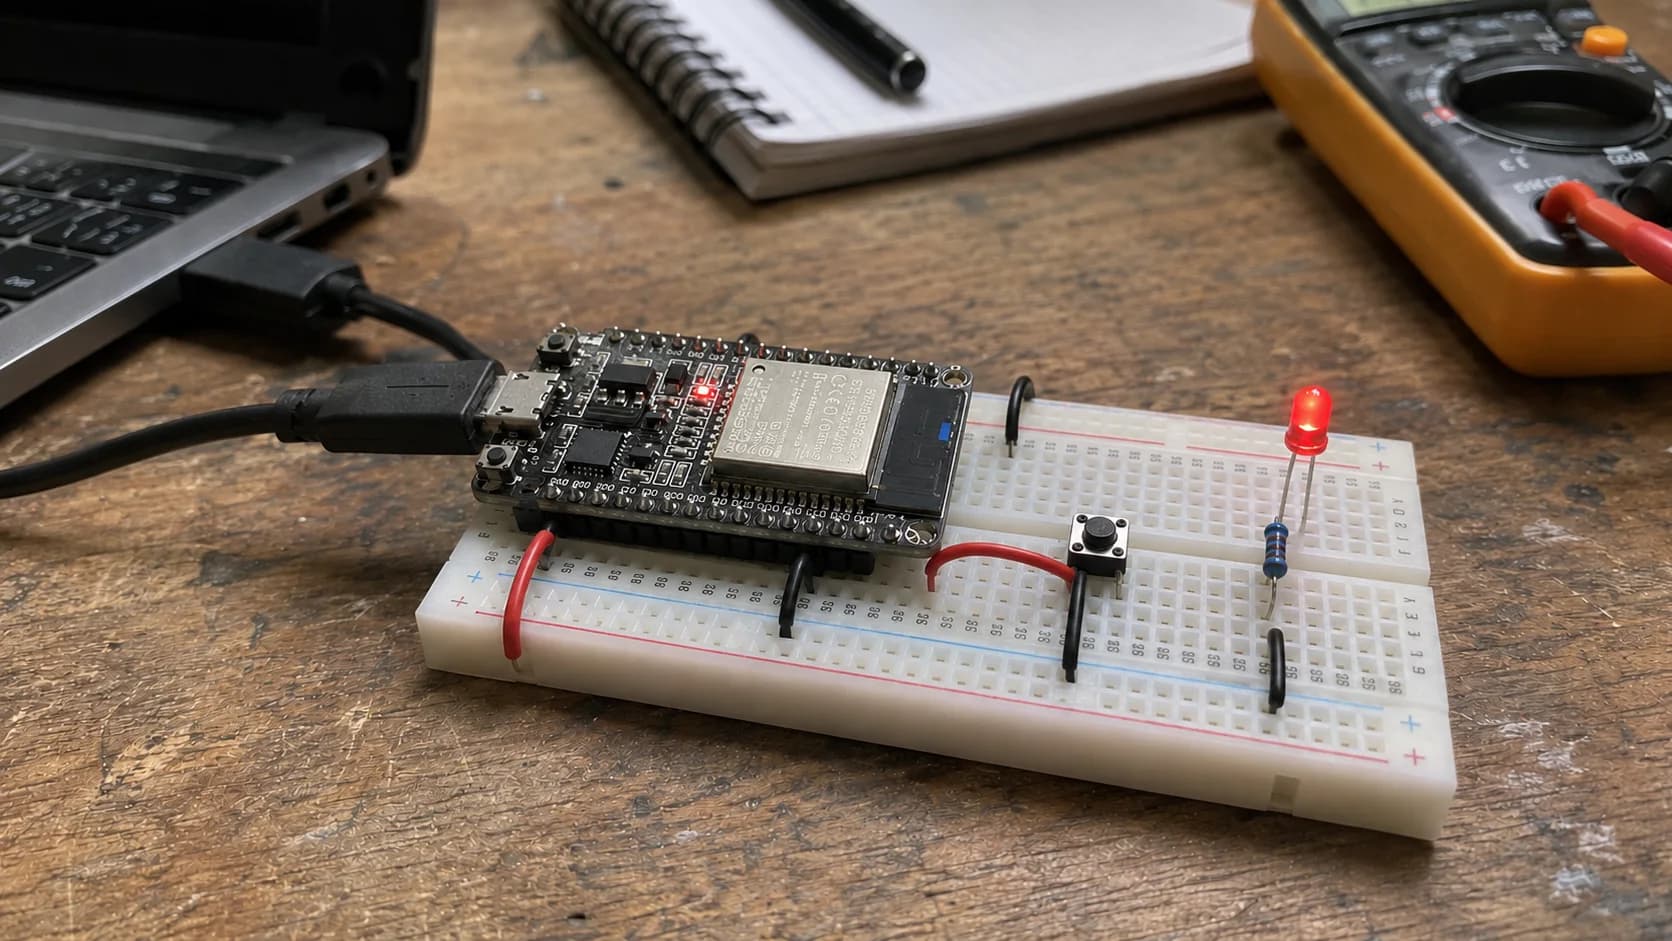
The first stage needs very few parts. The goal is not a large circuit; it is understanding one input, one output, and the logs when either behaves unexpectedly.
If your board is still in its antistatic bag, start with P1: choosing an ESP32 board. If you already own one, P2: setup and first upload gets you to Serial Monitor without guessing the board or Port.
My suggested first project has exactly two behaviors:
- Pressing the button changes the LED state.
- Every state change prints one timestamped line to Serial Monitor.
That tiny build covers GPIO output, input pull-up, 3.3 V logic, current limiting, and debounce. Do not copy a GPIO number from a different board photo; open the pinout for your revision and avoid pins reserved for flash, PSRAM, or bootstrapping.
Move on when you can explain why the LED needs a resistor, why an input must not float, and whether a failure comes from code or wiring. If Blink will not run, the common ESP32 errors checklist is more useful than changing pins at random.
Stage 2 — Intermediate: Sensor + Cloud
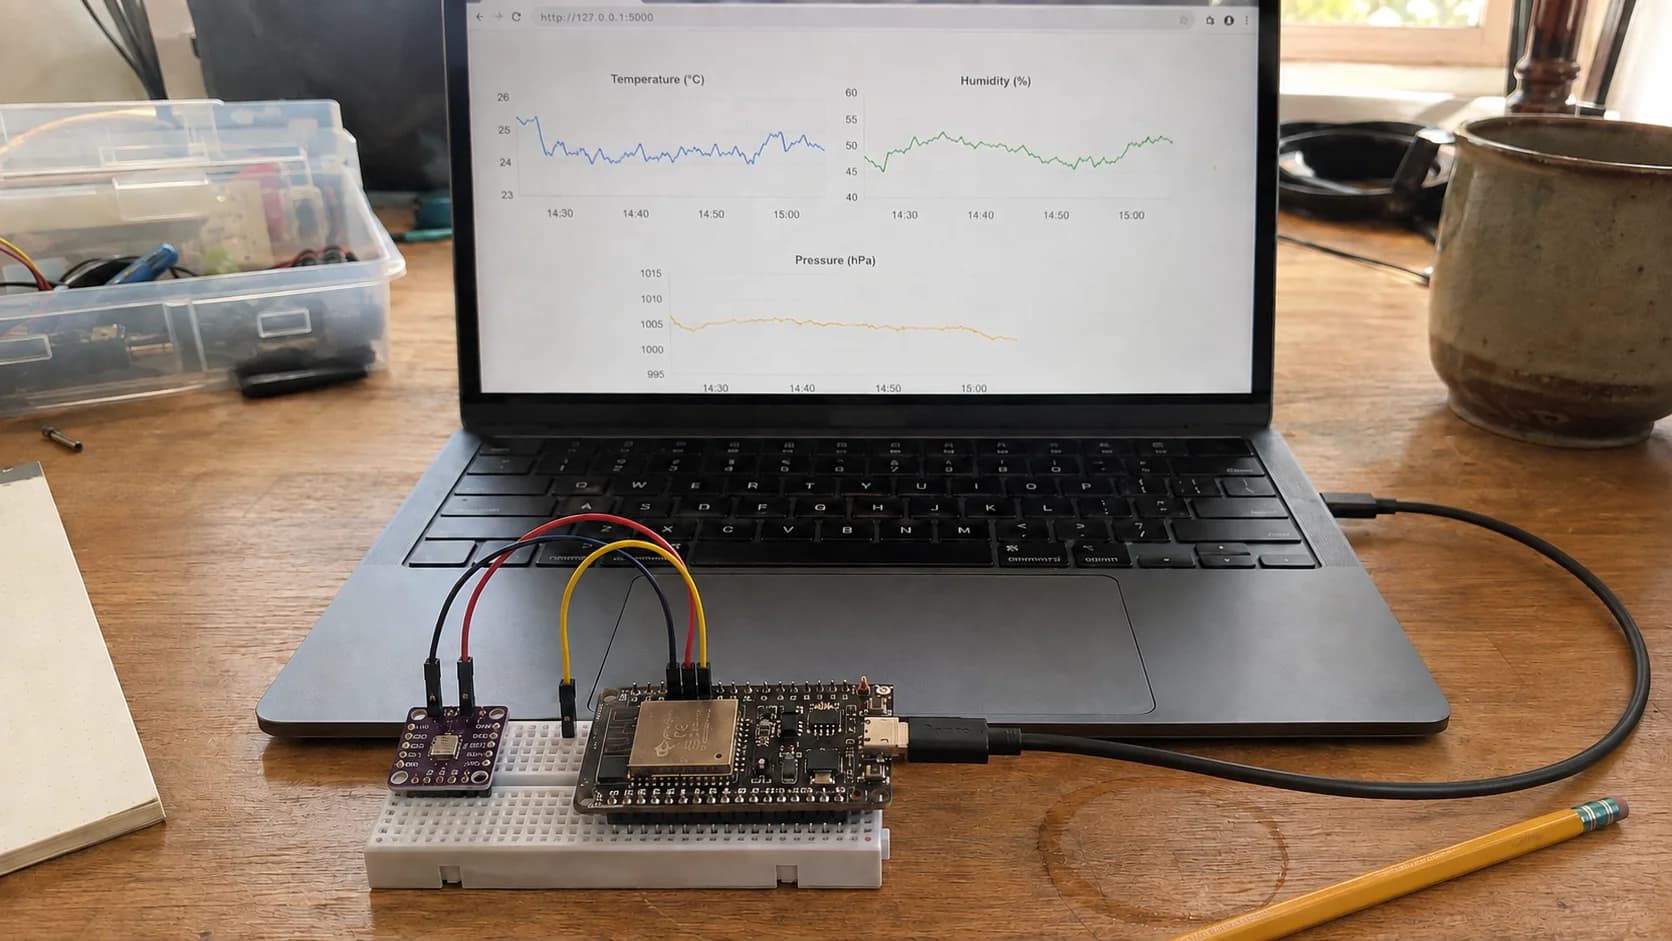
Keep the data path simple when sensors and networking arrive: read correctly, add a timestamp, buffer outages, and only then polish the dashboard.
Replace the LED with one I2C sensor such as a BME280 or SHT30. Read it every few seconds, handle bus errors, add a timestamp, then publish through MQTT or HTTP. “Cloud” does not have to mean a large hosted service—a broker and dashboard on your home network teach the same core data path.
The most complete project already on Nastrotek is the ESP32 Smart Garden. It combines soil calibration, light, reservoir level, and a pump, so the readings are messier than a library example. For battery projects or nearby setup, the BLE communication guide adds packets, reconnection, and security.
Do not treat a number appearing on a dashboard as the finish line. An intermediate node should:
- Keep running when a sensor read fails.
- Reconnect with backoff instead of rebooting through a Wi-Fi outage.
- Publish units, timestamps, and a clear data-quality flag.
- Keep secrets out of the repository.
Once those basics work, try ESP RainMaker or an MQTT stack you manage yourself. The goal is understanding the device-data lifecycle, not locking the project to one cloud.
Stage 3 — Advanced: Machine Learning at the edge
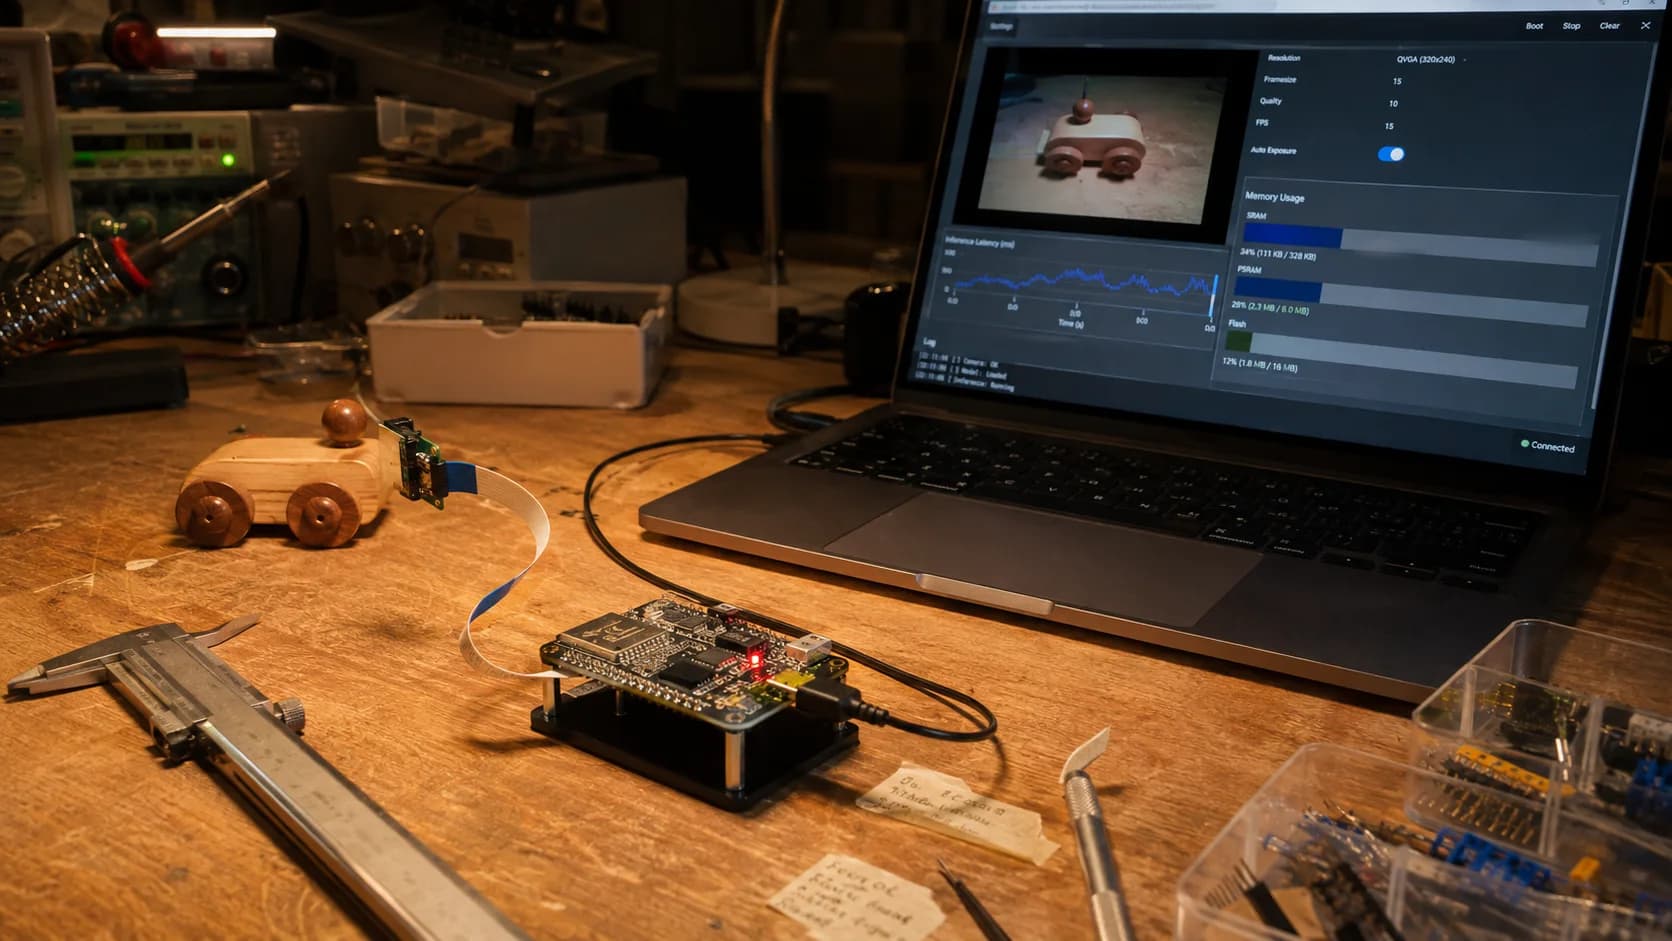
Edge ML becomes useful when measured on the real board. Accuracy, latency, RAM, and energy are all part of the result—not just a successful build.
Edge ML should not start with “which model is most impressive?” Start with “what decision must this device make without the Internet?” A manageable project might recognize a short sound, classify machine state from vibration, or detect a person in a low-resolution frame.
TinyML on ESP32 covers memory budgets, inference, and a person-detection example. For audio, ESP32-S3 I2S Audio helps establish a clean capture path before a model enters the design.
I only call the demo complete after recording:
| Metric | Measure on the real board |
|---|---|
| Accuracy | With data resembling the installation, not only the sample set |
| Latency | From sampling to a usable result |
| Memory | Peak flash, internal RAM, and PSRAM |
| Energy | Current while sampling, inferring, and waiting |
| Failure path | Missing samples, low confidence, and watchdog recovery |
If low confidence has no defined behavior, the project is still a demo. A simple fallback rule is often safer than forcing the model to answer every time.
Stage 4 — Production: OTA + Security
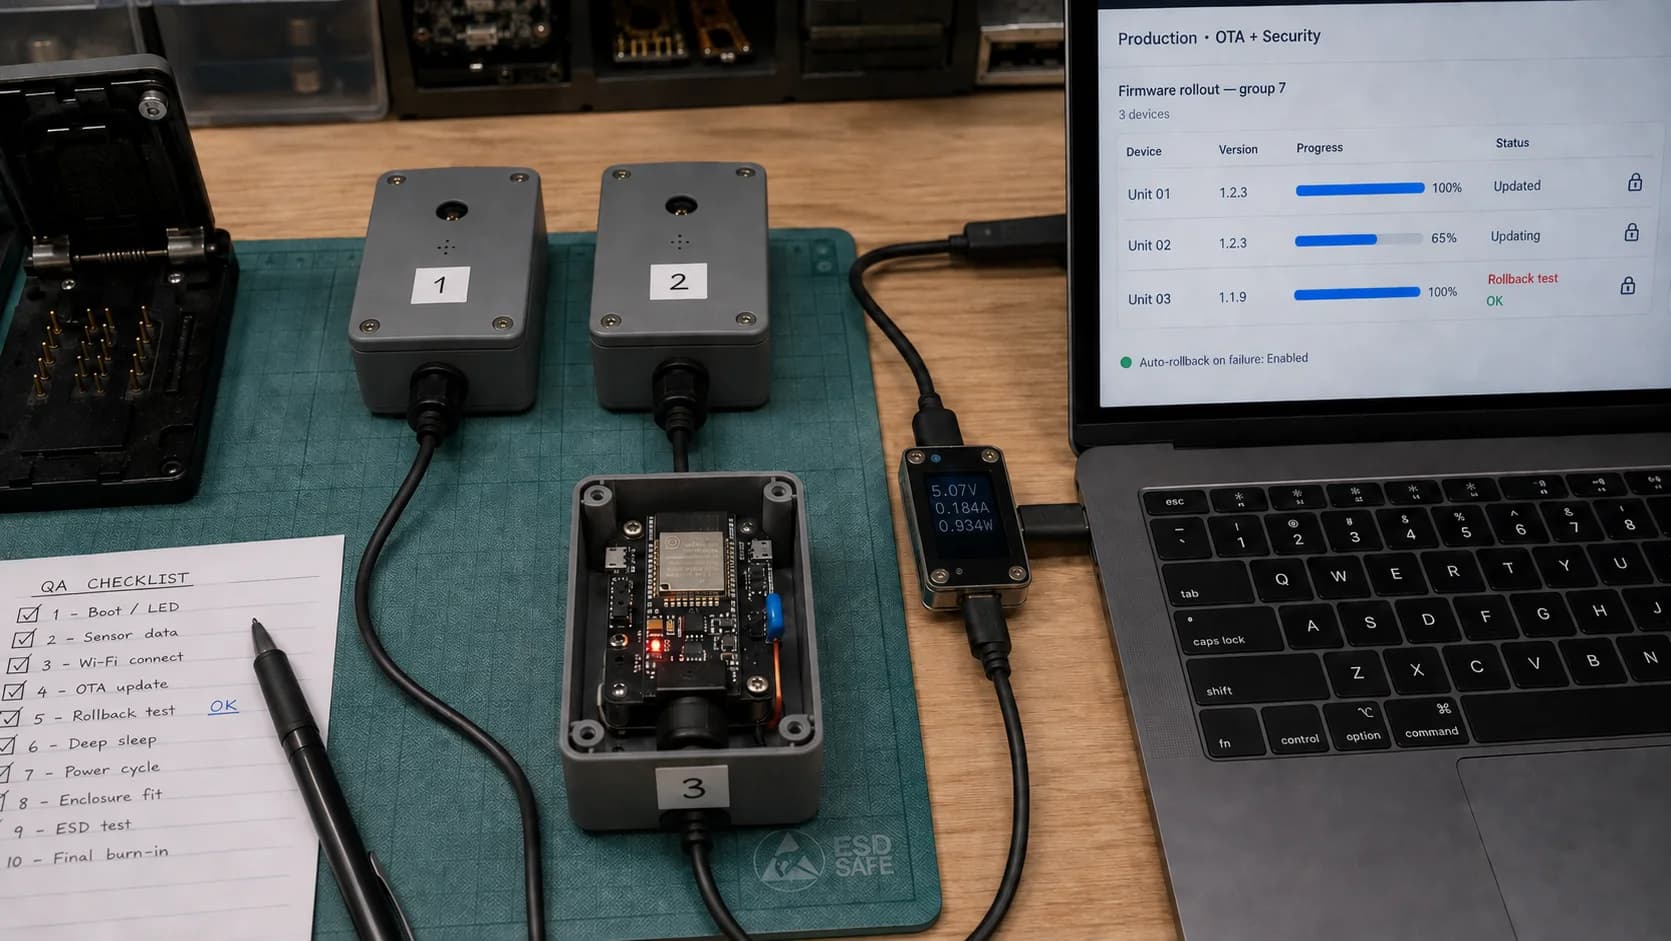
Production starts when a device can recover from a bad update and every unit follows the same test process before leaving the bench.
A prototype that works on your desk is not automatically ready for a balcony or another person's home. OTA and security are no longer “later features” here. They affect the partition table, signing keys, factory process, and how you recover a failed device.
I work in this order:
- Make it observable: log version, reset reason, uptime, and update failures.
- Make OTA recoverable: use two app slots, validate the new firmware, and roll back when self-test fails.
- Trust the update path: use HTTPS, authenticate the server, and sign firmware.
- Give devices individual identity: never ship one credential across the fleet.
- Close debug paths deliberately: test Secure Boot, Flash Encryption, and eFuses on separate samples first; several steps are irreversible.
The practical IoT security baseline provides a threat model and test checklist. Hardware must mature alongside firmware: ESP32 battery power design covers brownouts and load steps, while the ESP32 schematic review catches issues a DevKit can hide.
Pick your next project in 30 seconds
- Cannot upload and read logs yet: take P1 → P2 → LED + Button.
- GPIO is comfortable, but everything is offline: add one sensor and MQTT or a local dashboard.
- Clean, regular data already exists: try one edge ML task with measurable acceptance criteria.
- The device is about to leave the bench: pause feature work and build rollback, power testing, and a threat model.
This is not a race to Advanced. An intermediate sensor node that runs for two years is more useful than an AI demo that only survives a video. When the roadmap feels large, I return to one question: is the current project failing in hardware, data, connectivity, or operations? The answer points to the stage worth learning next.
References
Share
Keep exploring
Read next
Related articles
Over-The-Air (OTA) Firmware Updates: Design & Implementation
A practical guide to designing safe OTA firmware updates for ESP32 and STM32, covering partitions, signed images, rollback, rollout control, and delta updates.
ESP32 Beginner Guide – P5: Wi-Fi and Web Server
Connect ESP32 to Wi-Fi, find its IP address, and build a local web server that displays BME280 temperature, humidity, and pressure in a browser.
18 Common ESP32 Errors – Part 2: Critical Errors
How I read ESP32 backtraces and troubleshoot crashes, watchdogs, heap, stack, FreeRTOS, Wi-Fi, ADC, deep sleep, and OTA with a practical runtime checklist.